 NEWS 240614 ABOUT ExLight
I’ve made a new version of ExLight with the Enlightenment 0.25.4 Desktop environment, Refracta Snapshot (create your own Debian Sid/Trixie System) and Calamares 3.3.6-1 Installer Framework.
New sources 240614
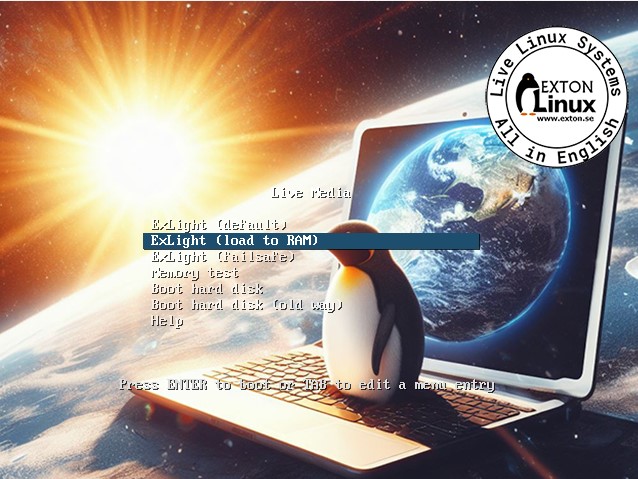
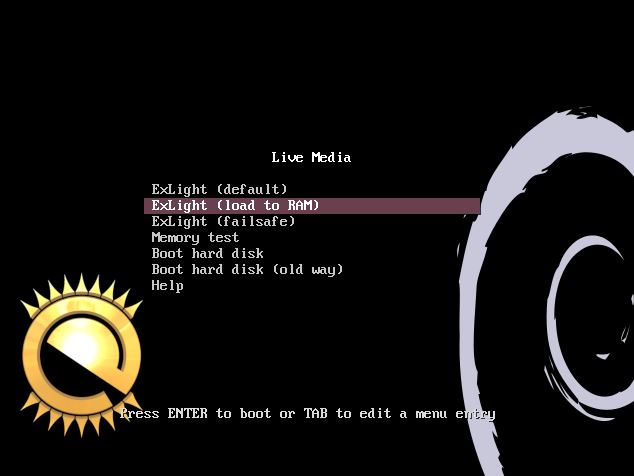
This new version of ExLight is based on Debian Sid / Trixie (unstable/testing). Build 240614 is a total rebuild of ExLight. The ISO file size is of only 2140 MB, which means that you’ll need about 3GB RAM to run ExLight even faster from RAM. I.e. load to RAM – screenshot. You can remove the DVD or USB stick when ExLight has booted.
KERNEL
ExLight Build 240614 uses kernel 6.9.3-amd64-exton built from Debian kernel sources with Debian patches.
What’s new in Linux kernel 6.9?
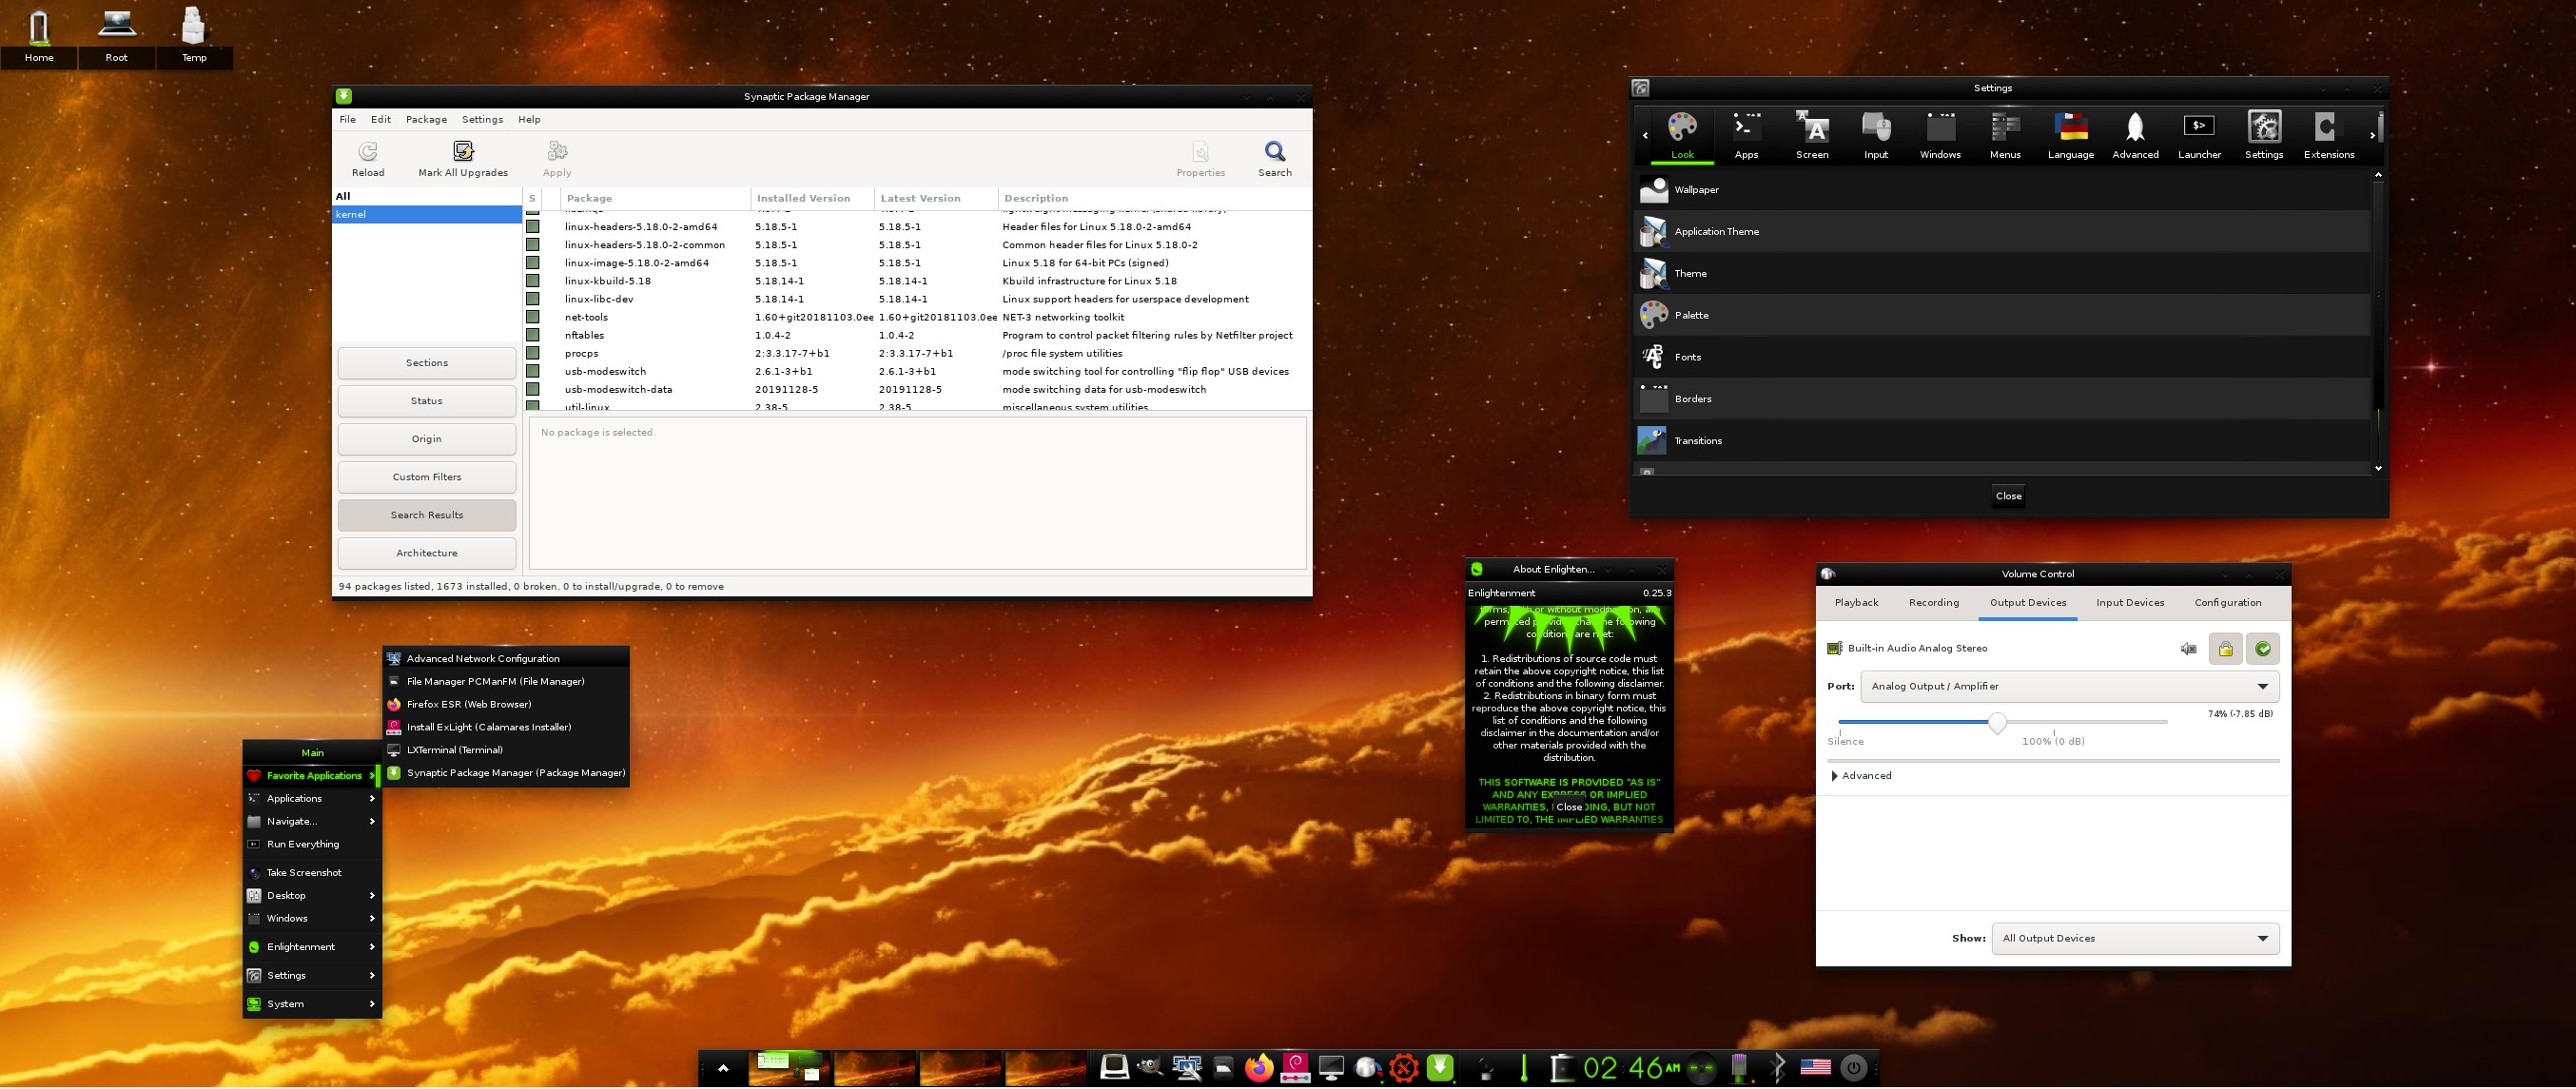
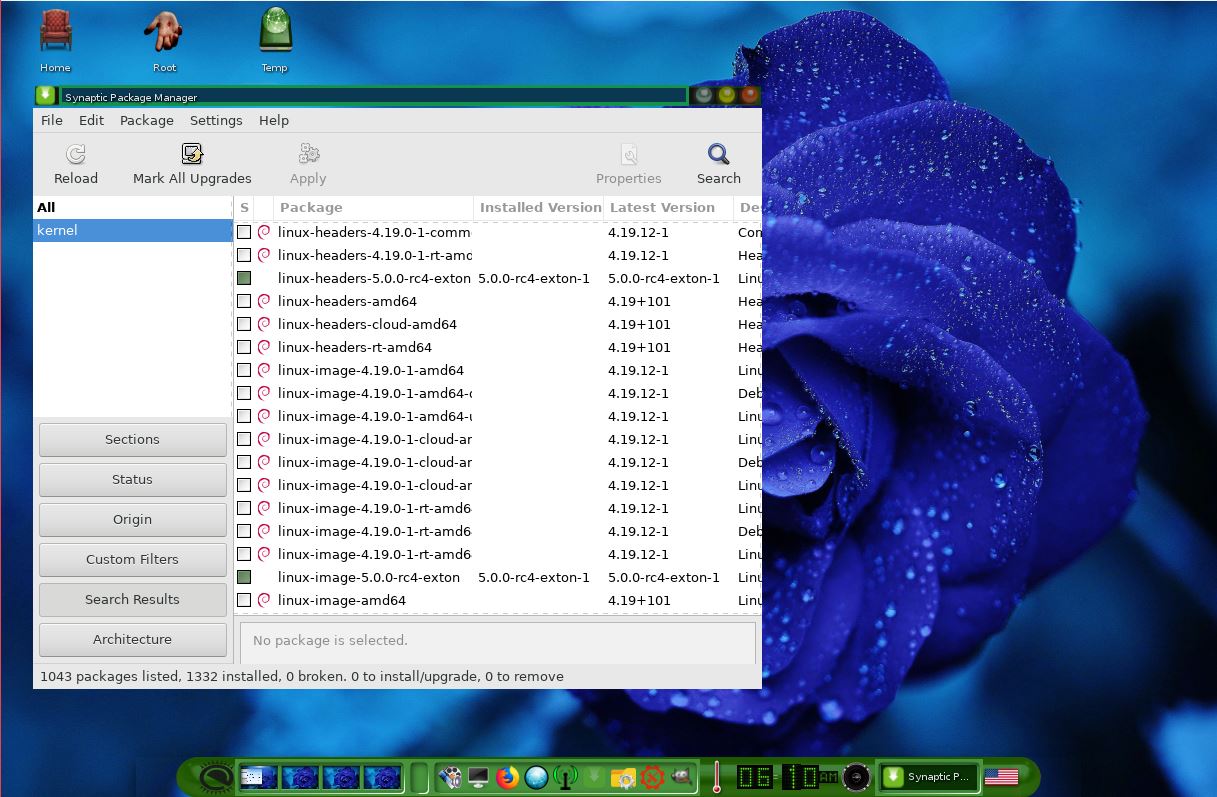
Installed packages
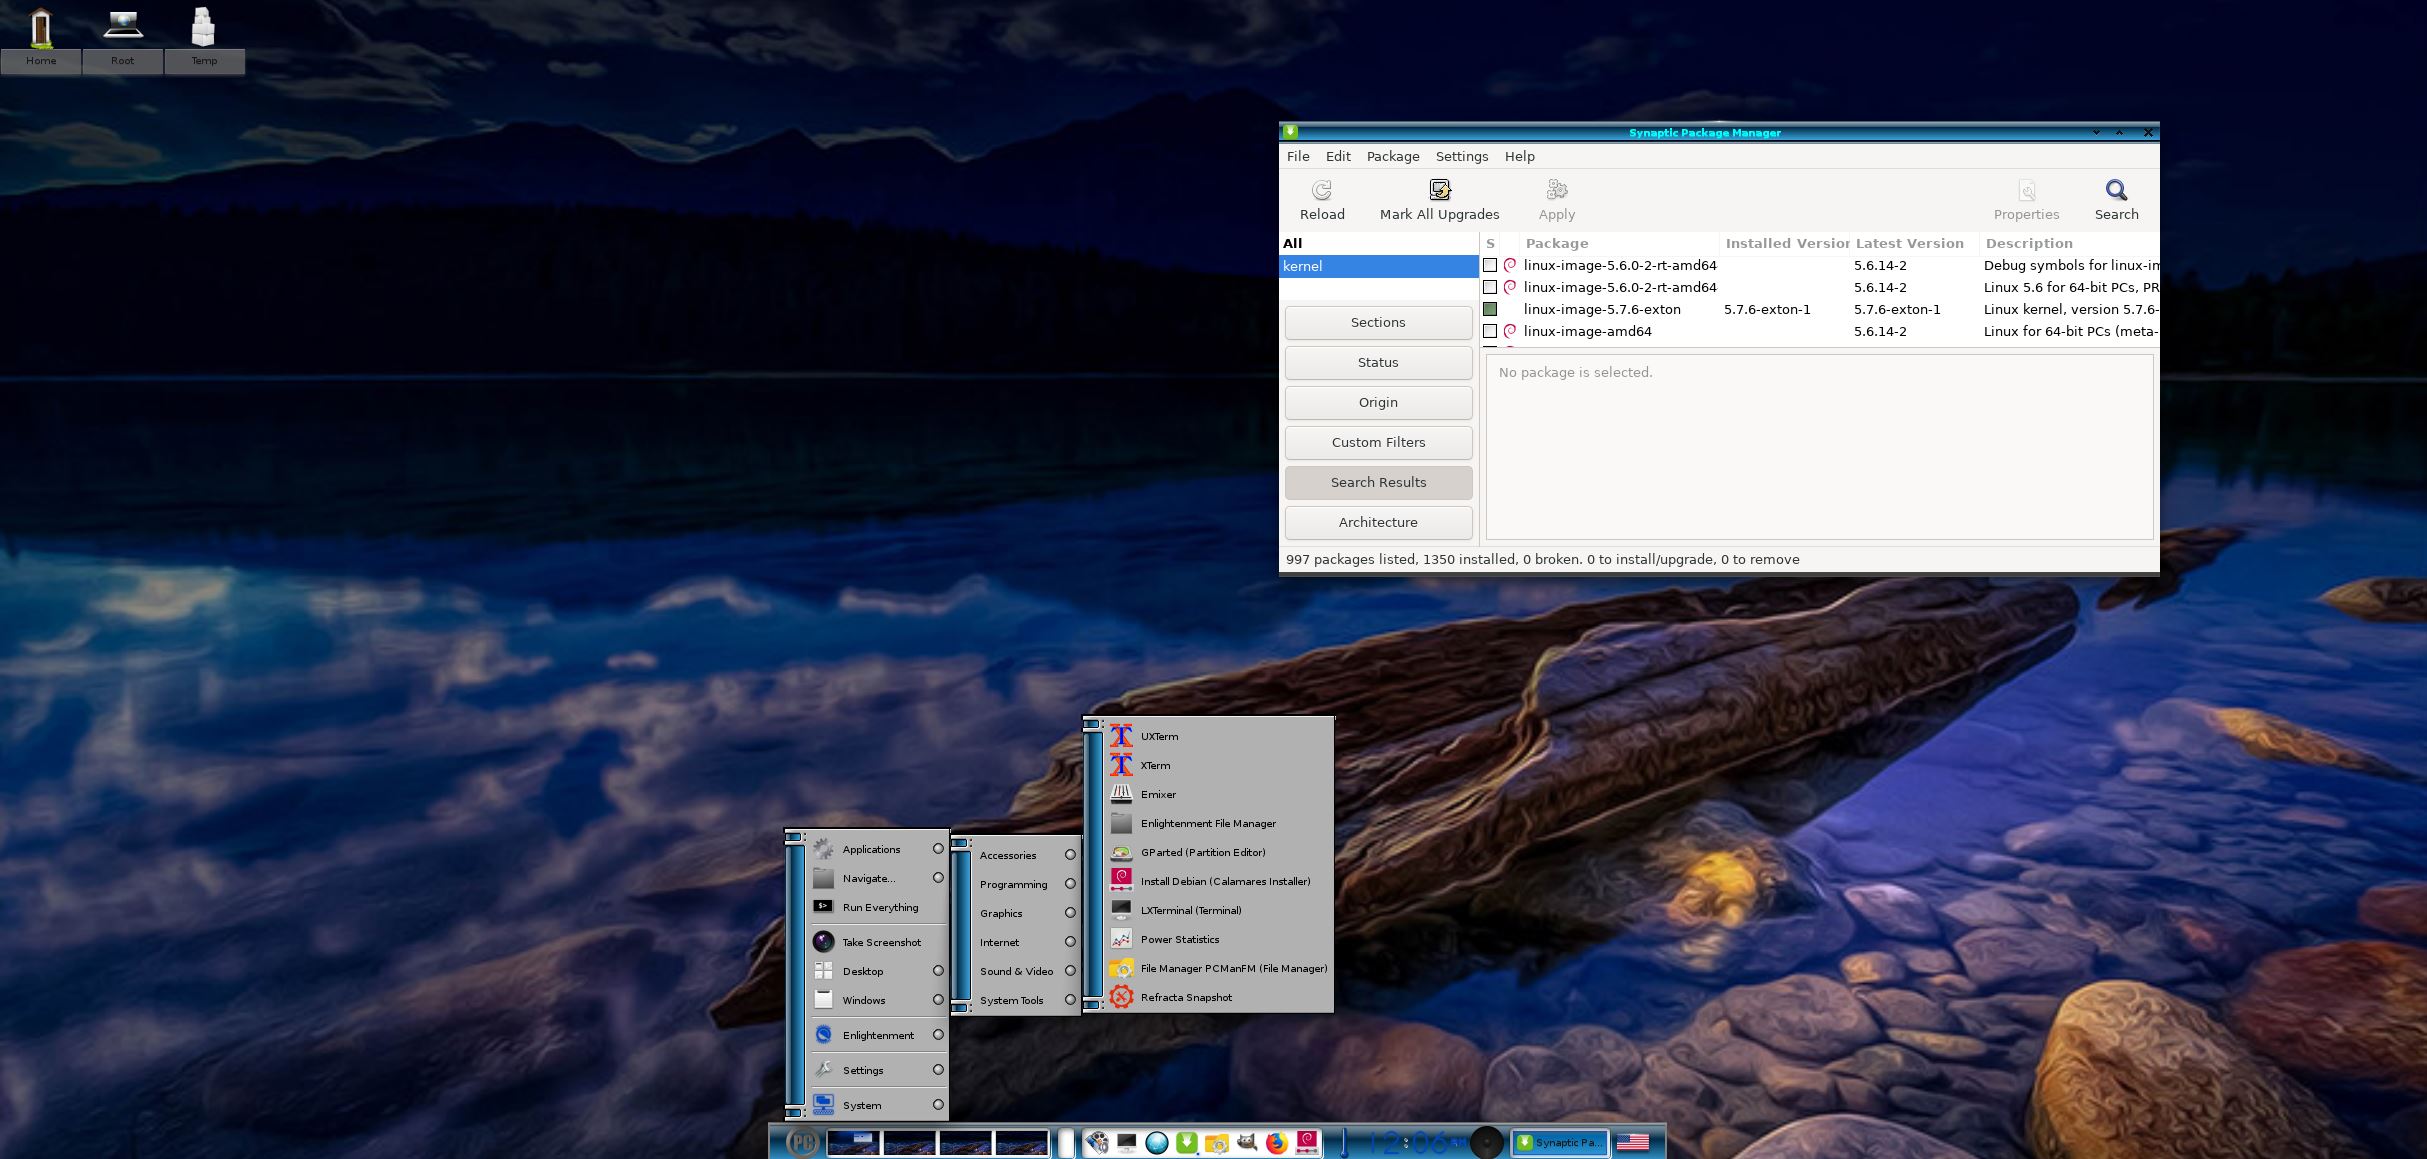
Study all installed packages in ExLight Build 240614.
LOGIN PROBLEMS IN BUILD 240614
To be able to login to the Enlightenment 0.25.4 Desktop you’ll have to use a “fairly new” computer. According to my experience the computer can’t be older than about eight (8) years. After a live boot (from a USB stick or a DVD) you are supposed to be logged in automatically as the ordinary user user to the Enlightenment Desktop. If not you will end up in console mode logged in as user. For testing purposes you can do the following if you have a wired Internet connection. Run the following commands:
1. sudo apt update
2. sudo apt install lxde
3. nano .xinitrc
4. Change .xinitrc to exec startlxde
5. startx
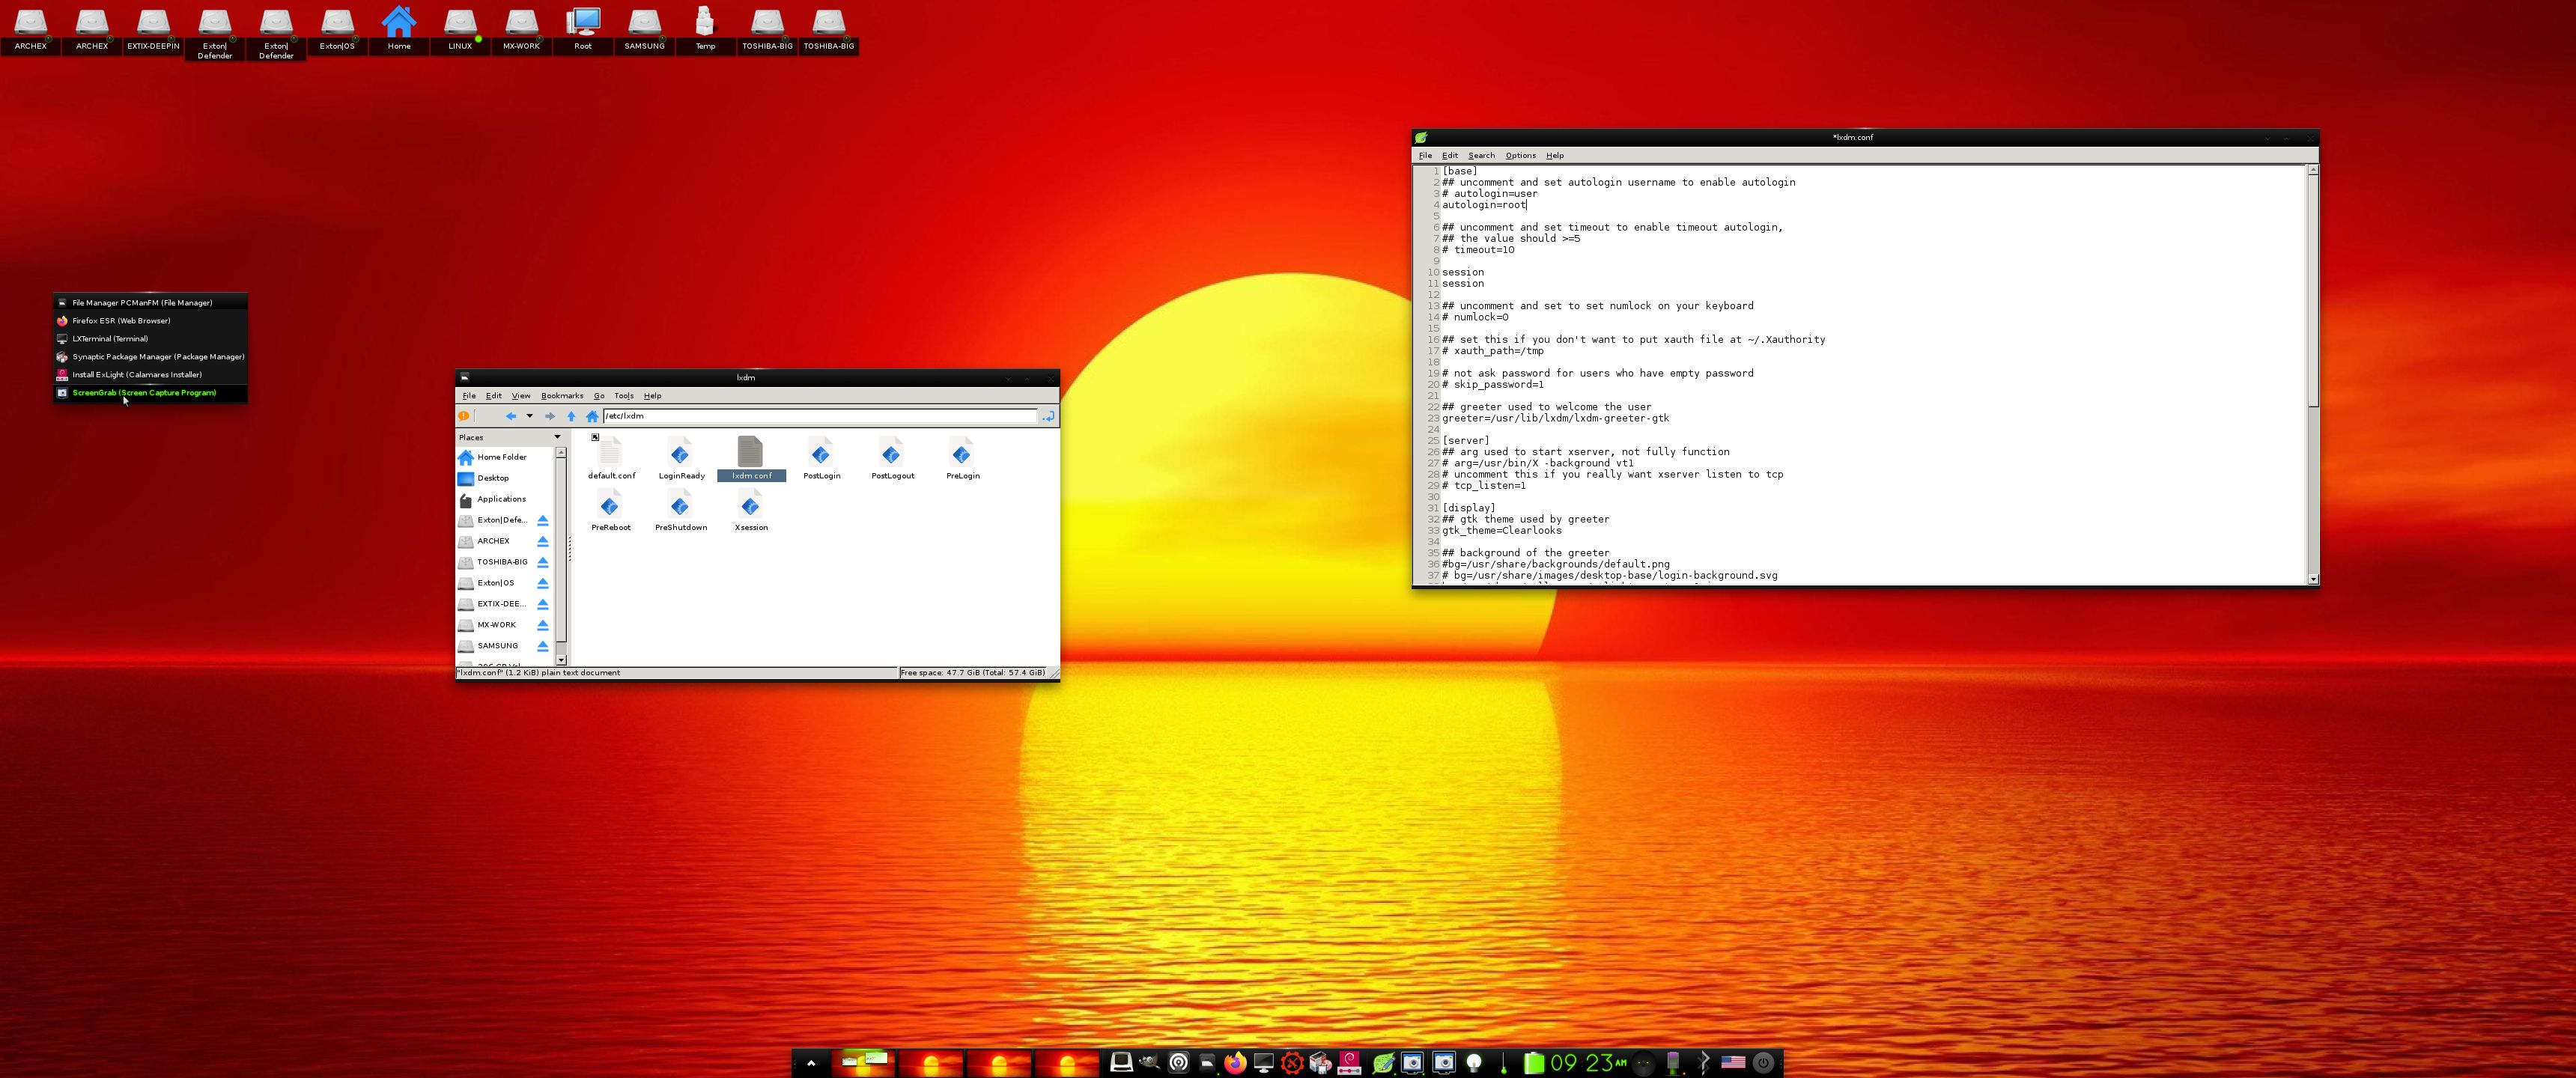
You will now enter the LXDE Desktop. So the problem is really Enlightenment. I.e. not which Display Manager to use. I’ve tried with LXDM, SLiM and finally LightDM . I’m grateful if somebody find a solution to the problem Enlightenment/login and notify me. I’ve found only one Internet post about the problem (with no solution unfortunately).
CONCLUSION: Use a “fairly new” computer if you want to run Enlightenment 0.25.4 in ExLight. I wrote this as a comment at my SourceForge site 221129: I tried ExLight Build 220726 on a really old computer – Acer Aspire 5102WLMi from 2006. Running ExLight on that computer I got the same problems as the ones you have described. I.e. I could only log in from console mode. I could never reach the Enlightenment Desktop. I have therefore decided to upload a new version of ExLight with a new kernel (possibly the newest) and upgraded packages. That will probably happen today. If the new version won’t run on my old Aspire I have to say that ExLight only runs on fairly new computers. ExLight Build 240614 and 231005 has the same problem. I.e. using my old Acer I can’t reach the Enlightenment 0.25.4 Desktop whatever I do. I can run LXDE (and possibly other Desktop Environments) without problem though. Watch this screenshot.
WHAT’S NEW IN ExLight BUILD 240614?
NOTE: Version 240614 replaces version 231005.
1. ExLight is now based on Debian Sid / Trixie (unstable/testing).
2. I have upgraded the Desktop environment Enlightenment (“Beauty at your fingertips”) to version 0.25.4, which is the stable version of Enlightenment. There is a newer version (0.26.0-4) of Enlightenment, but it doesn’t work (yet). I have therefore “blocked” upgrades of Enlightenment with sudo apt-mark hold enlightenment. You can “unblock” Enlightenment with the command sudo apt-mark unhold enlightenment. Could possibly work to upgrade Enlightenment after a month or so.
3. I have replaced kernel 6.5.3-amd64-exton with kernel 6.9.3-amd64-exton. ExLight’s ISO file is now a ISO-hybrid, which means that it can very easily be transferred (copied) to a USB pen drive. You can then even run ExLight from the USB stick and save all your system changes on the stick. I.e. you will enjoy persistence!
5. Another big improvement is that ExLight can run from RAM. Use Boot alternative 2 (load to RAM). When the system has booted up you can remove the disc (DVD) or the USB stick. You will need at least 3 GB RAM to run ExLight that way.
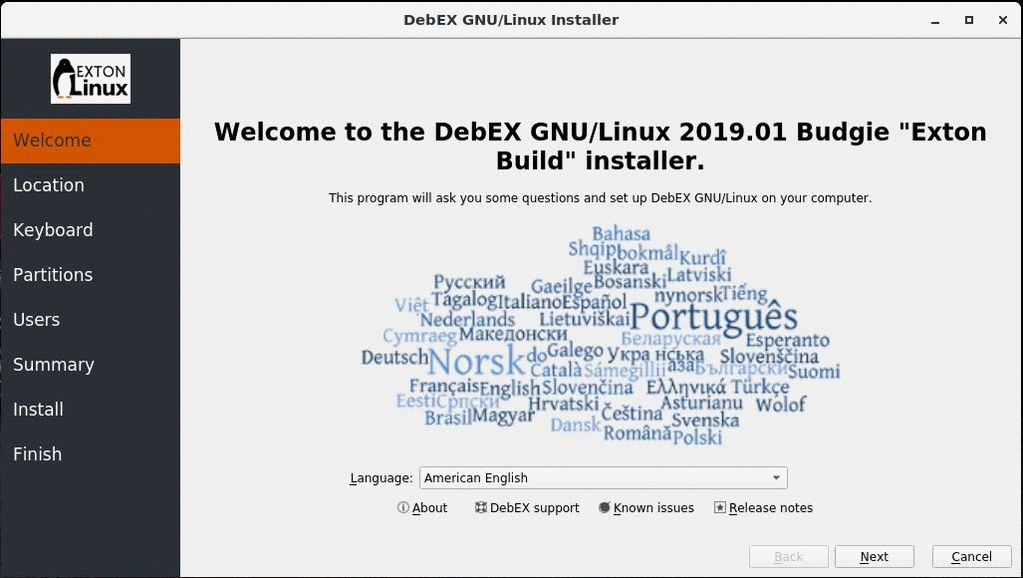
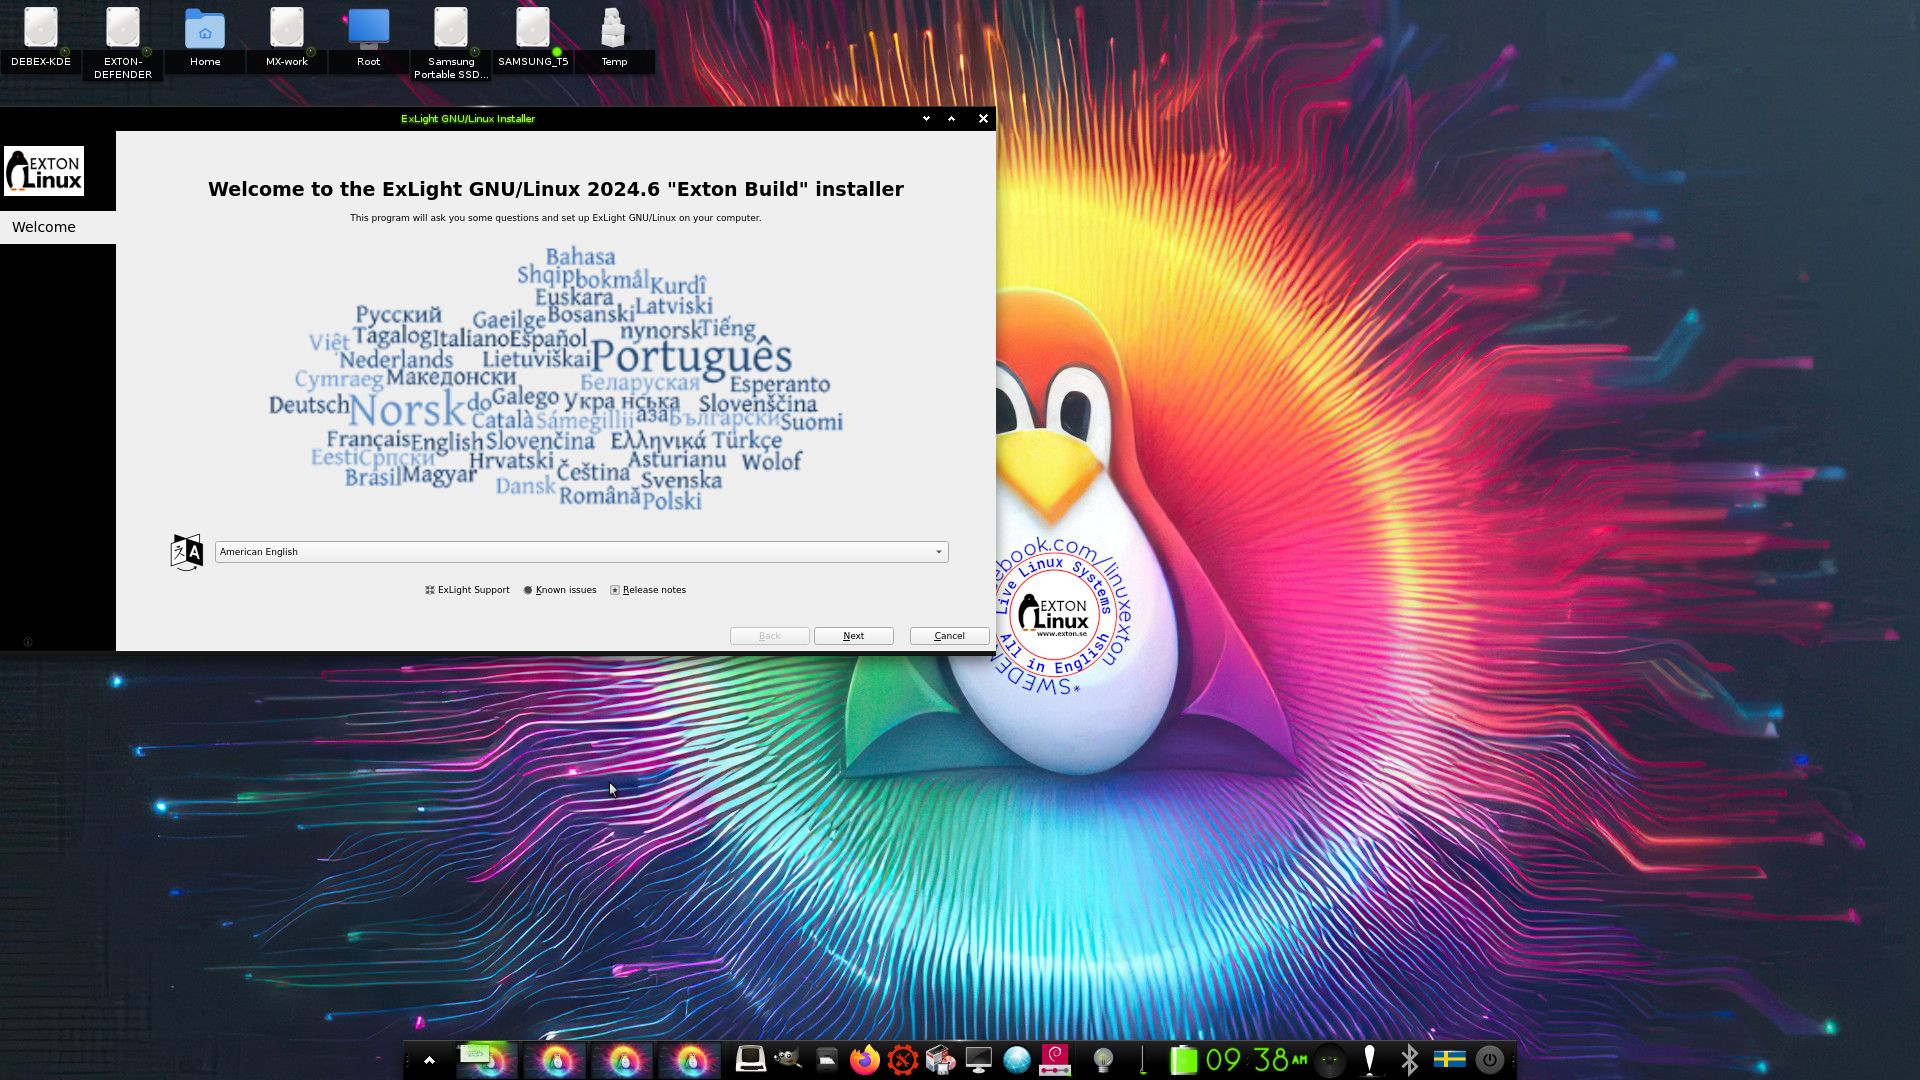
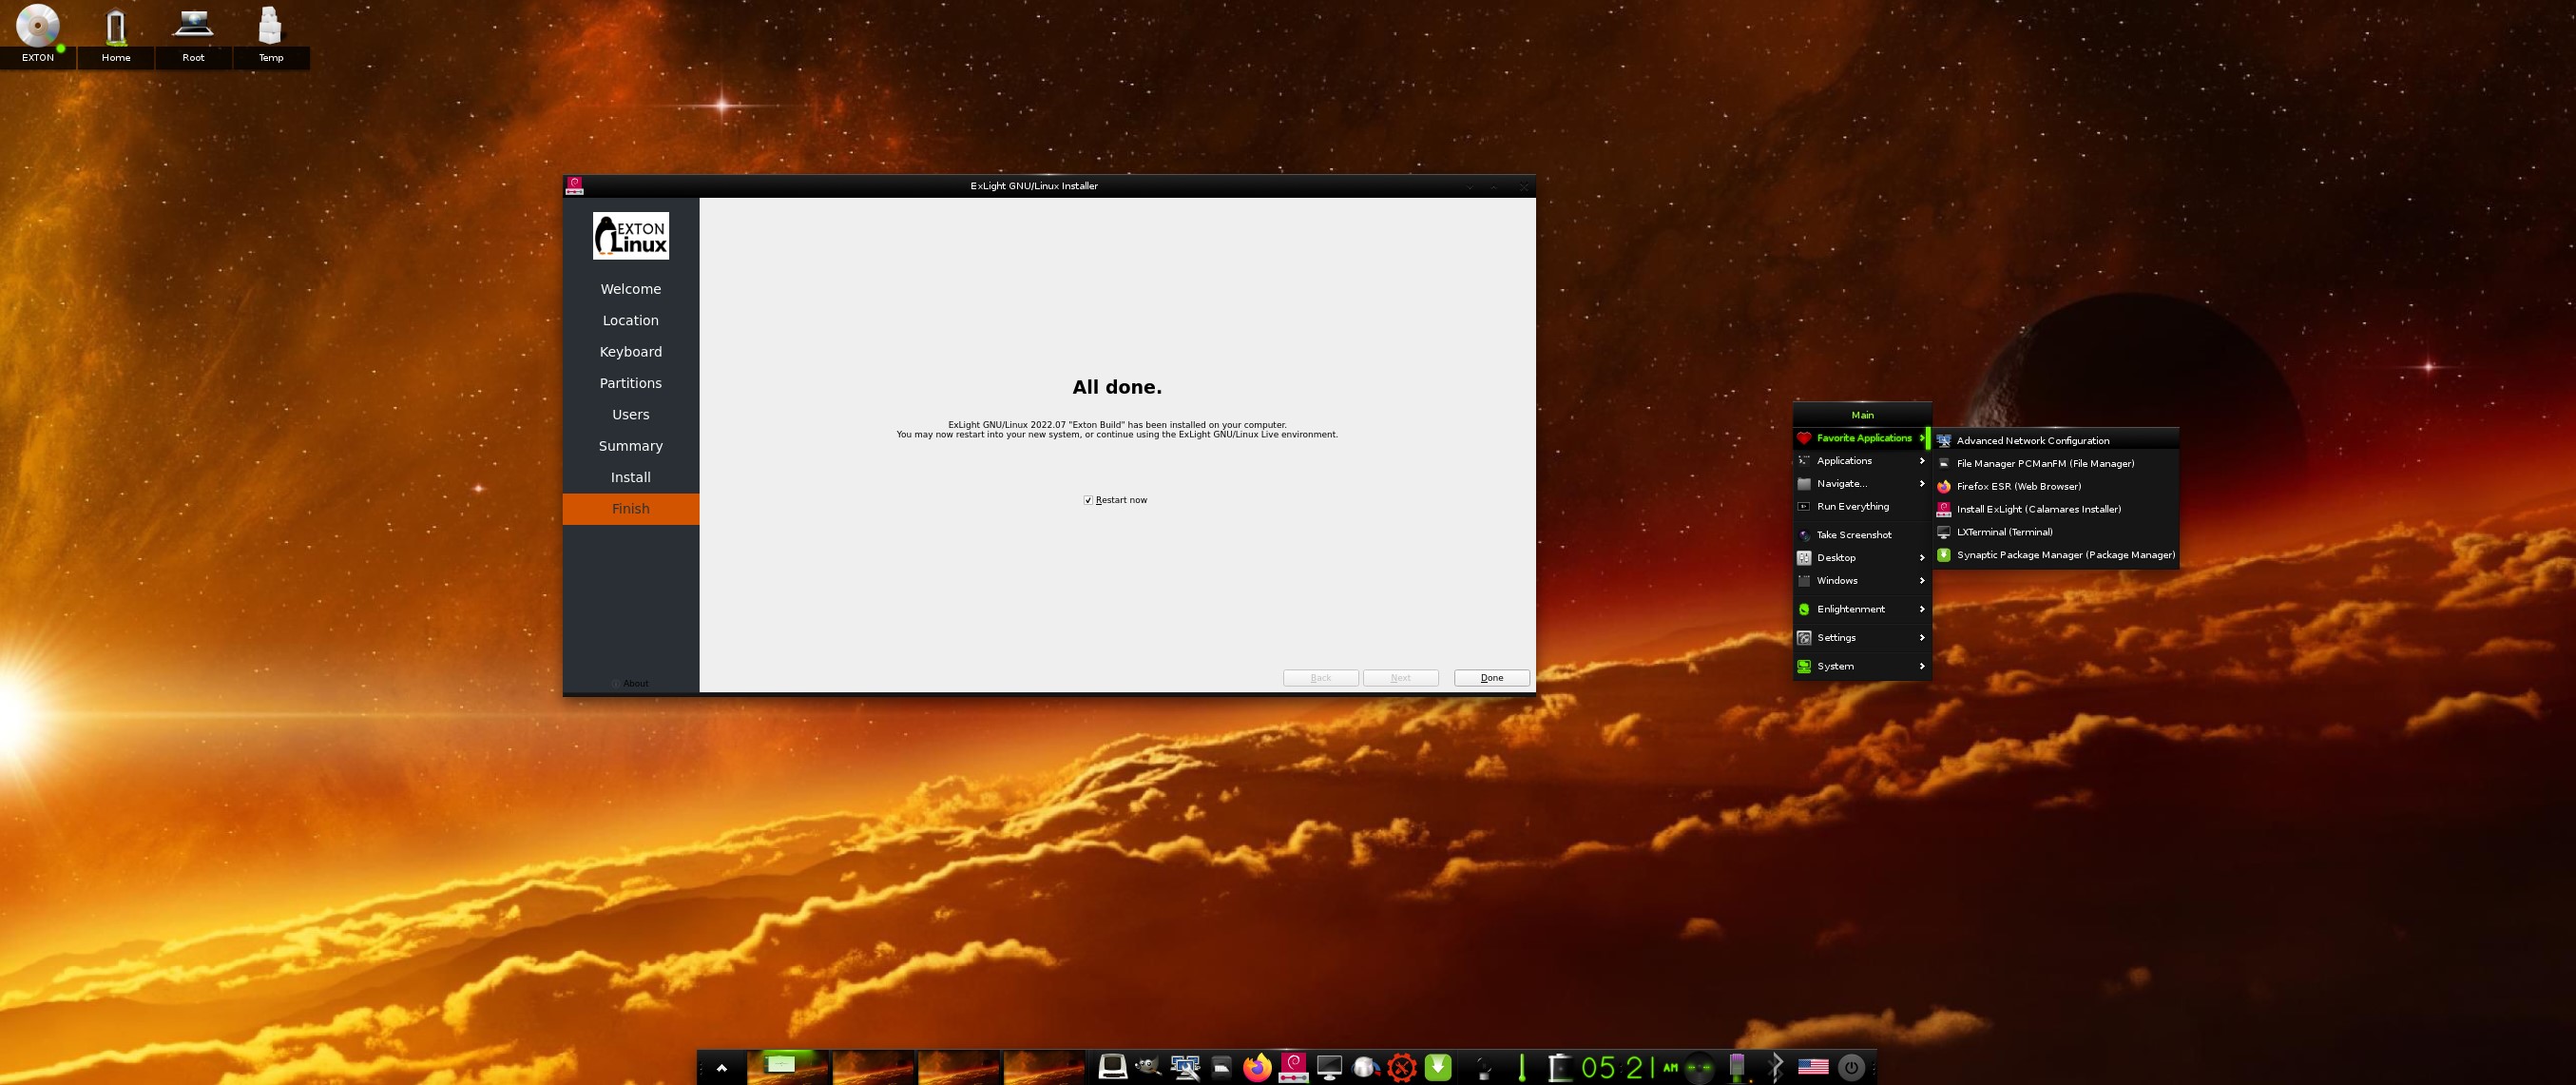
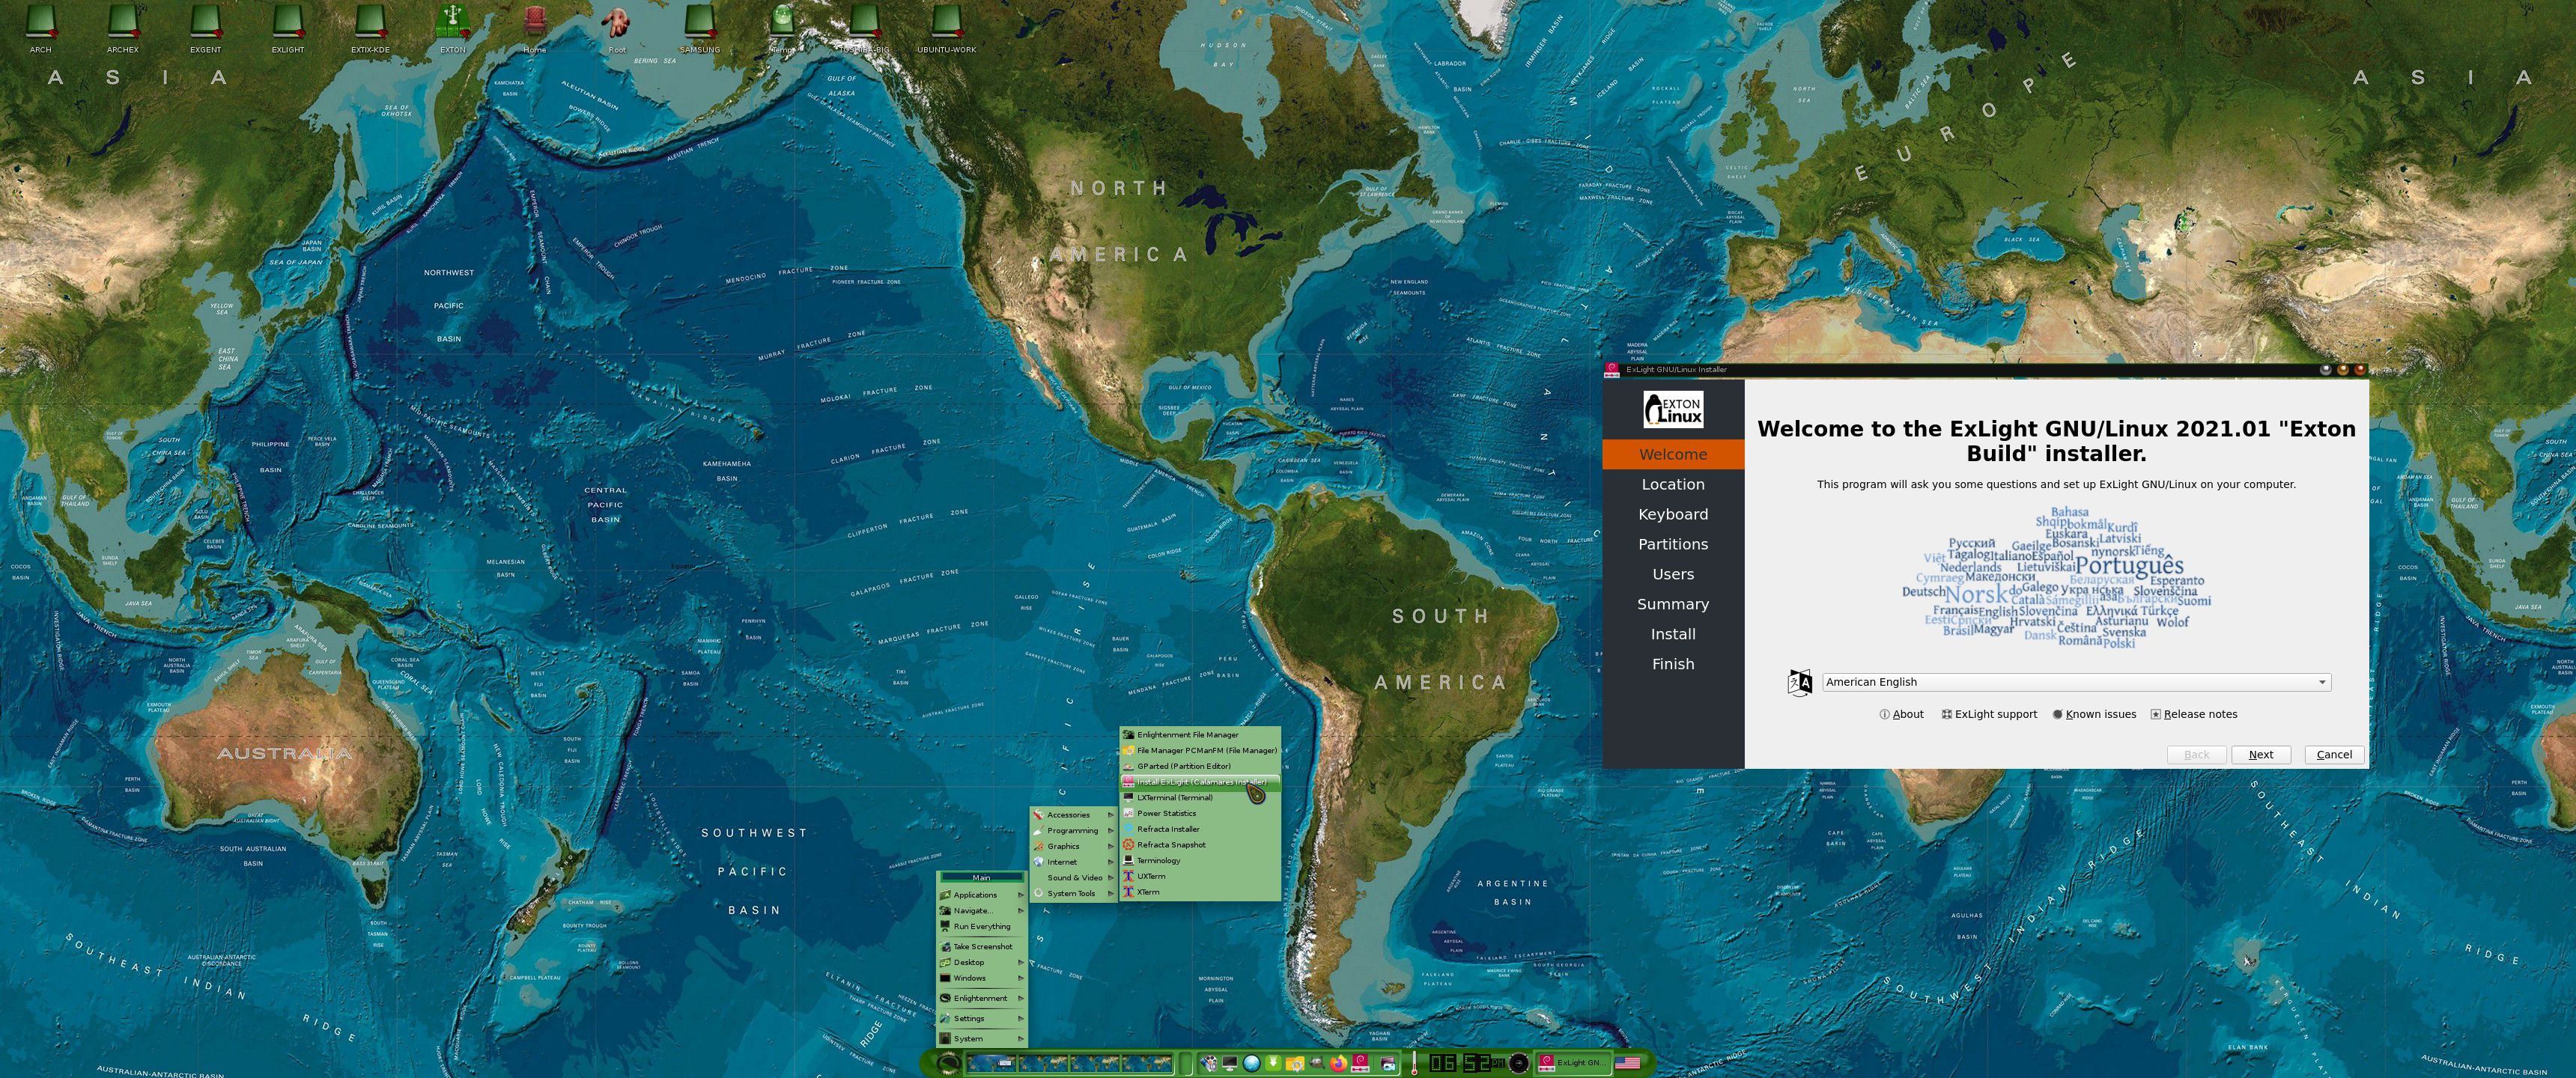
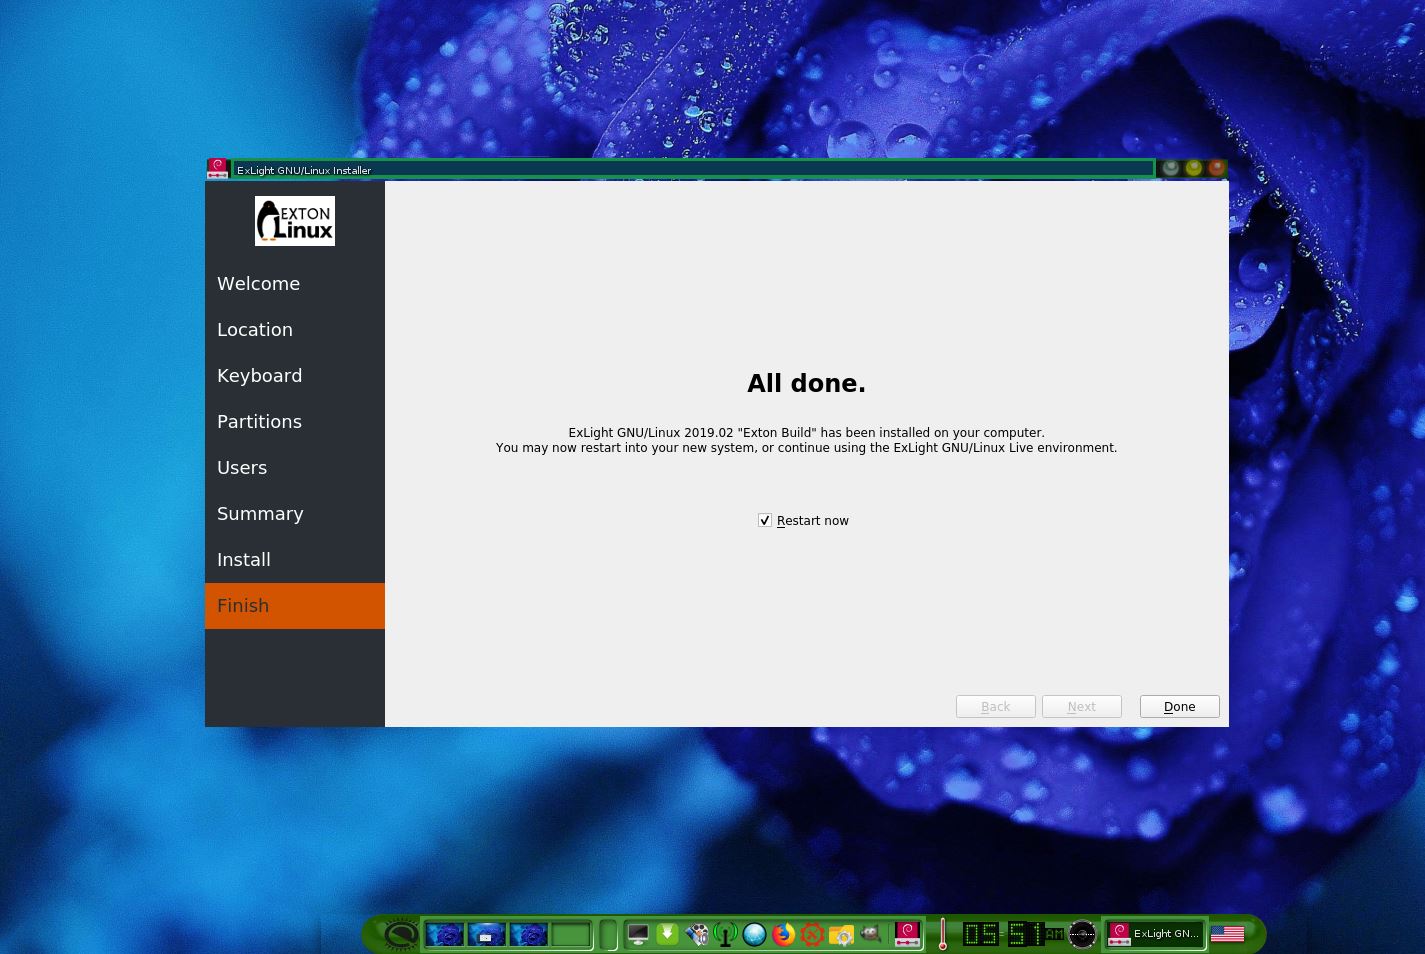
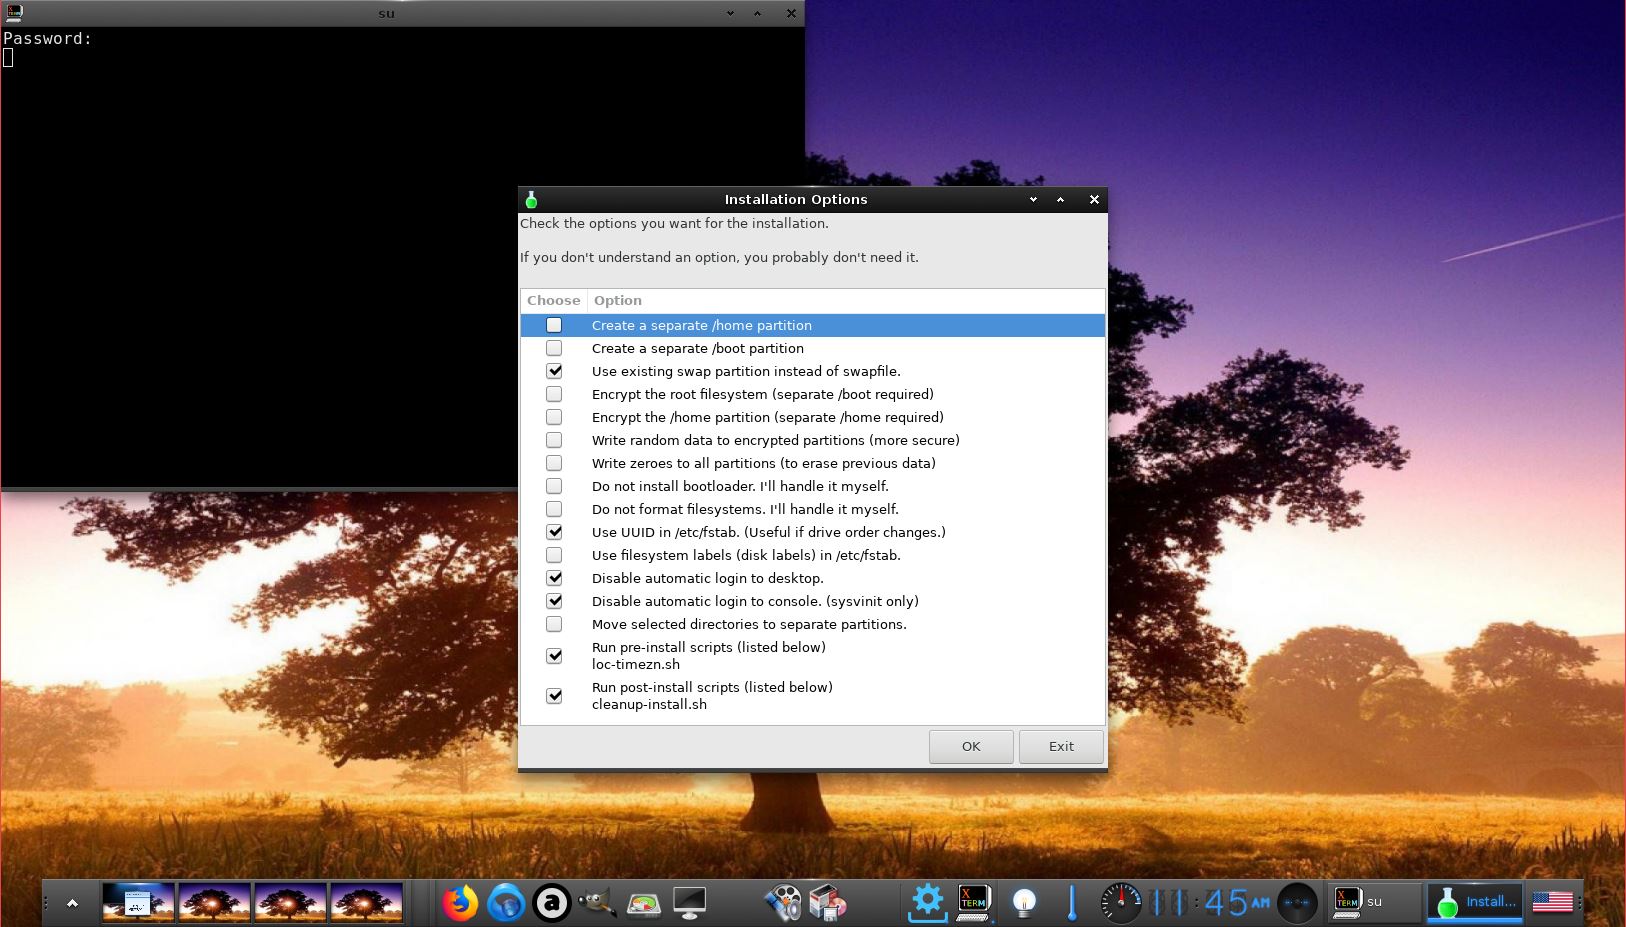
6. This version of ExLight uses the Calamares Installer. Very simple to use! A new user (your user) will be created during the installation process. You can also install ExLight in your preferred language. You can as an alternative use Refracta Installer.
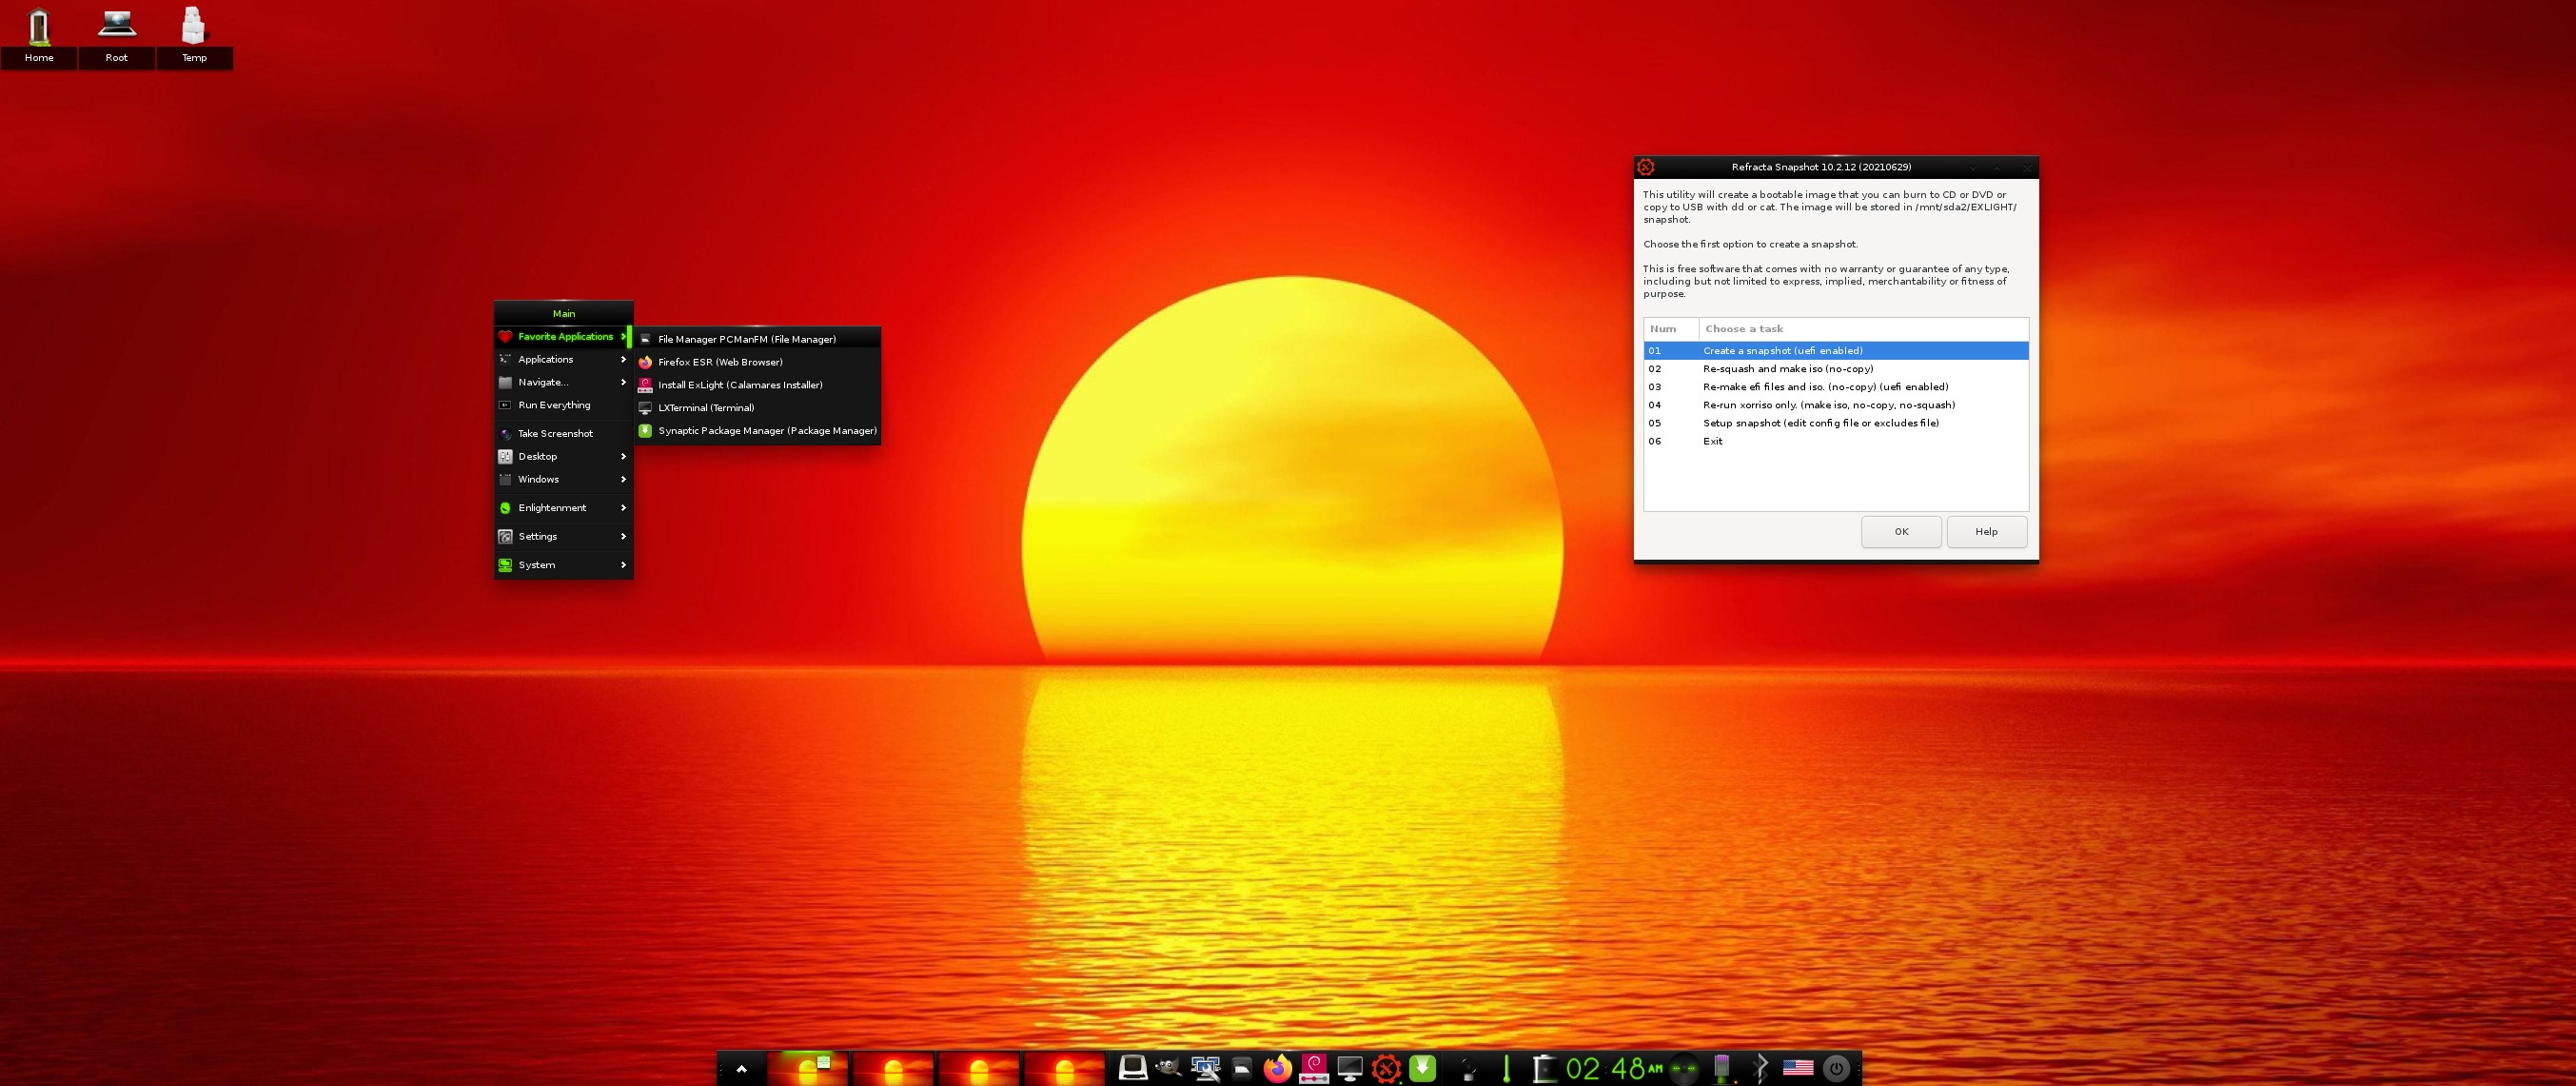
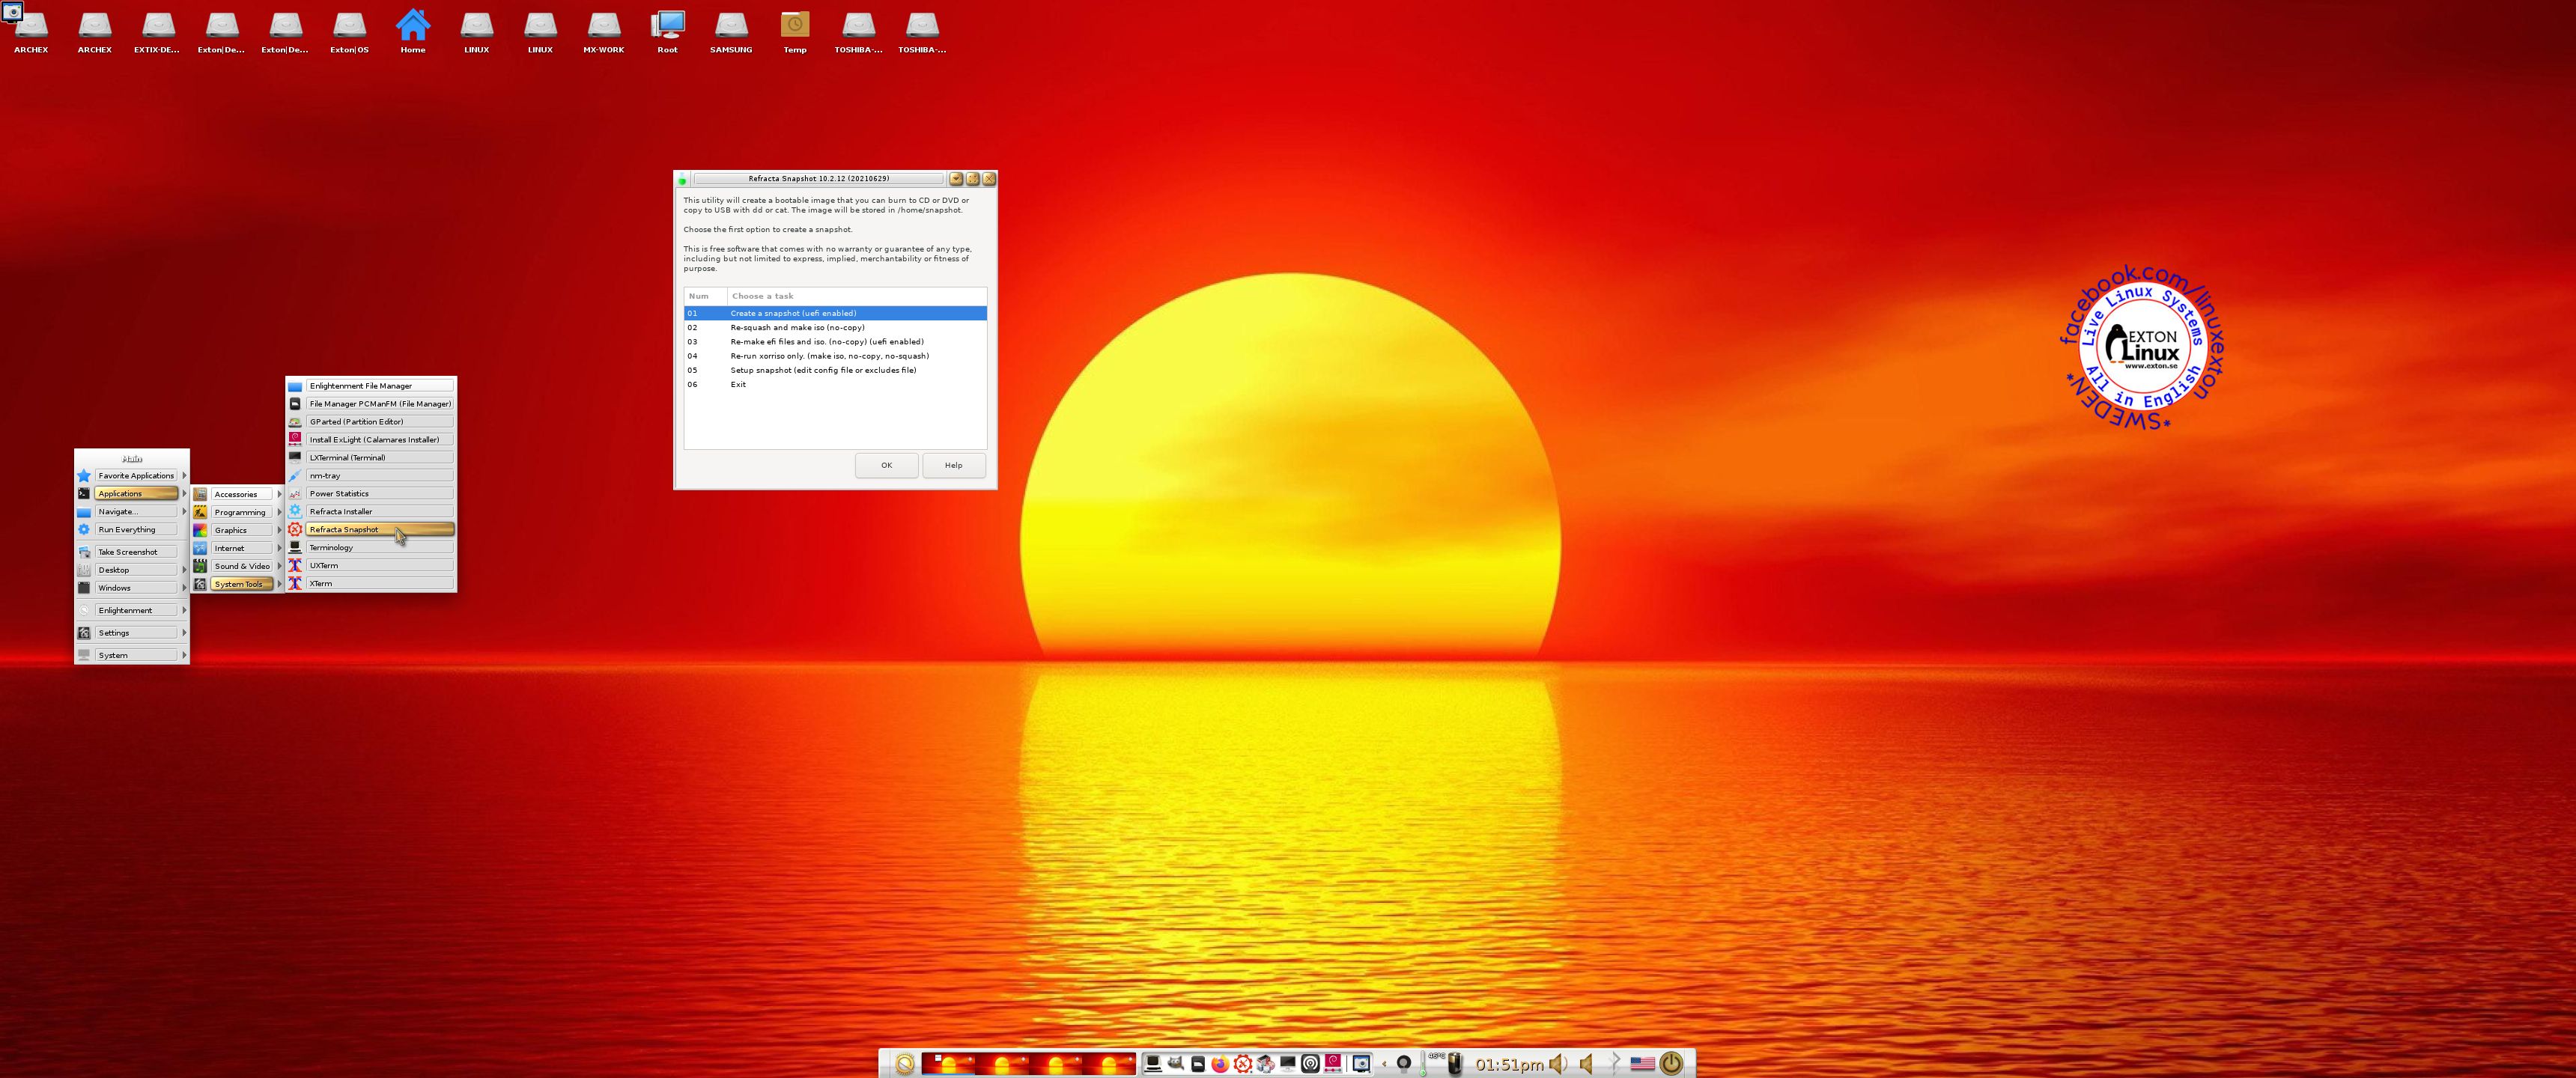
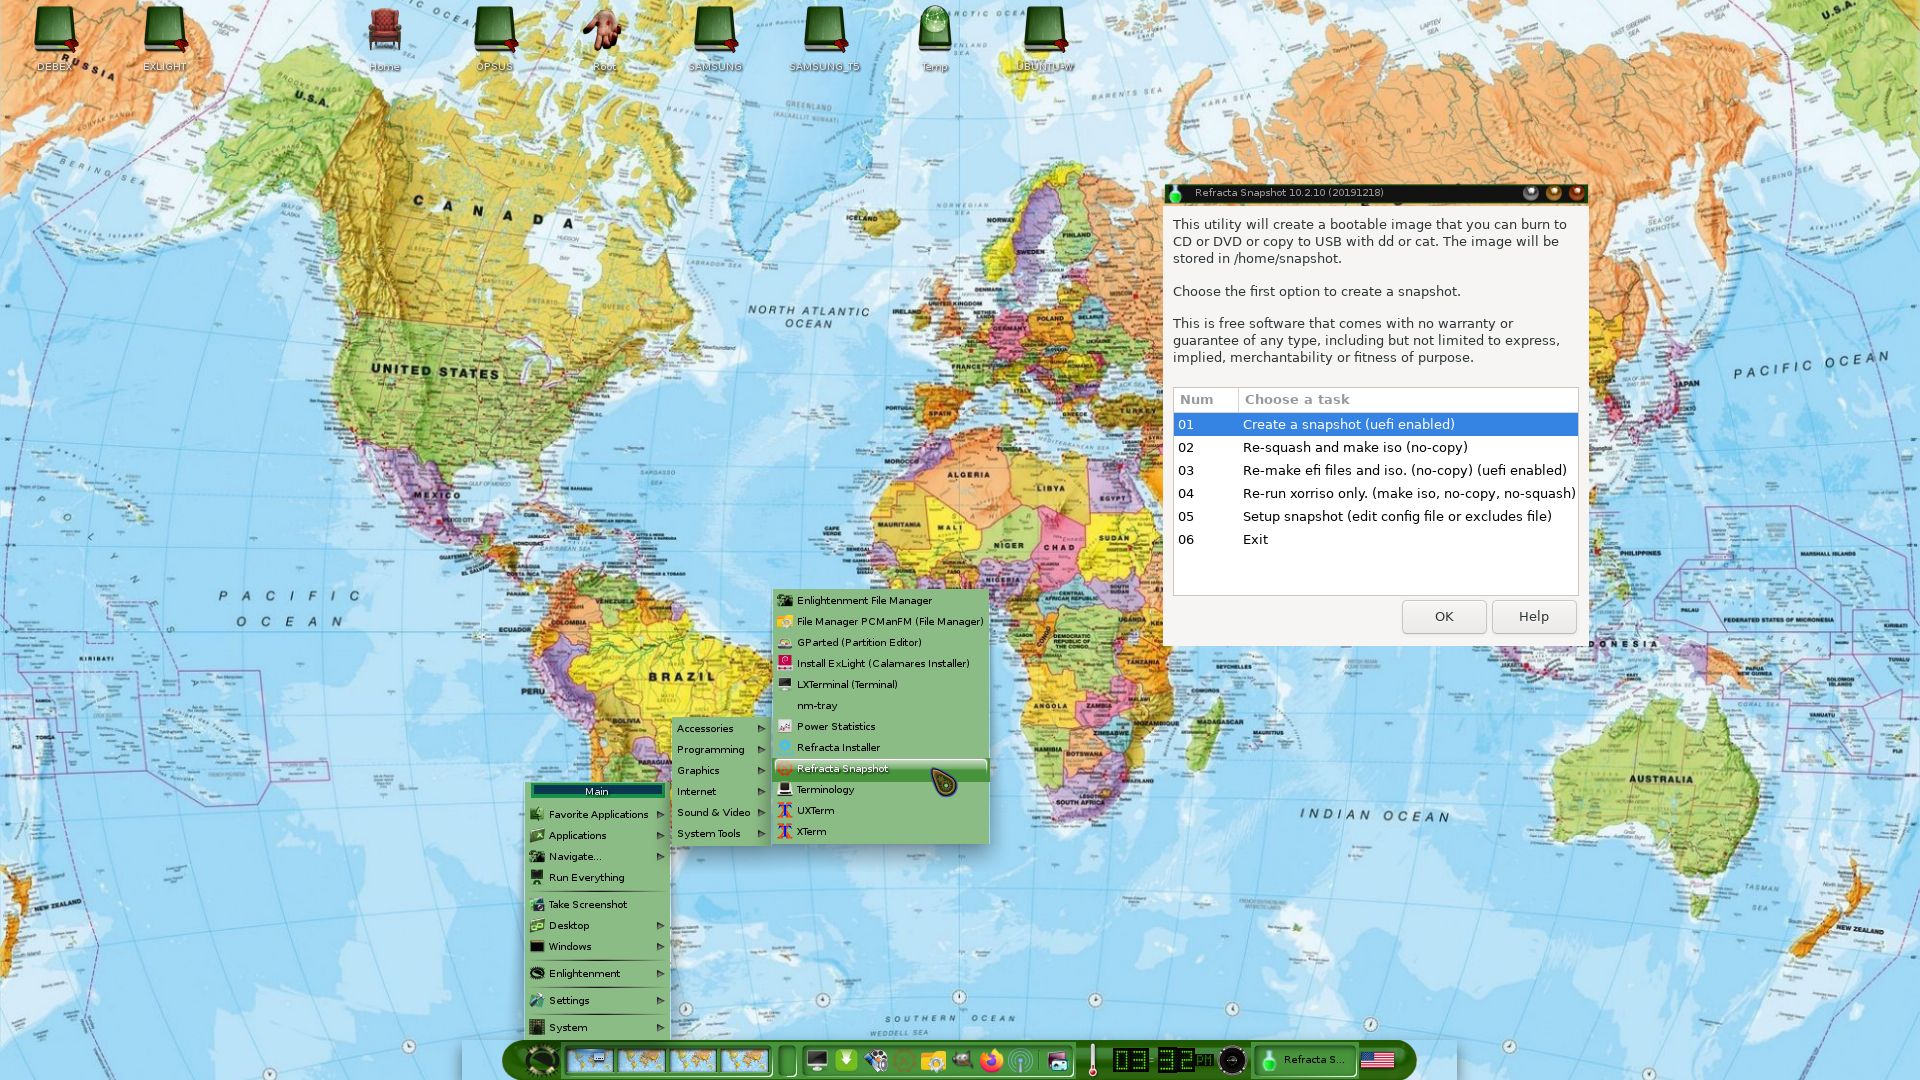
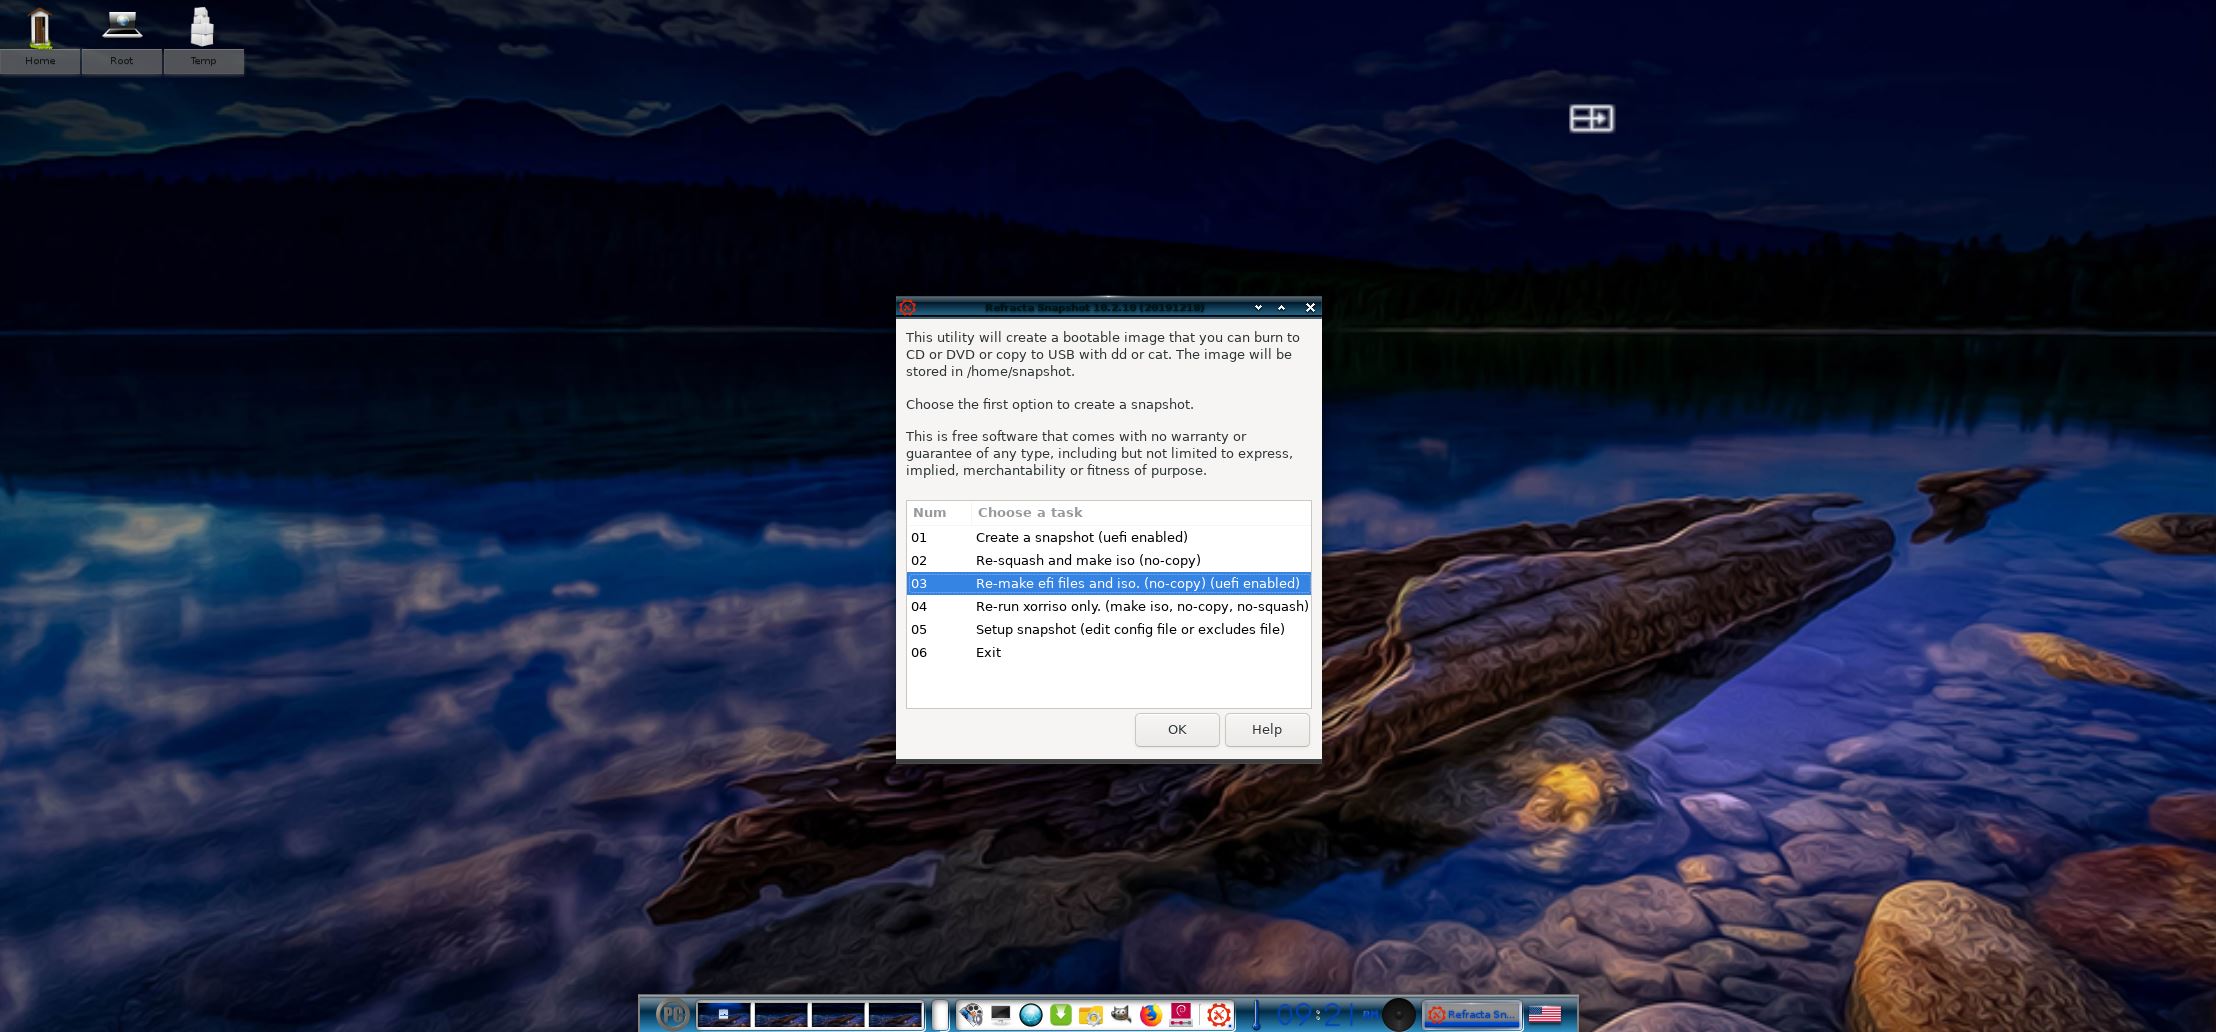
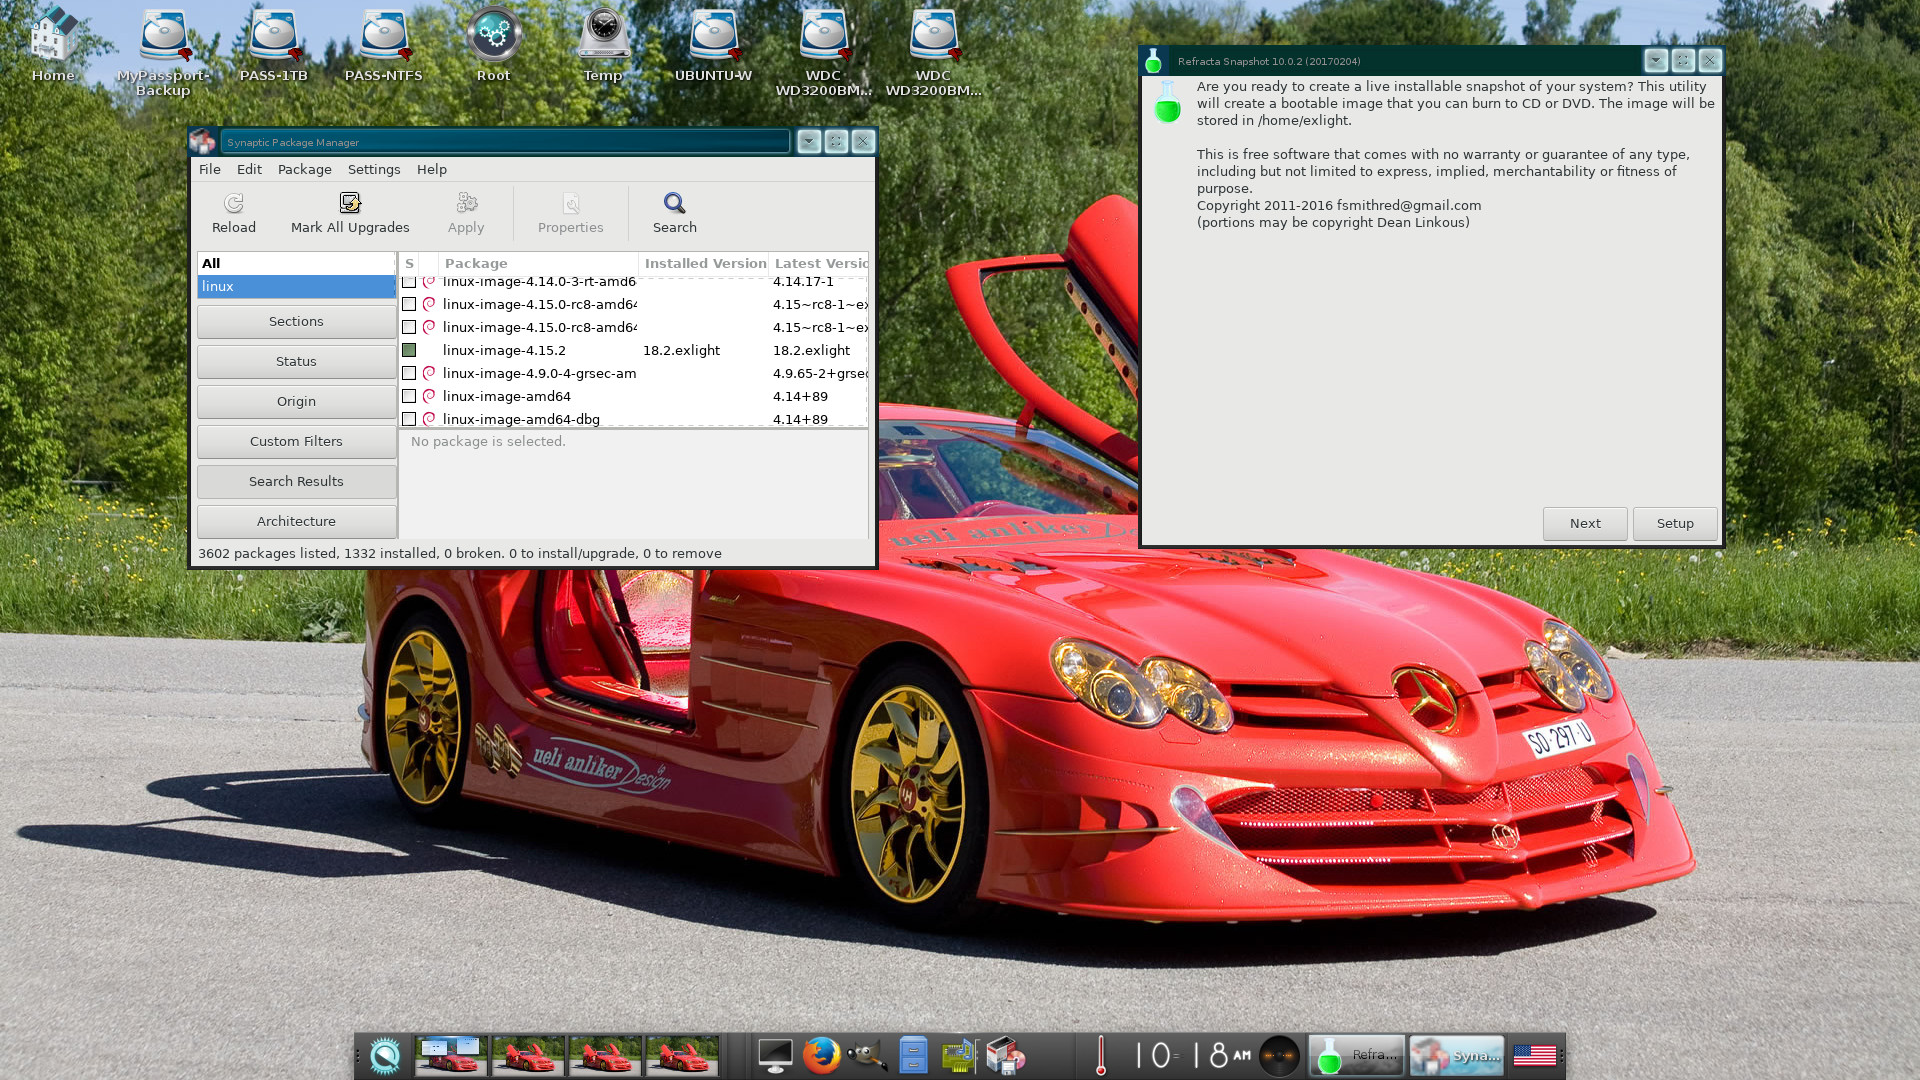
7. MOST IMPORTANT: I’ve added Refracta Snapshot, which make it possible for you to create your own live installable Debian Sid/Trixie system. I mean change everything to your liking, fire up Refracta Snapshot and wait 10 – 20 min until your new ISO is ready!
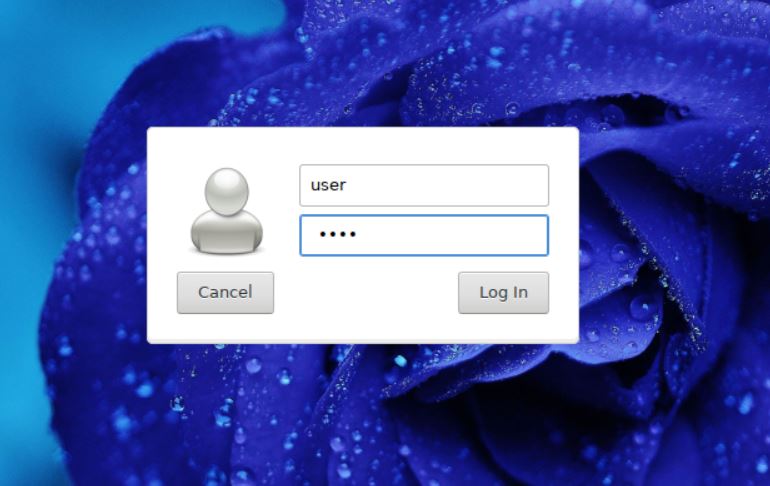
LOGIN and passwords
When you start up from the DVD or USB stick you will end up in Enlightenment logged in as the ordinary user user if your computer is “fairly new” – see above. You can log out from root’s Desktop screen and log in as root if you want. The password for the ordinary user user is live. The password for root (superuser) is root. NOTE: After a hard drive installation using Calamares the root password will be gone. To fix it log in as user with password live and run the command sudo passwd root.
VirtualBox and VMware
You can’t run ExLight Build 240614 in VirtualBox or VMware for some unknown reason. The system works very well in Qemu in Linux though. Using Qemu is the best way to run any Linux system virtually.
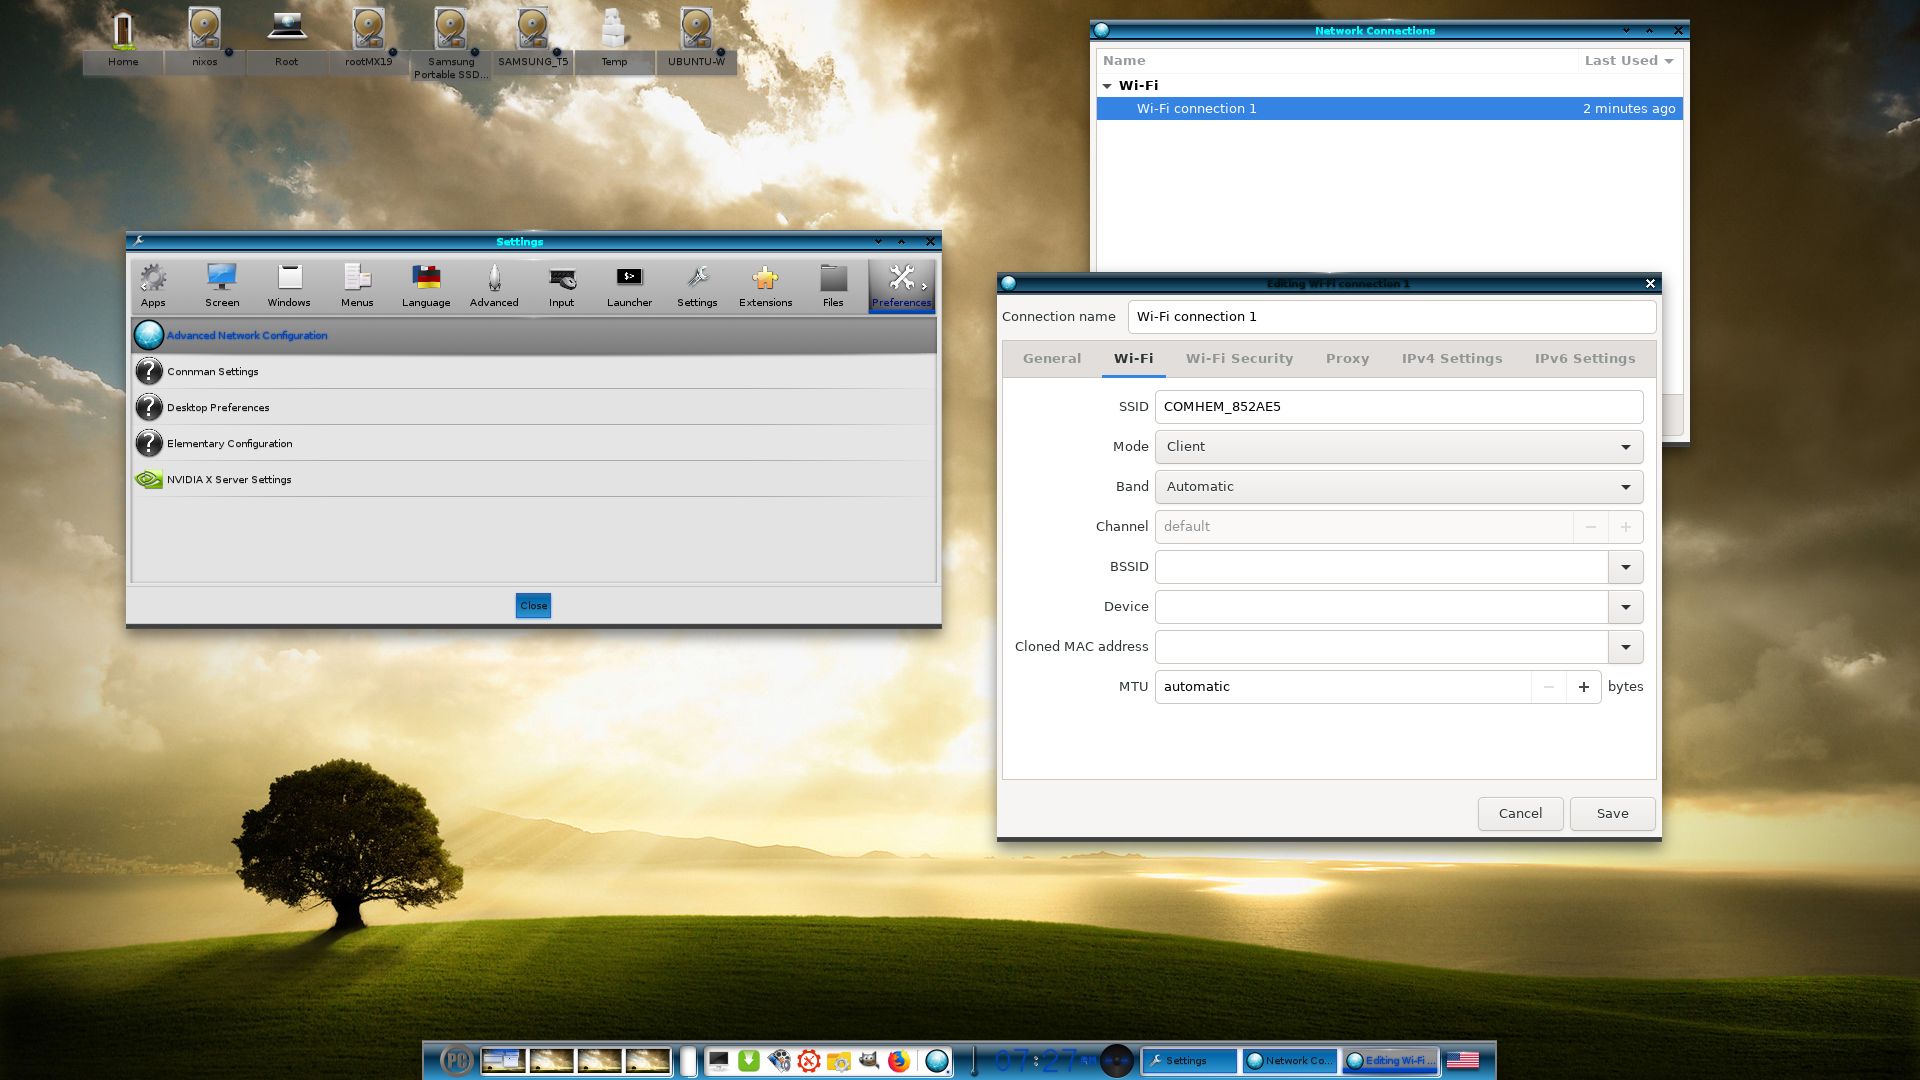
WIRELESS connections
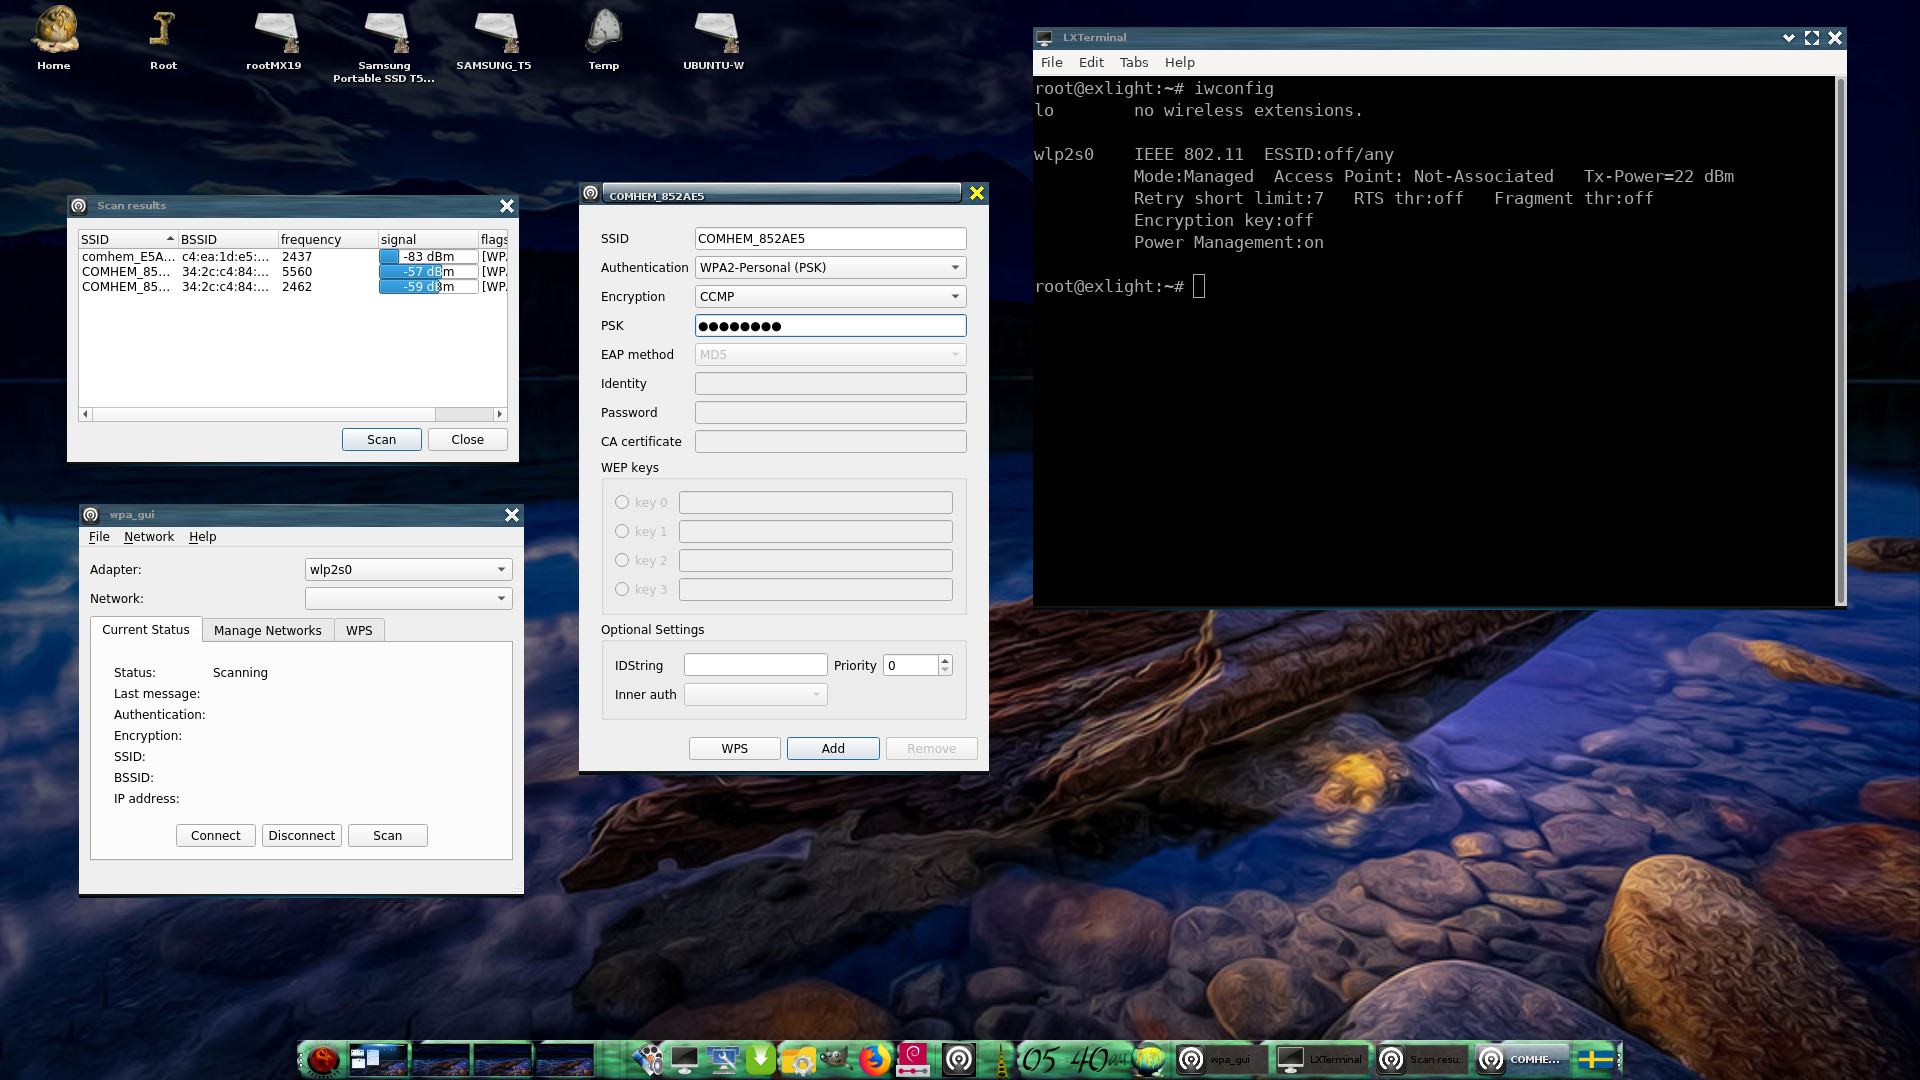
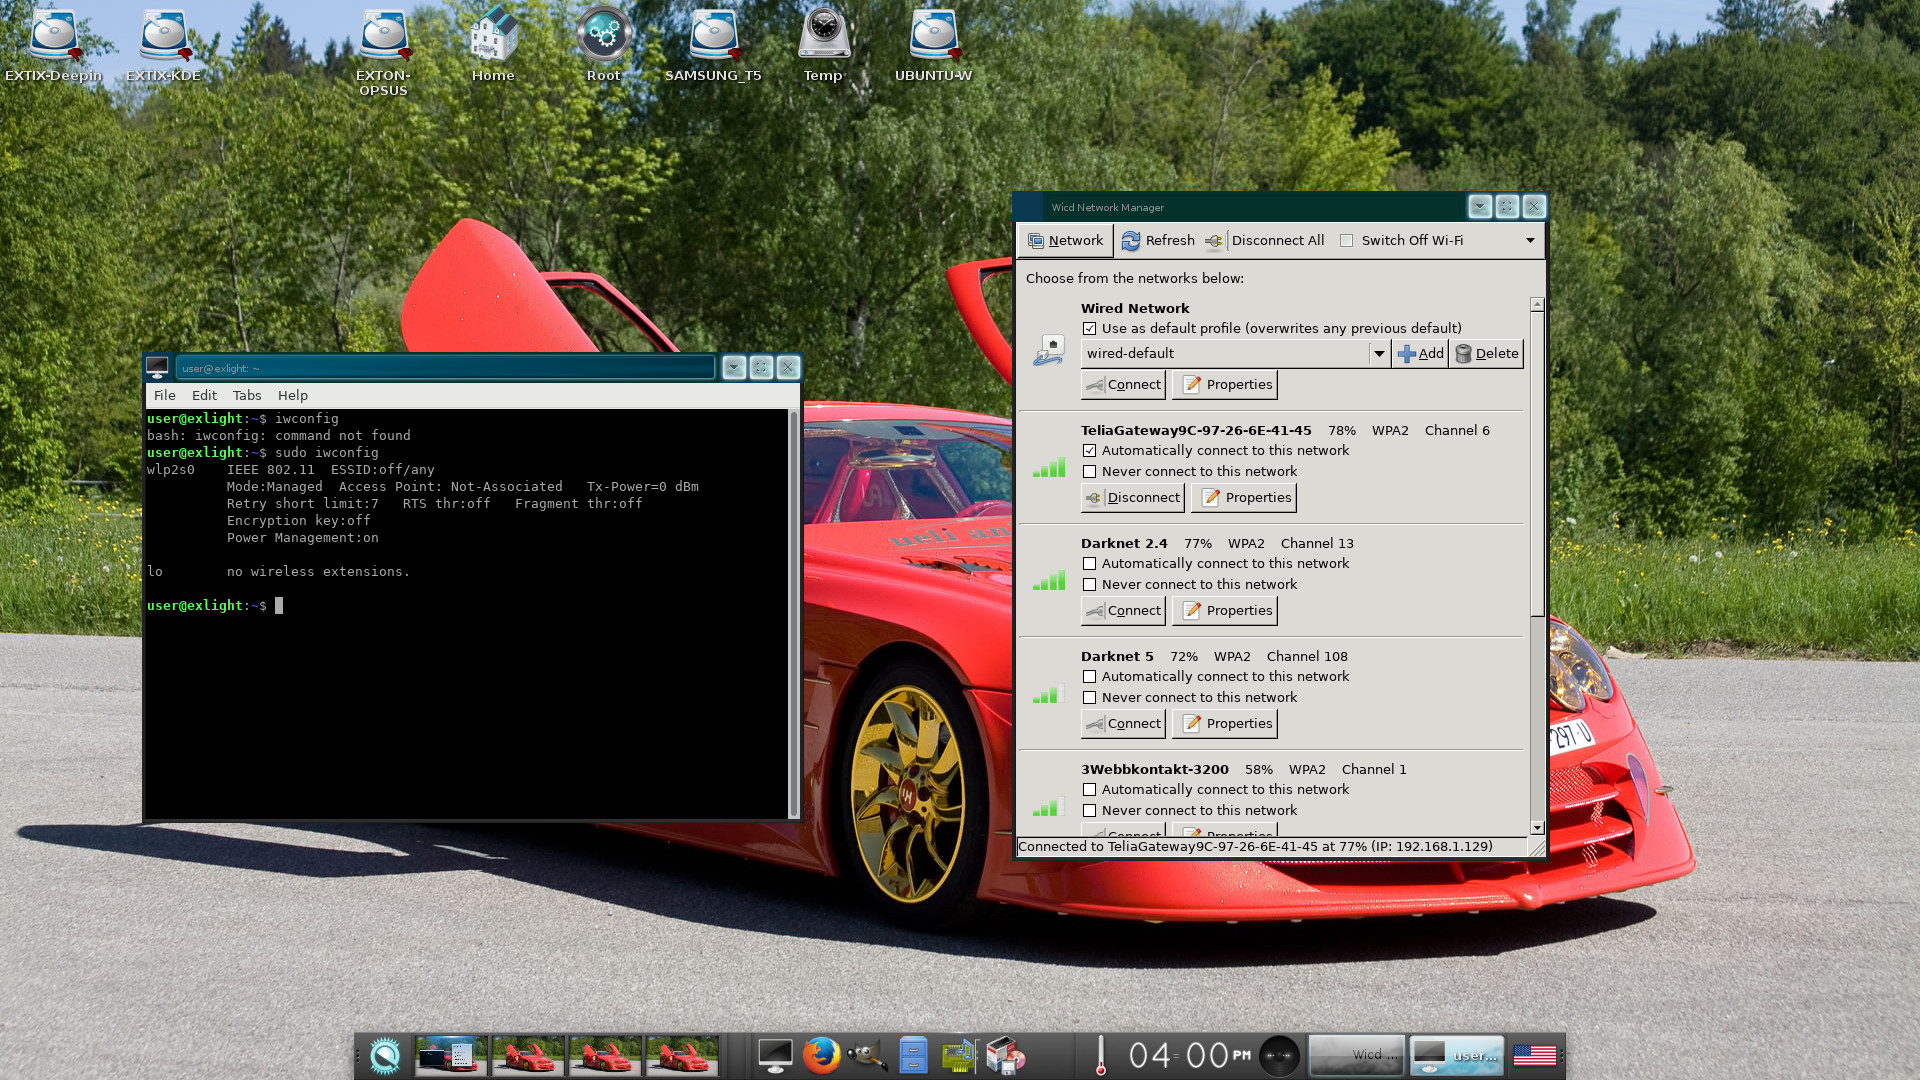
In Build 240614 NetworkManager, WPA supplicant and ConnMan are installed. Use the one you prefer.
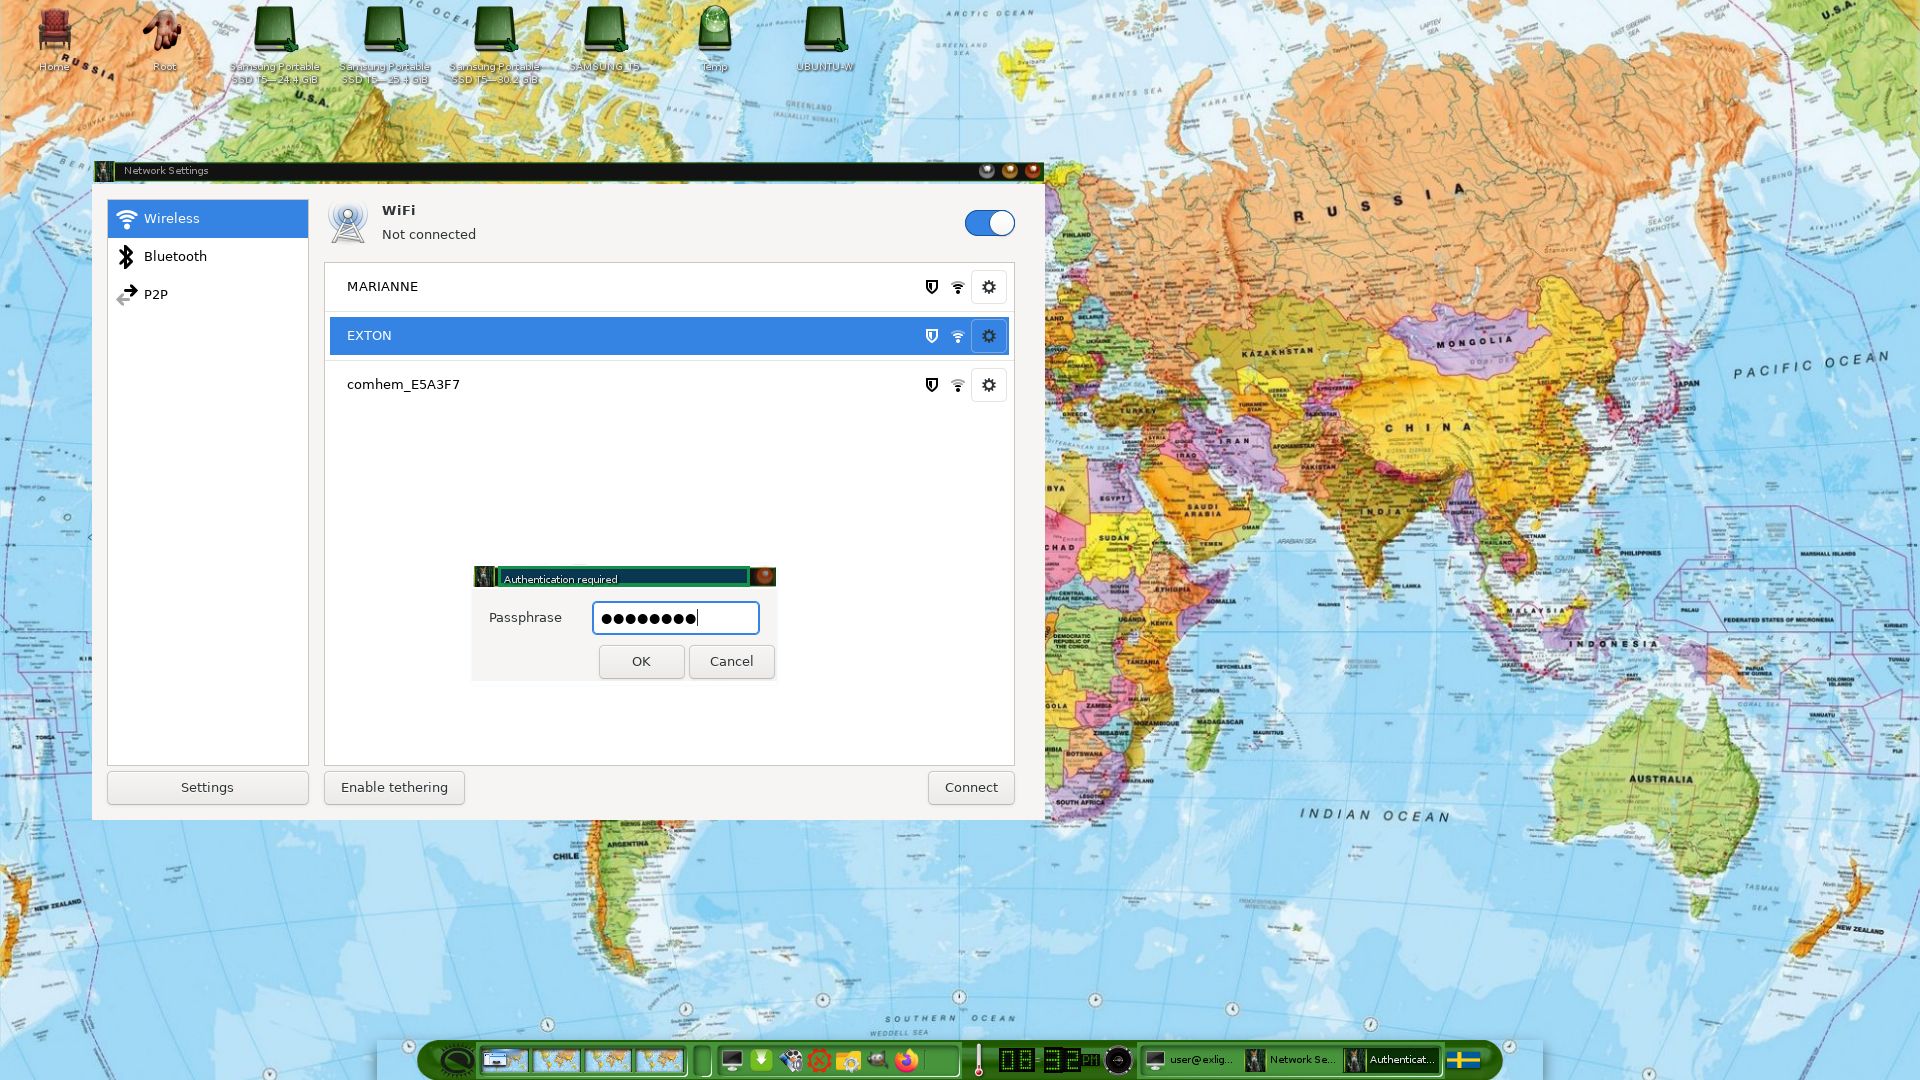
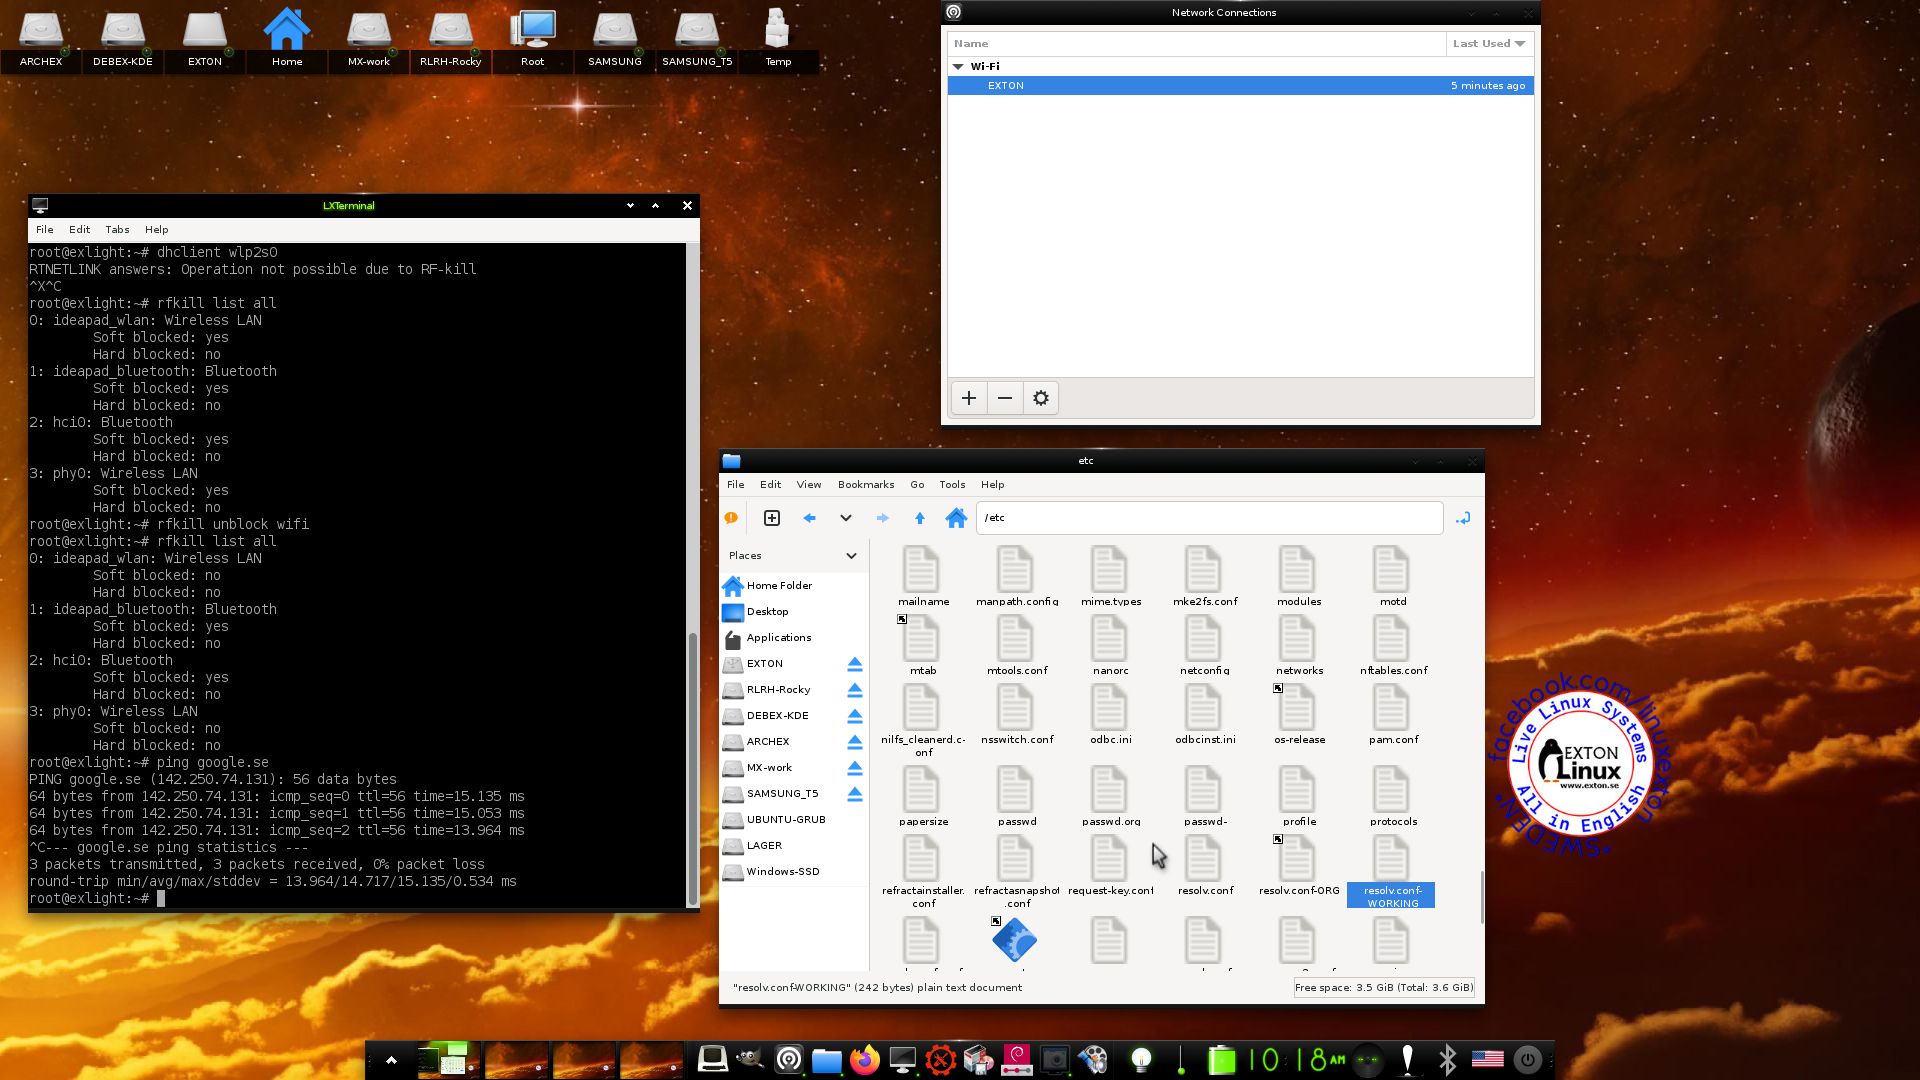
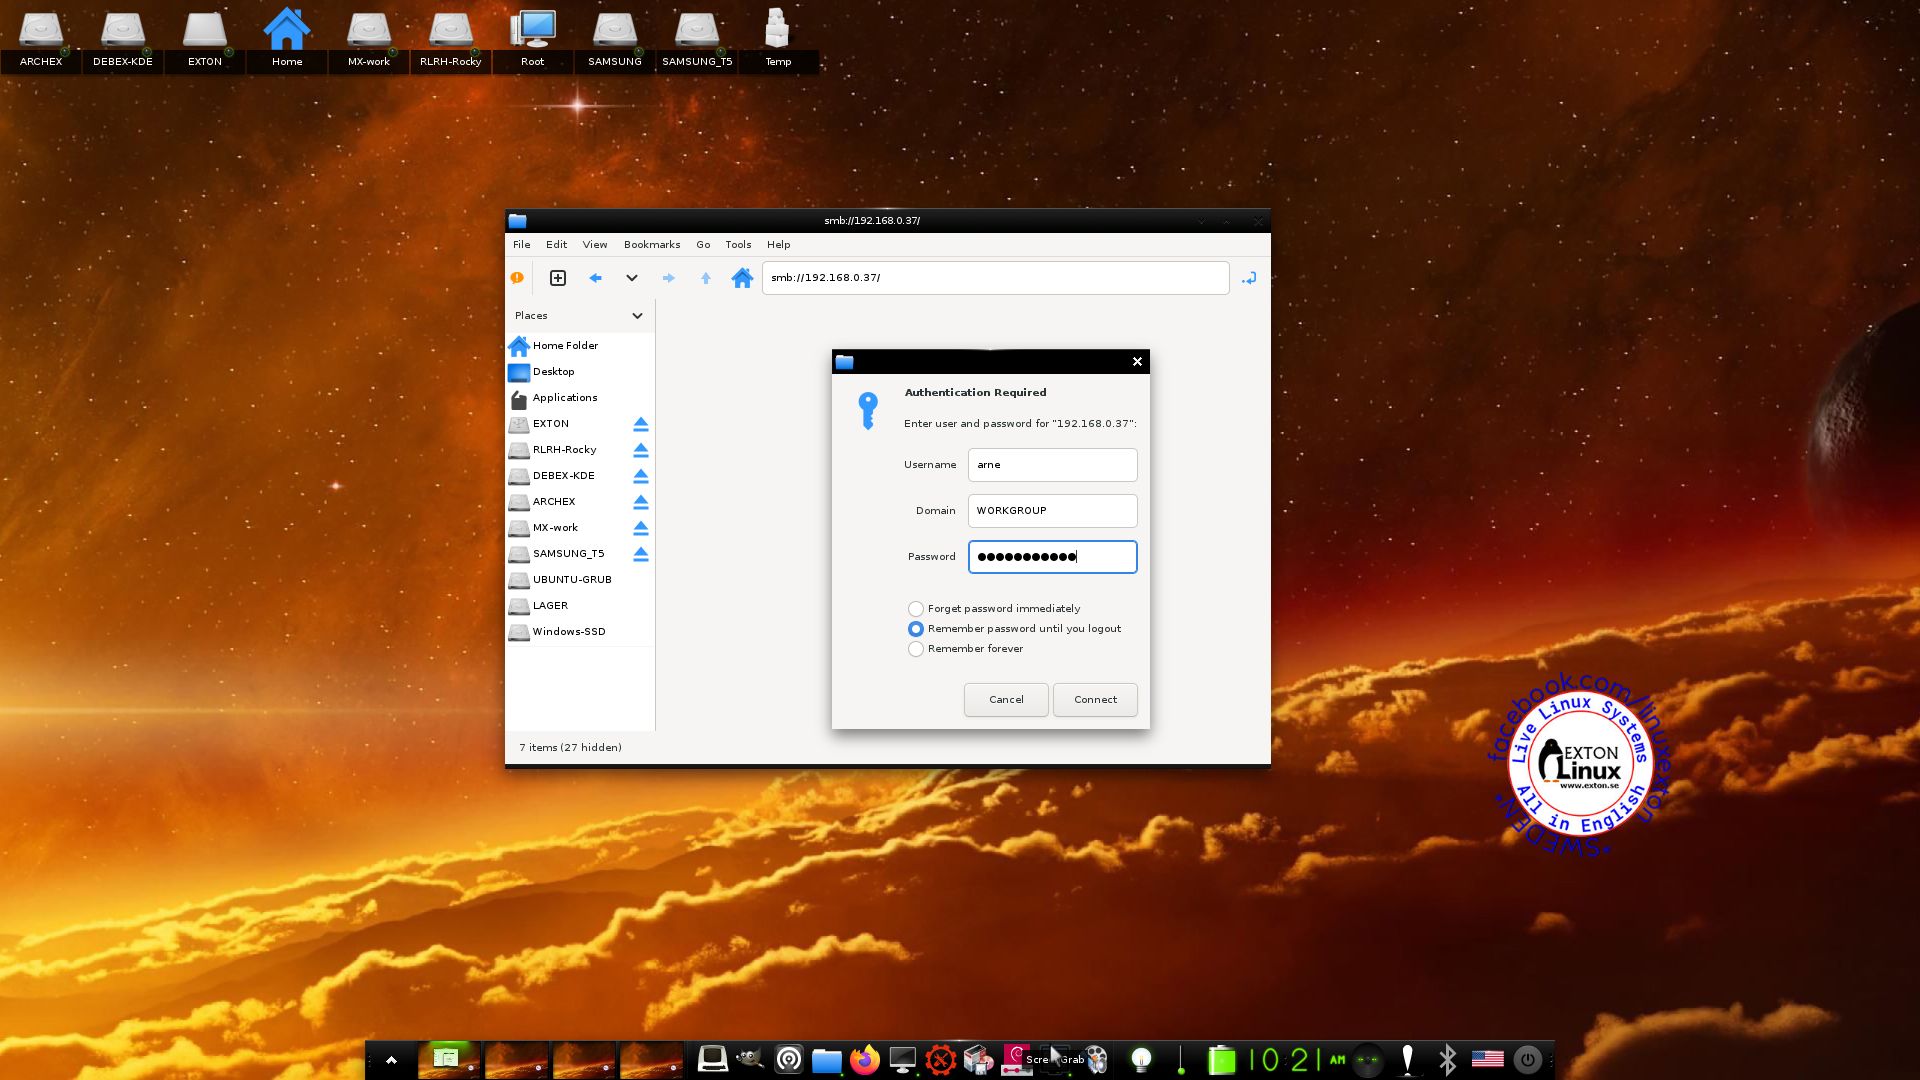
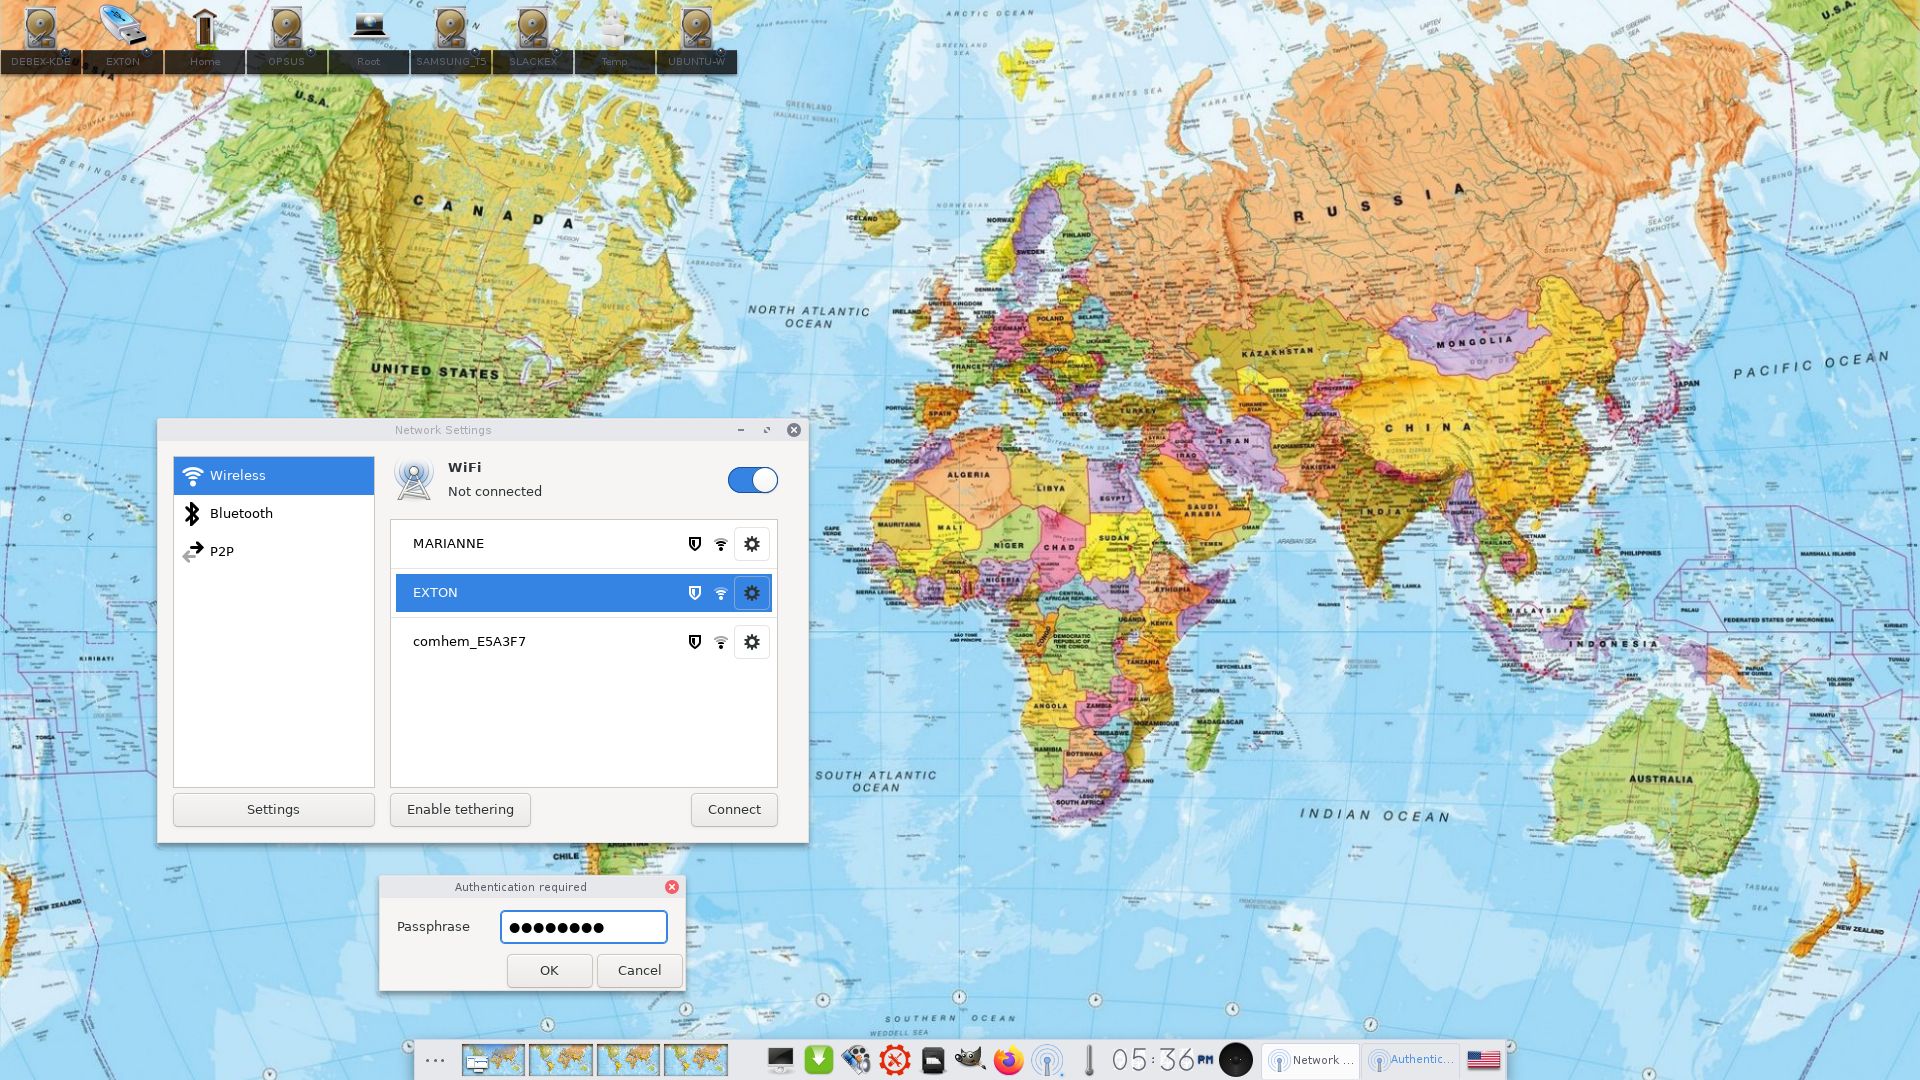
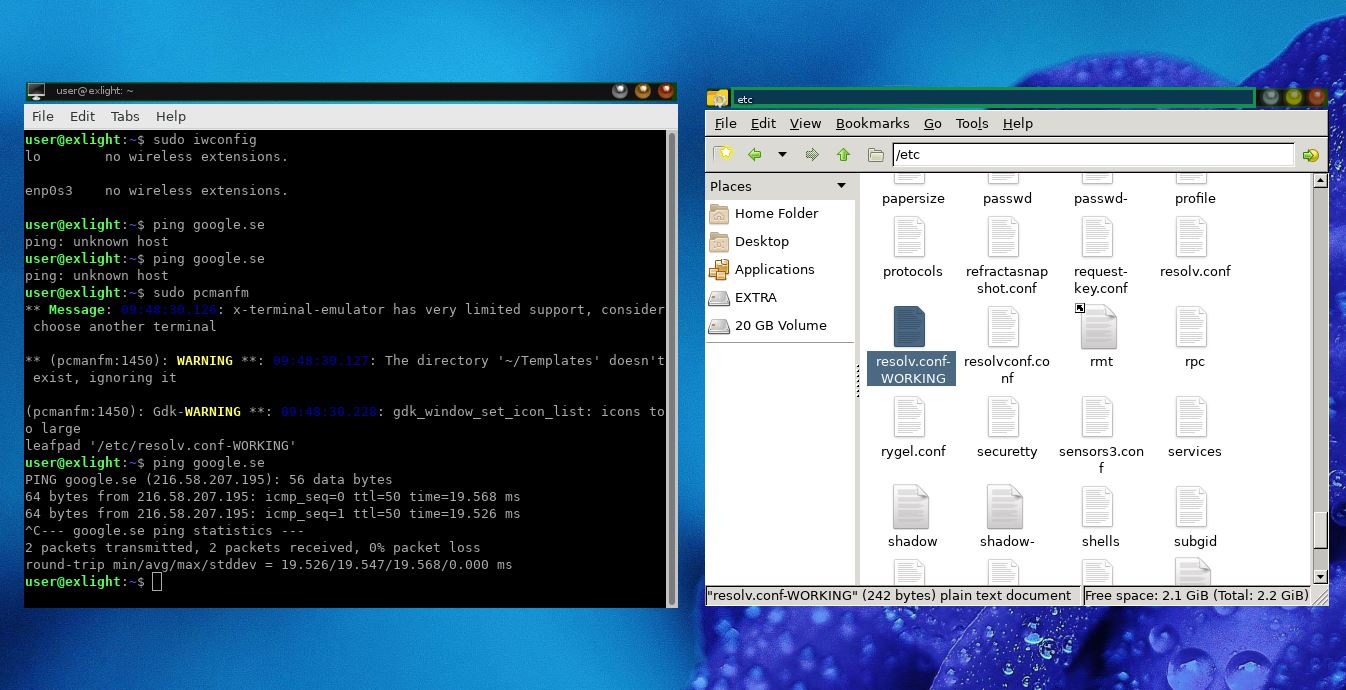
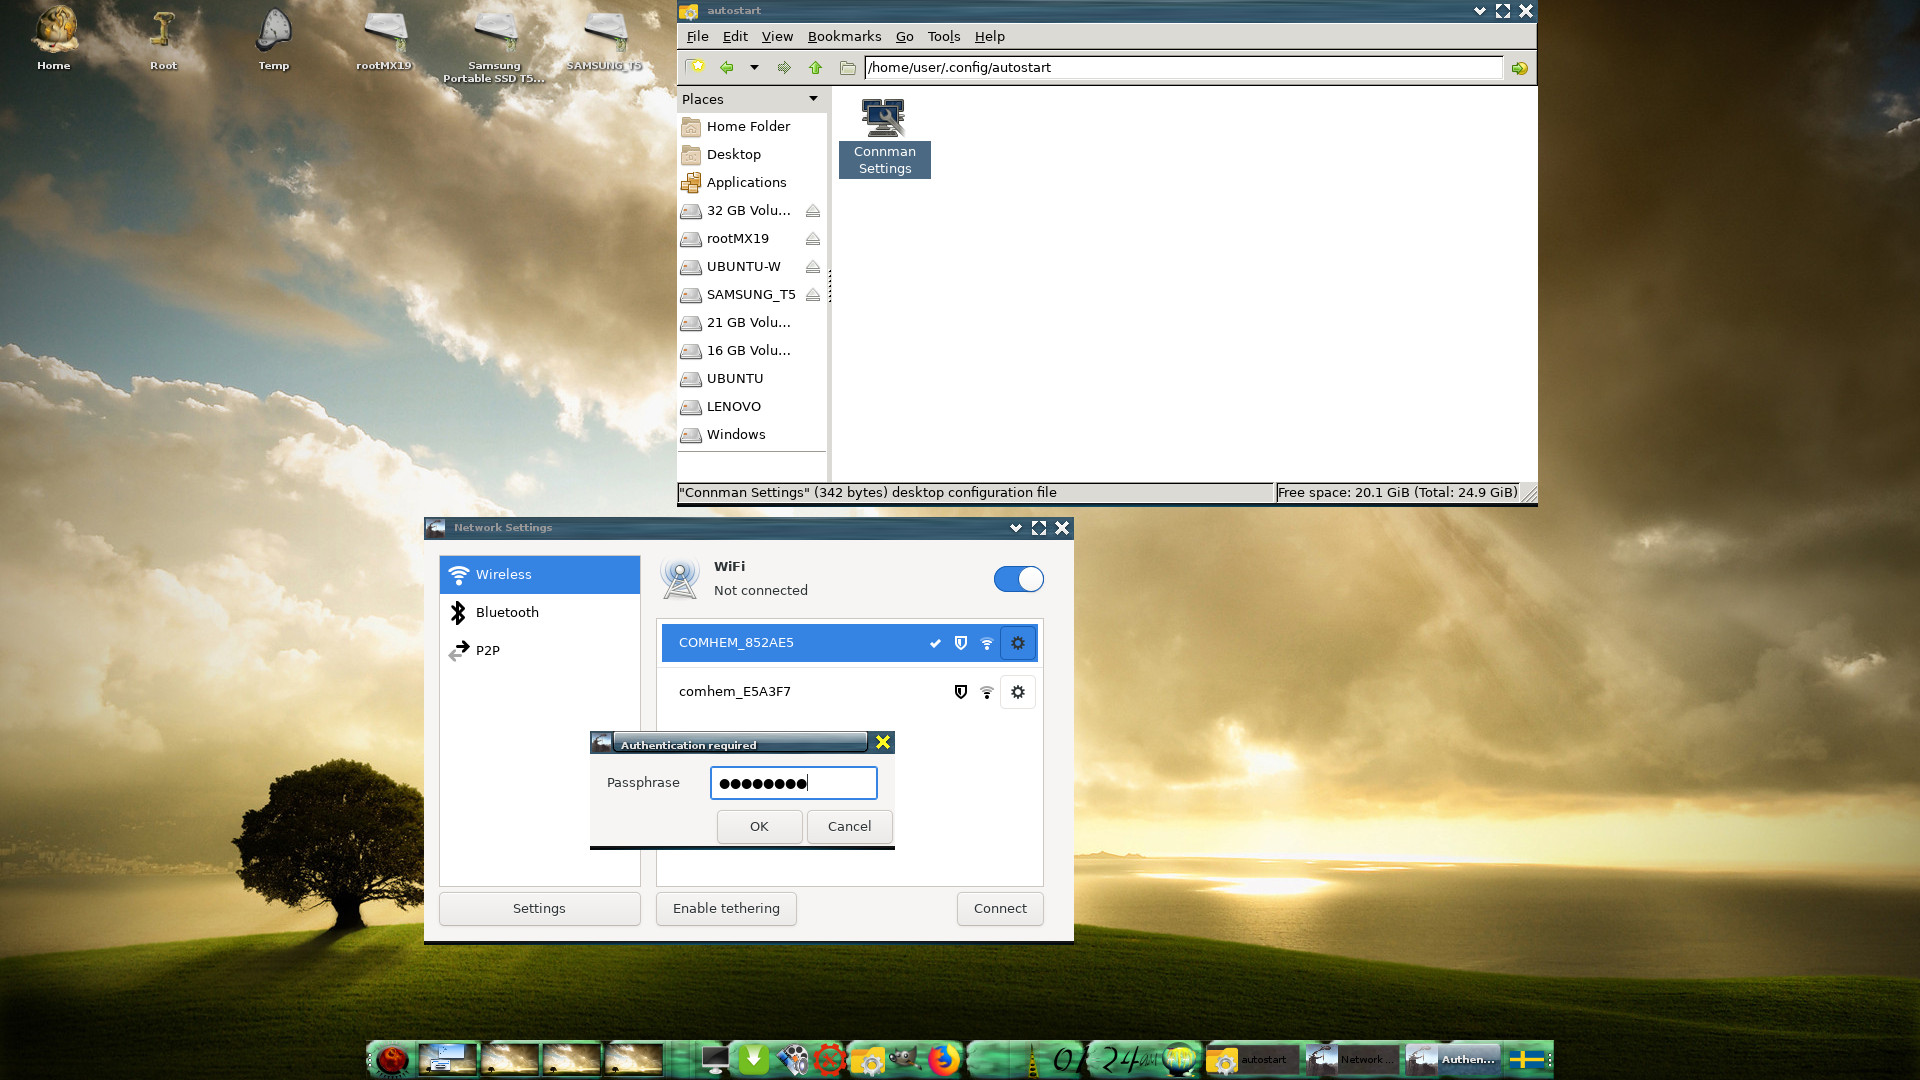
NOTE1: Study /etc/resolv.conf-WORKING and change it (if necessary) to suit your needs – screenshot. Keep a copy of resolv.conf-WORKING before you change the filename. Watch a screenshot showing how to use NetworkManager.
NOTE2: For WiFi connections you should use NetworkManager logged in as root.
NOTE3: On some computers it can be necessary to unblock WiFi before you can connect. Do it with the command rfkill unblock wifi
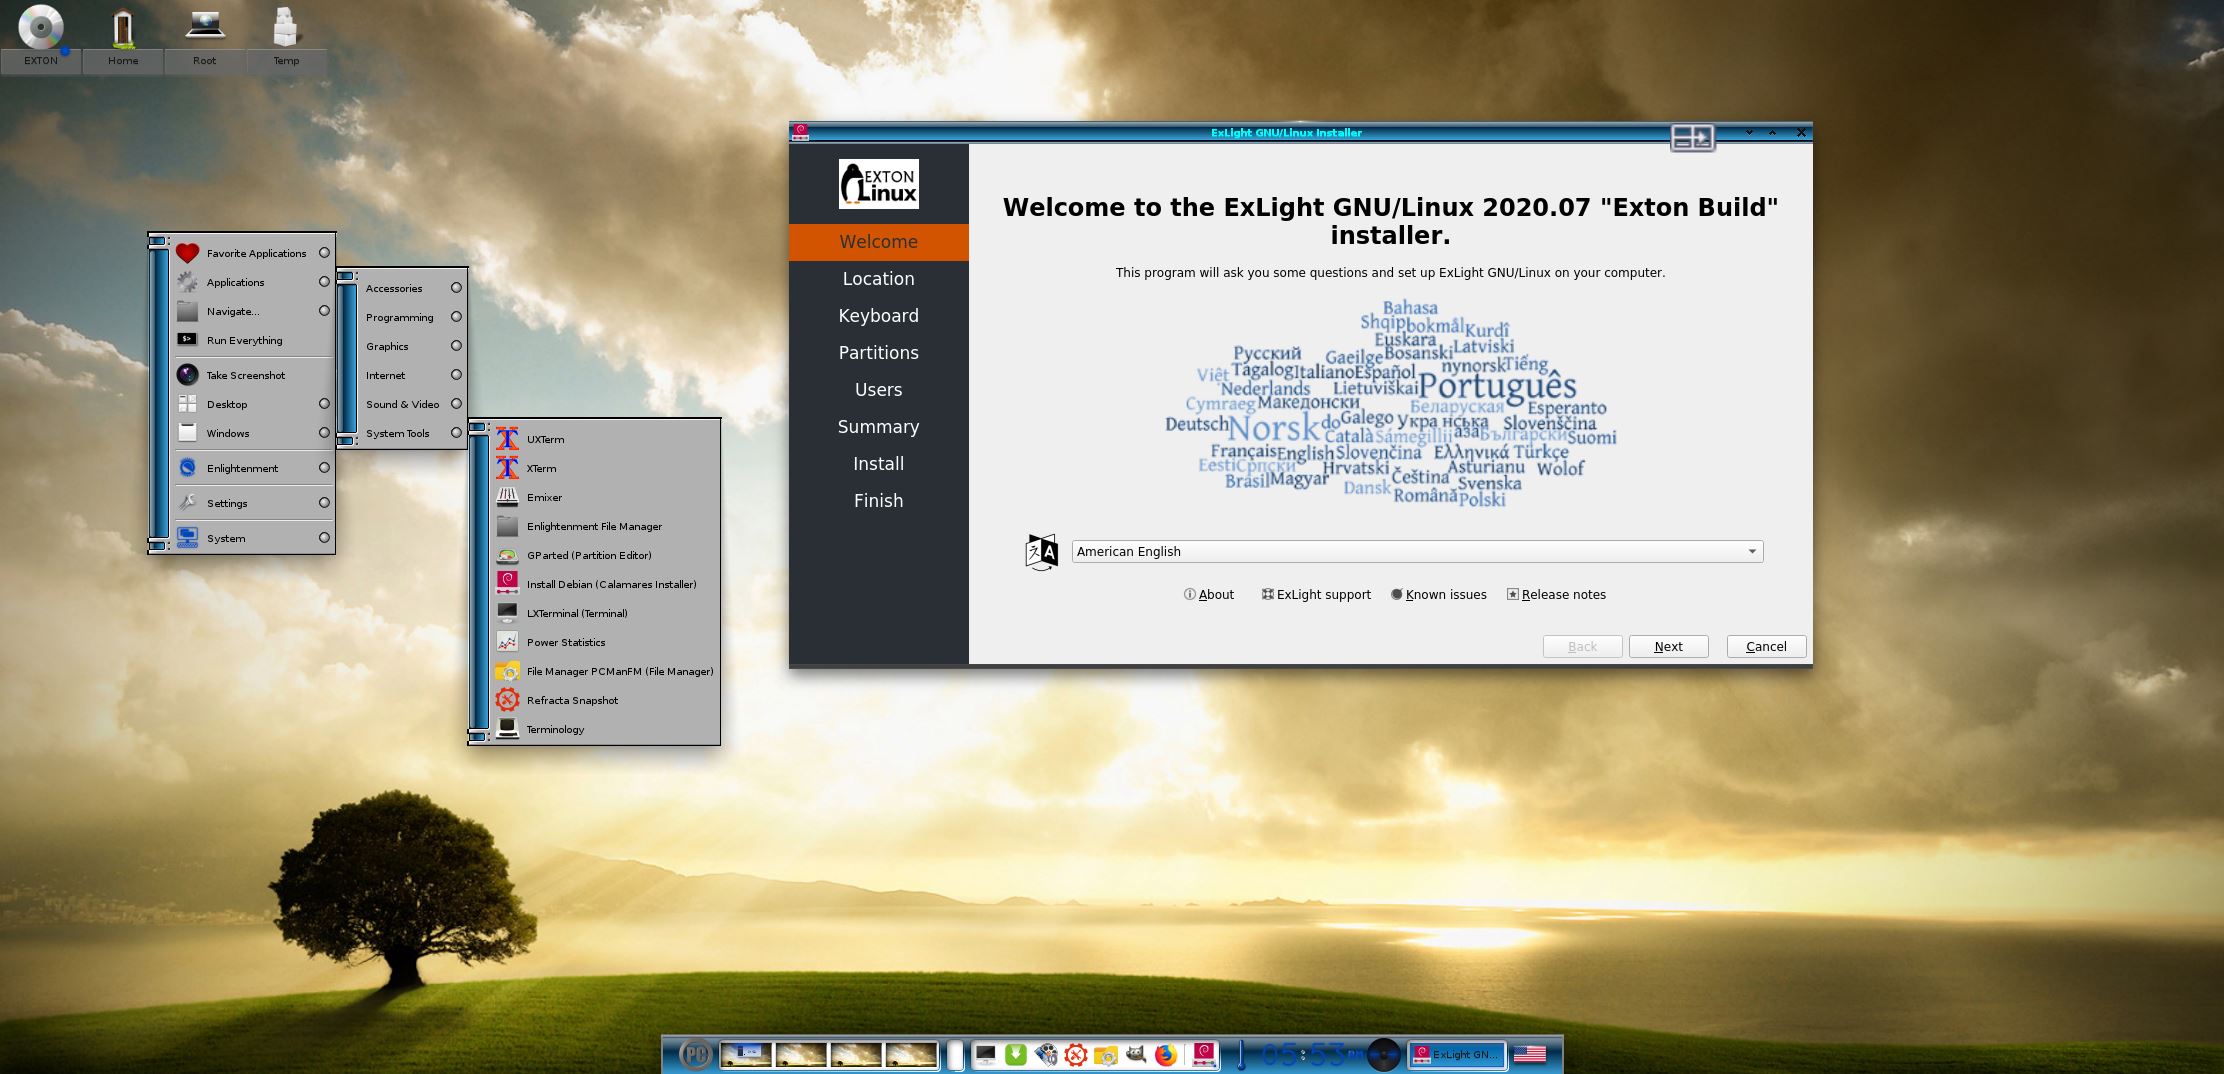
MOVIE about Calamares Installer
Watch a movie about the Calamares installation process in VirtualBox. You can use the Calamares Installer Framework to install ExLight to your computer in any language. You can even use Calamares in VirtualBox and VMware – i.e. non-efi computers. (Unfortunately not in this version of ExLight). Watch this animated GIF. (It’s for DebEX Budgie, but works in the same way in ExLight).
Or watch this slideshow.
Spotify
You can easily install Spotify in ExLight (even while running the system live). Just run the command sudo apt update followed by sudo apt install spotify-client.
Important about Refracta
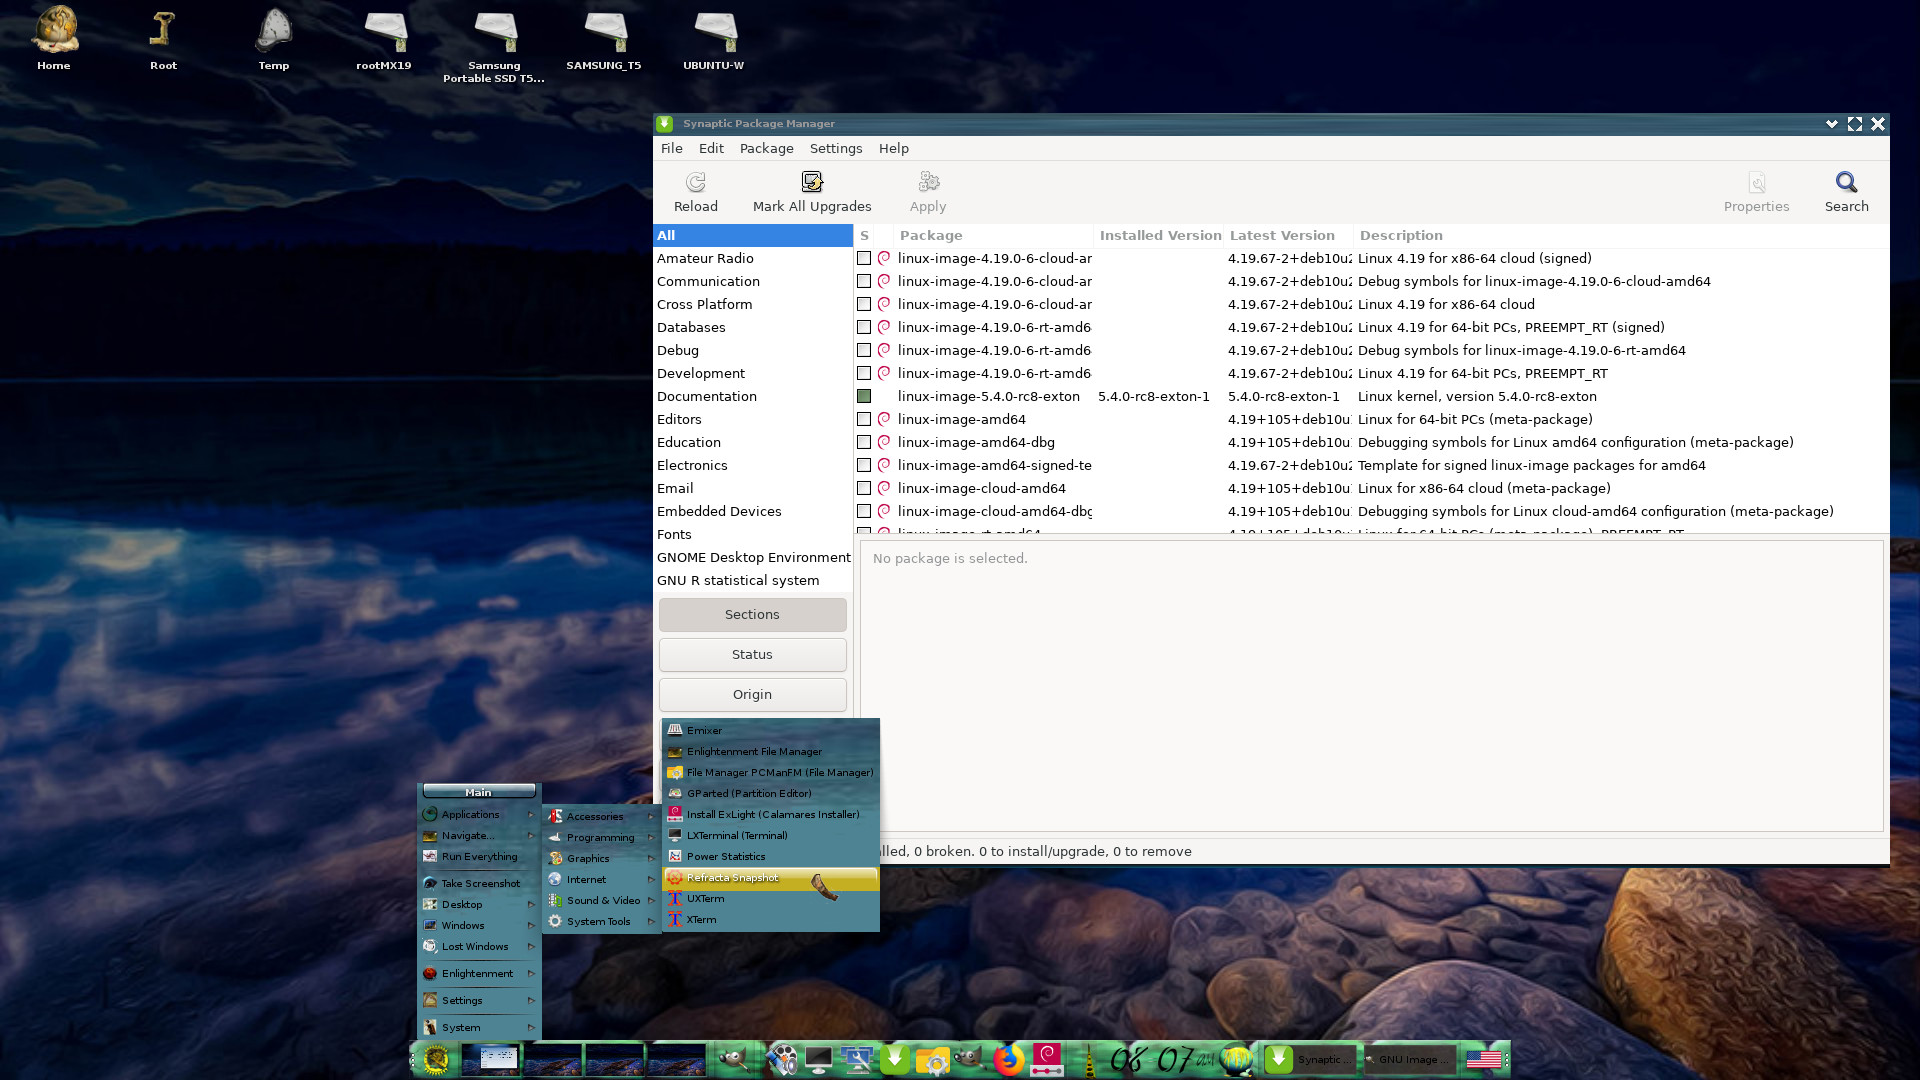
You can use Refracta Snapshot (pre-installed in ExLight) to create your own installable Debian Sid/Trixie Live System once you have installed ExLight to hard drive. I mean change everything and then create a whole new Debian live system. When you start Refracta Snapshot it will look like this. You don’t even have to install ExLight to hard drive before you can use the Refracta Snapshot. If you have plenty of RAM you can create a new (your own!) Debian system while running ExLight from DVD or a USB stick. Please note that the whole Refracta process (creating your new ISO) only will take 10 – 50 min! You’ll find the ISO in /home/snapshot. Or change that by editing /etc/refractasnapshot.conf. NOTE: You may have to run Refracta Snapshot in three steps (1 – 3) before your new ISO is ready.
THE REAL McCoy
ExLight is a pure Debian system. I.e. no traces of Ubuntu, Kubuntu etc. New releases of Ubuntu are always based on Debian Sid. So is ExLight.
KNOWN ISSUES
After a hard drive installation using Calamares Installer (Not Refracta Installer) you’ll have three “problems”.
1. /etc/apt/sources.list will be different. Replace it with the file sources.list-use-after-install
2. The root password will be gone. Fix it by logging in as the ordinary user user and run the command sudo passwd root.
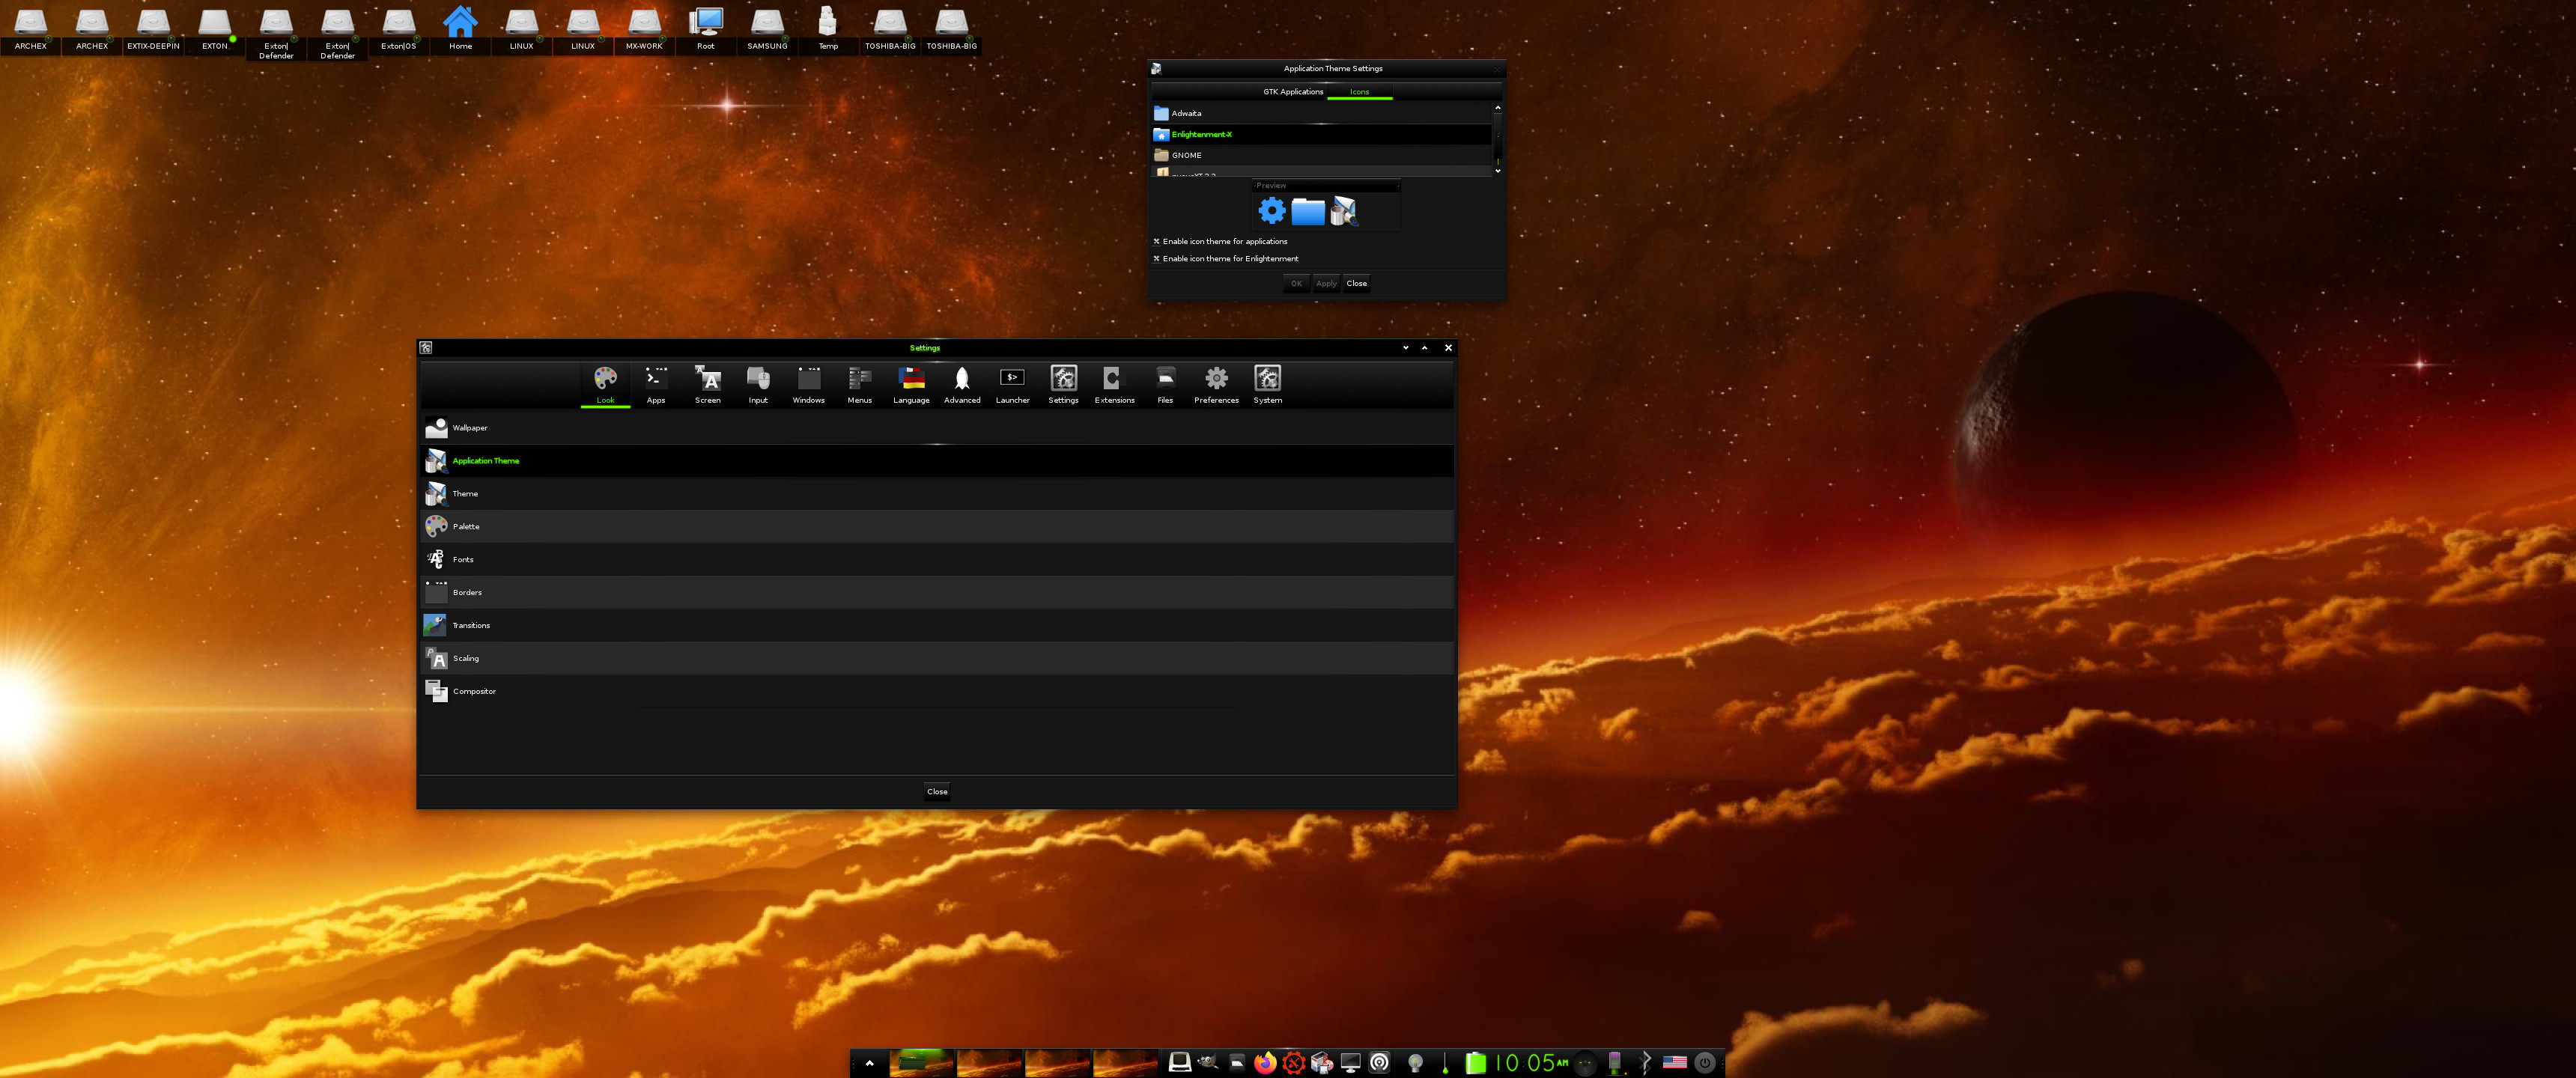
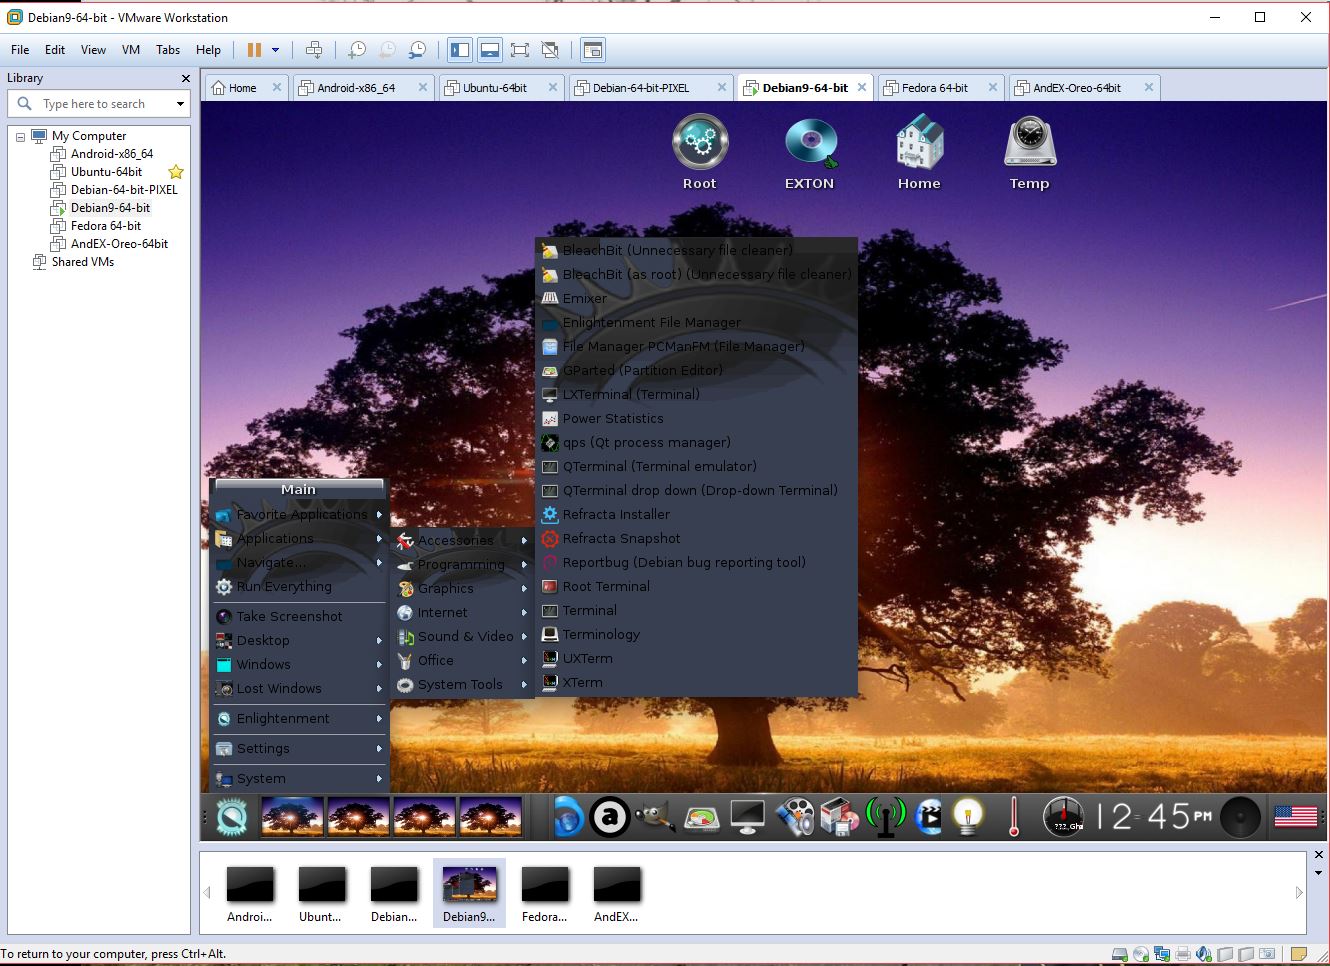
3. In order to see all icons in the menu you may have to change icons – watch this screenshot.
4. You can’t login to the Enlightenment 0.25.4 Desktop unless you use a “fairly new” computer – see above.
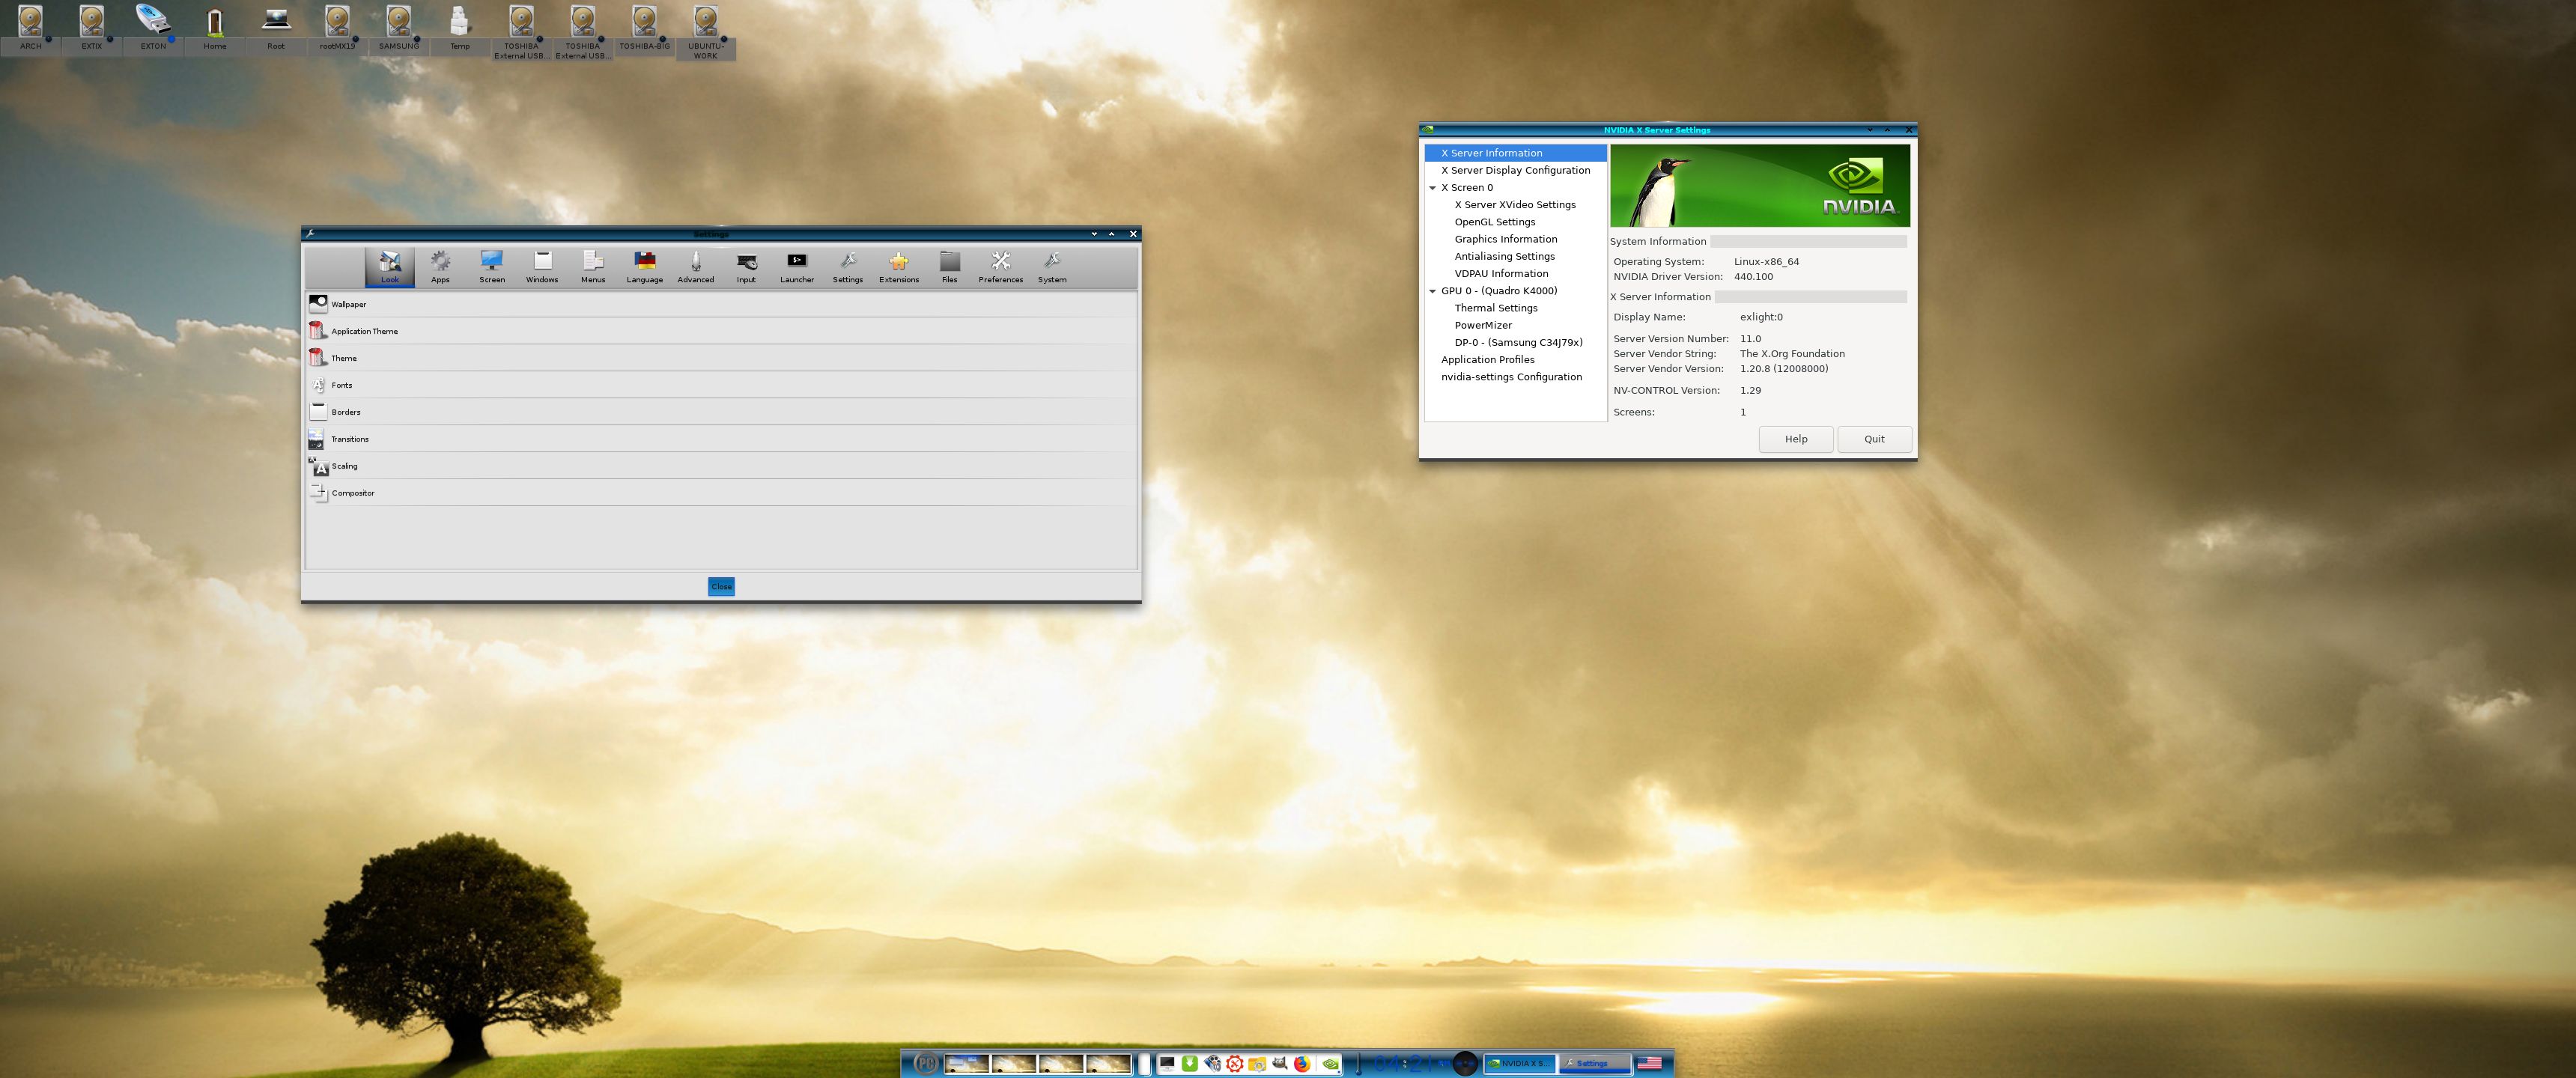
SCREENSHOTS
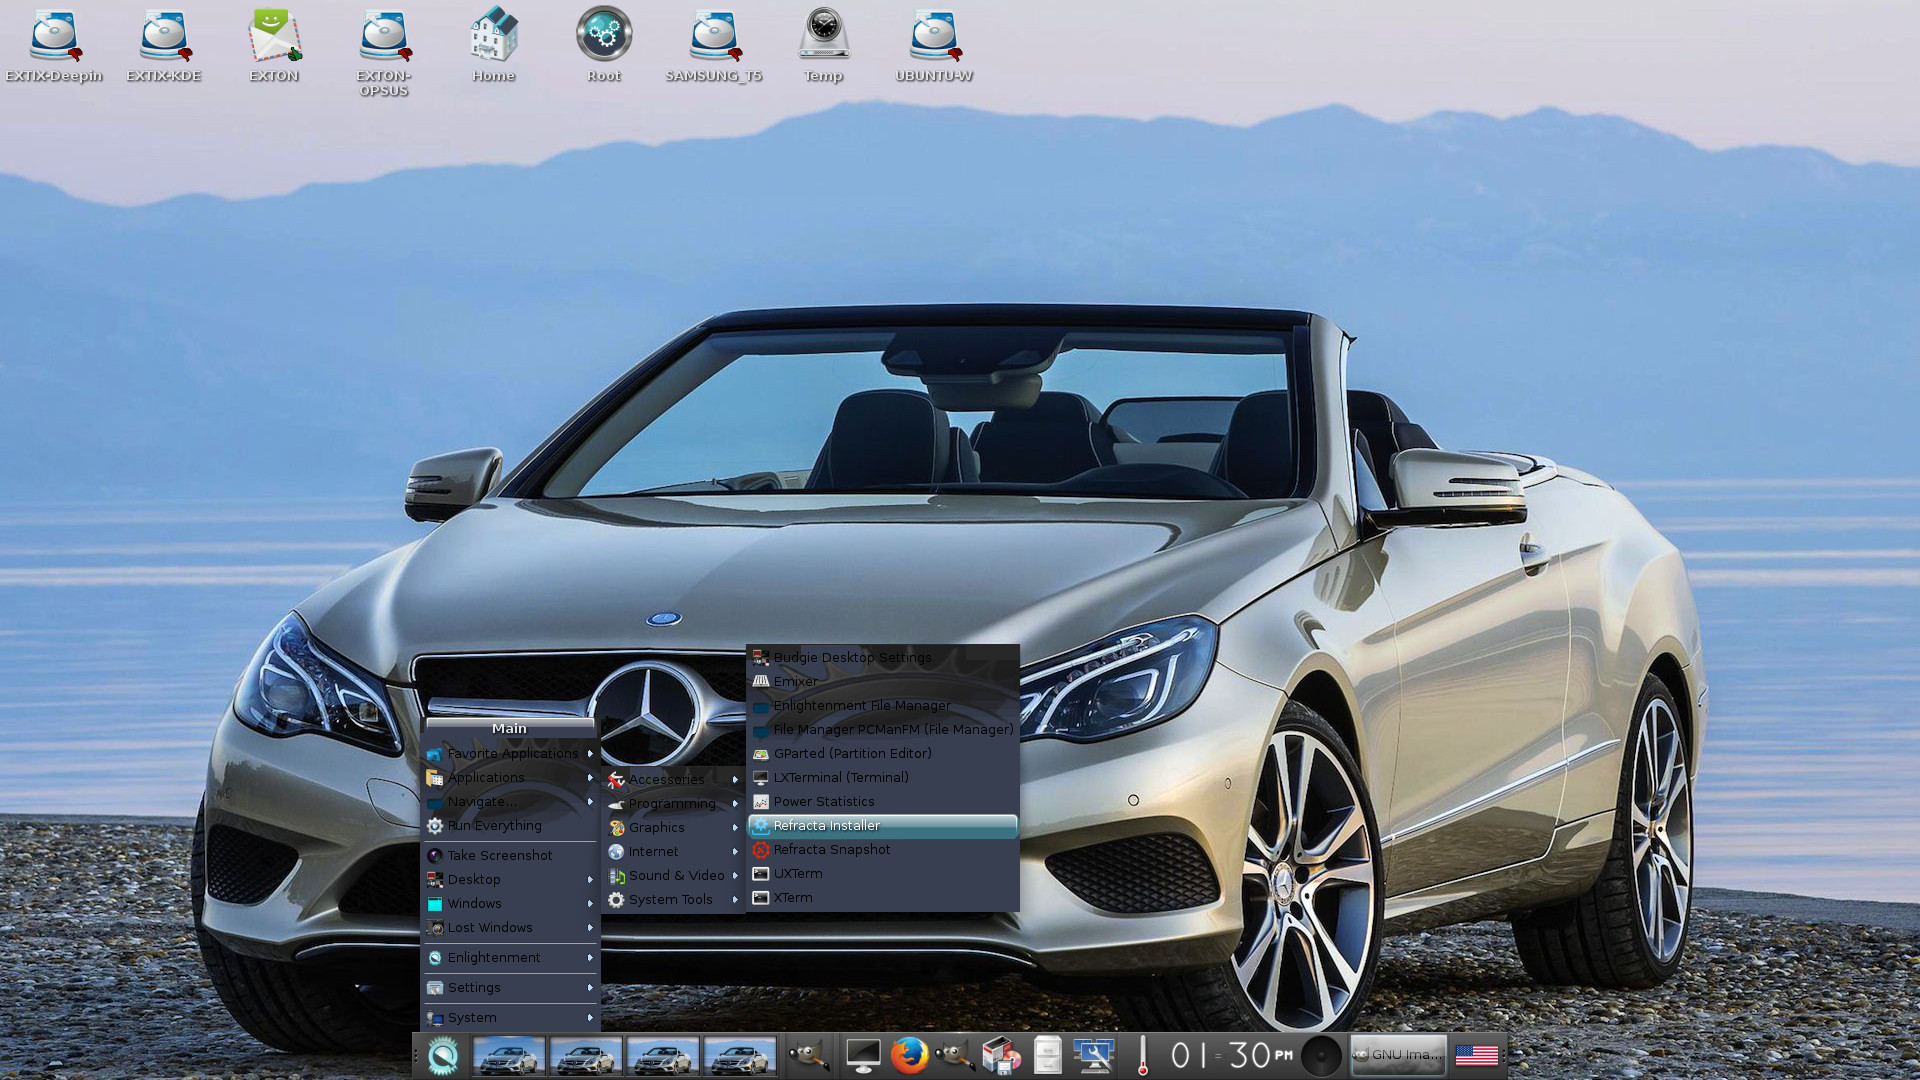
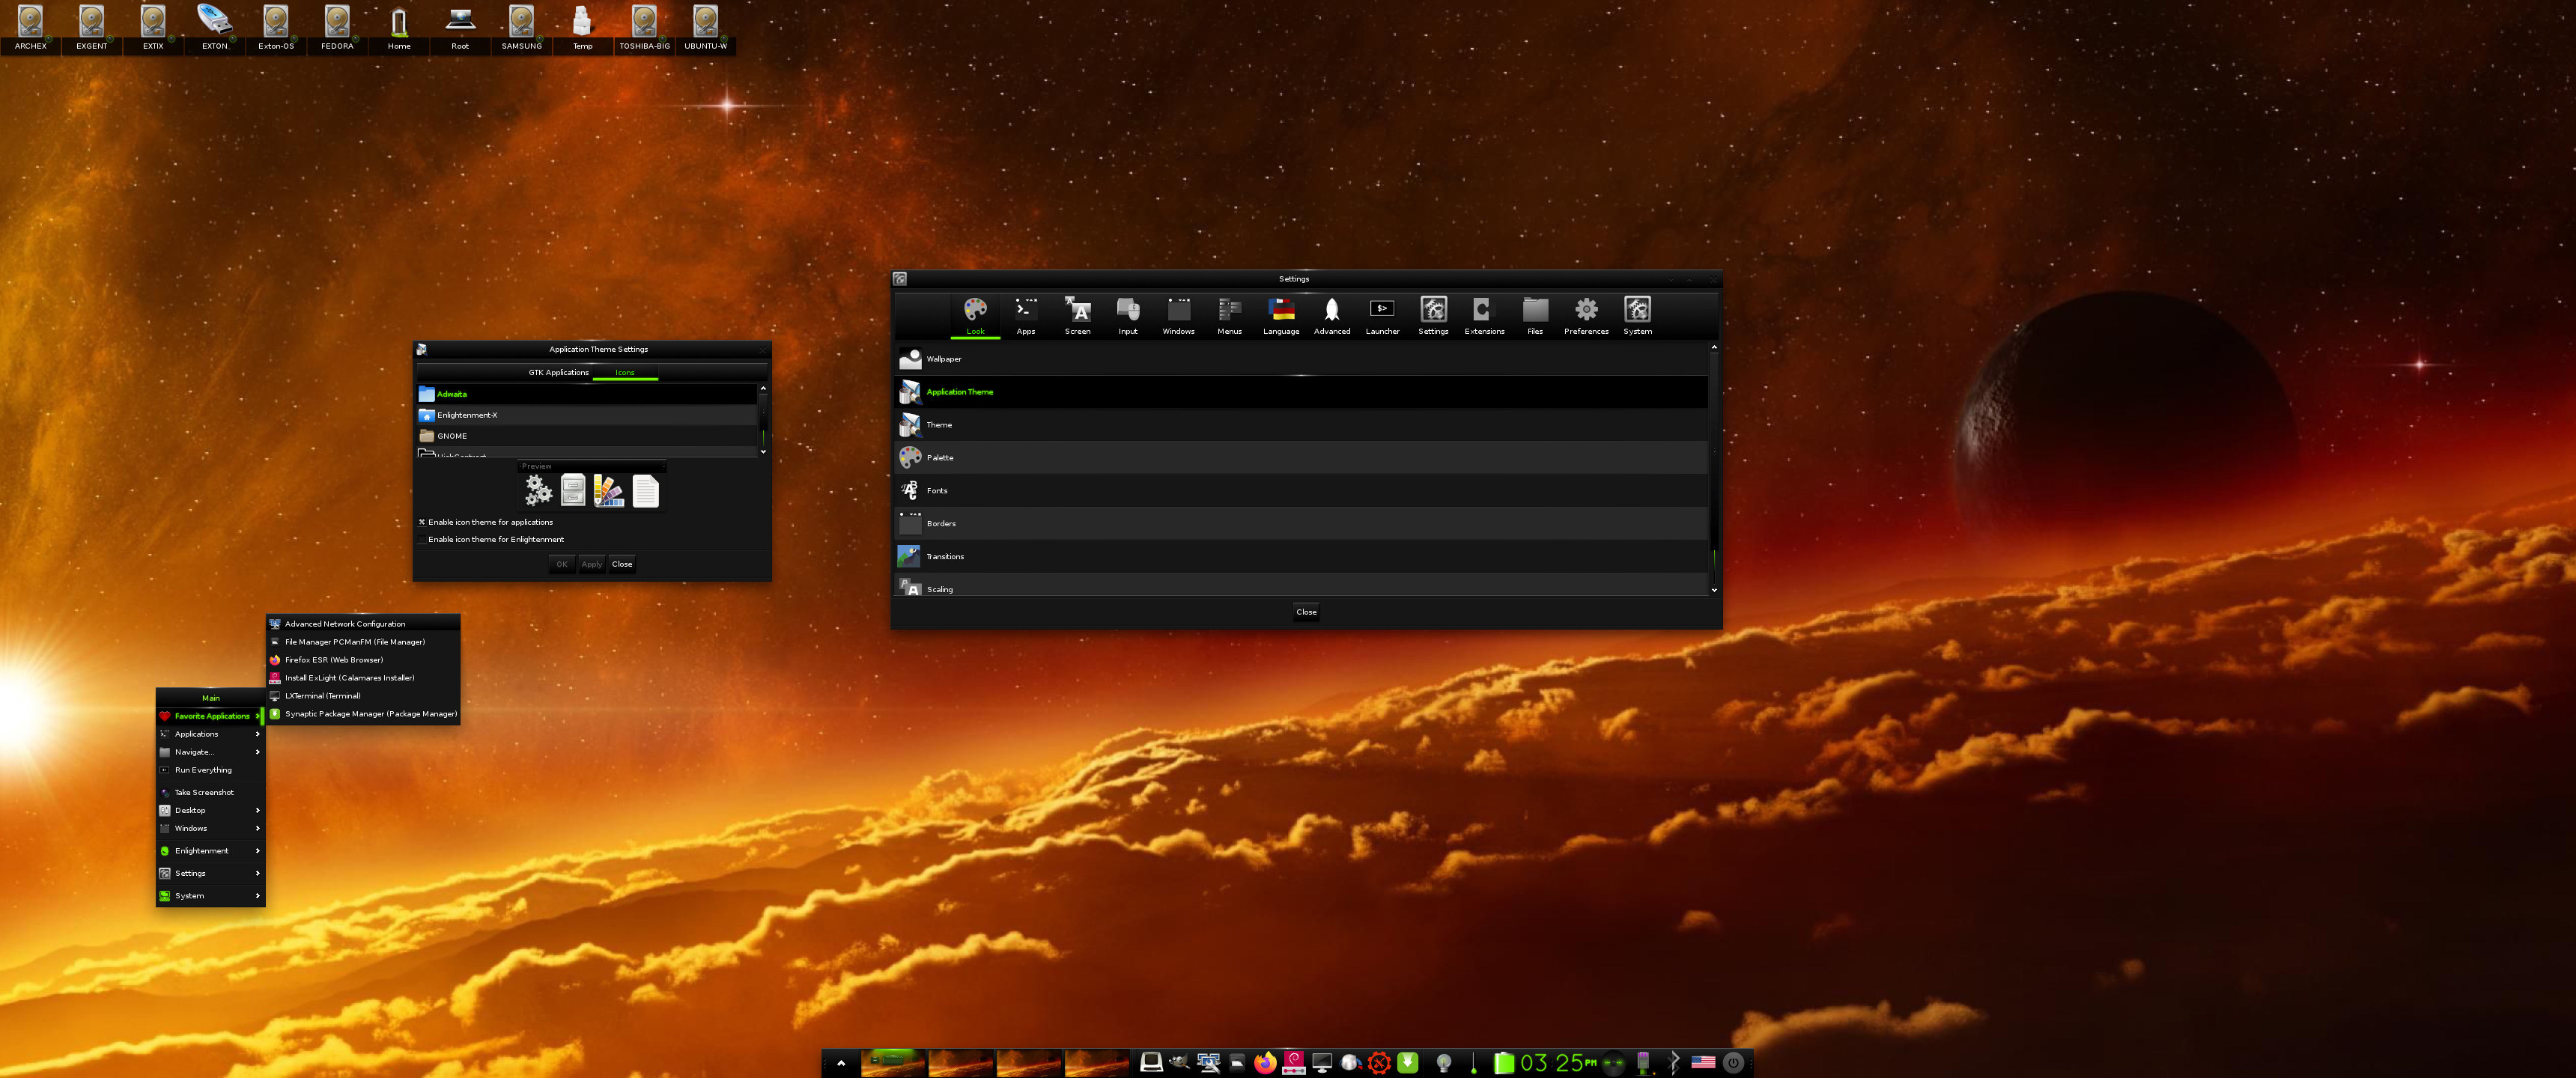
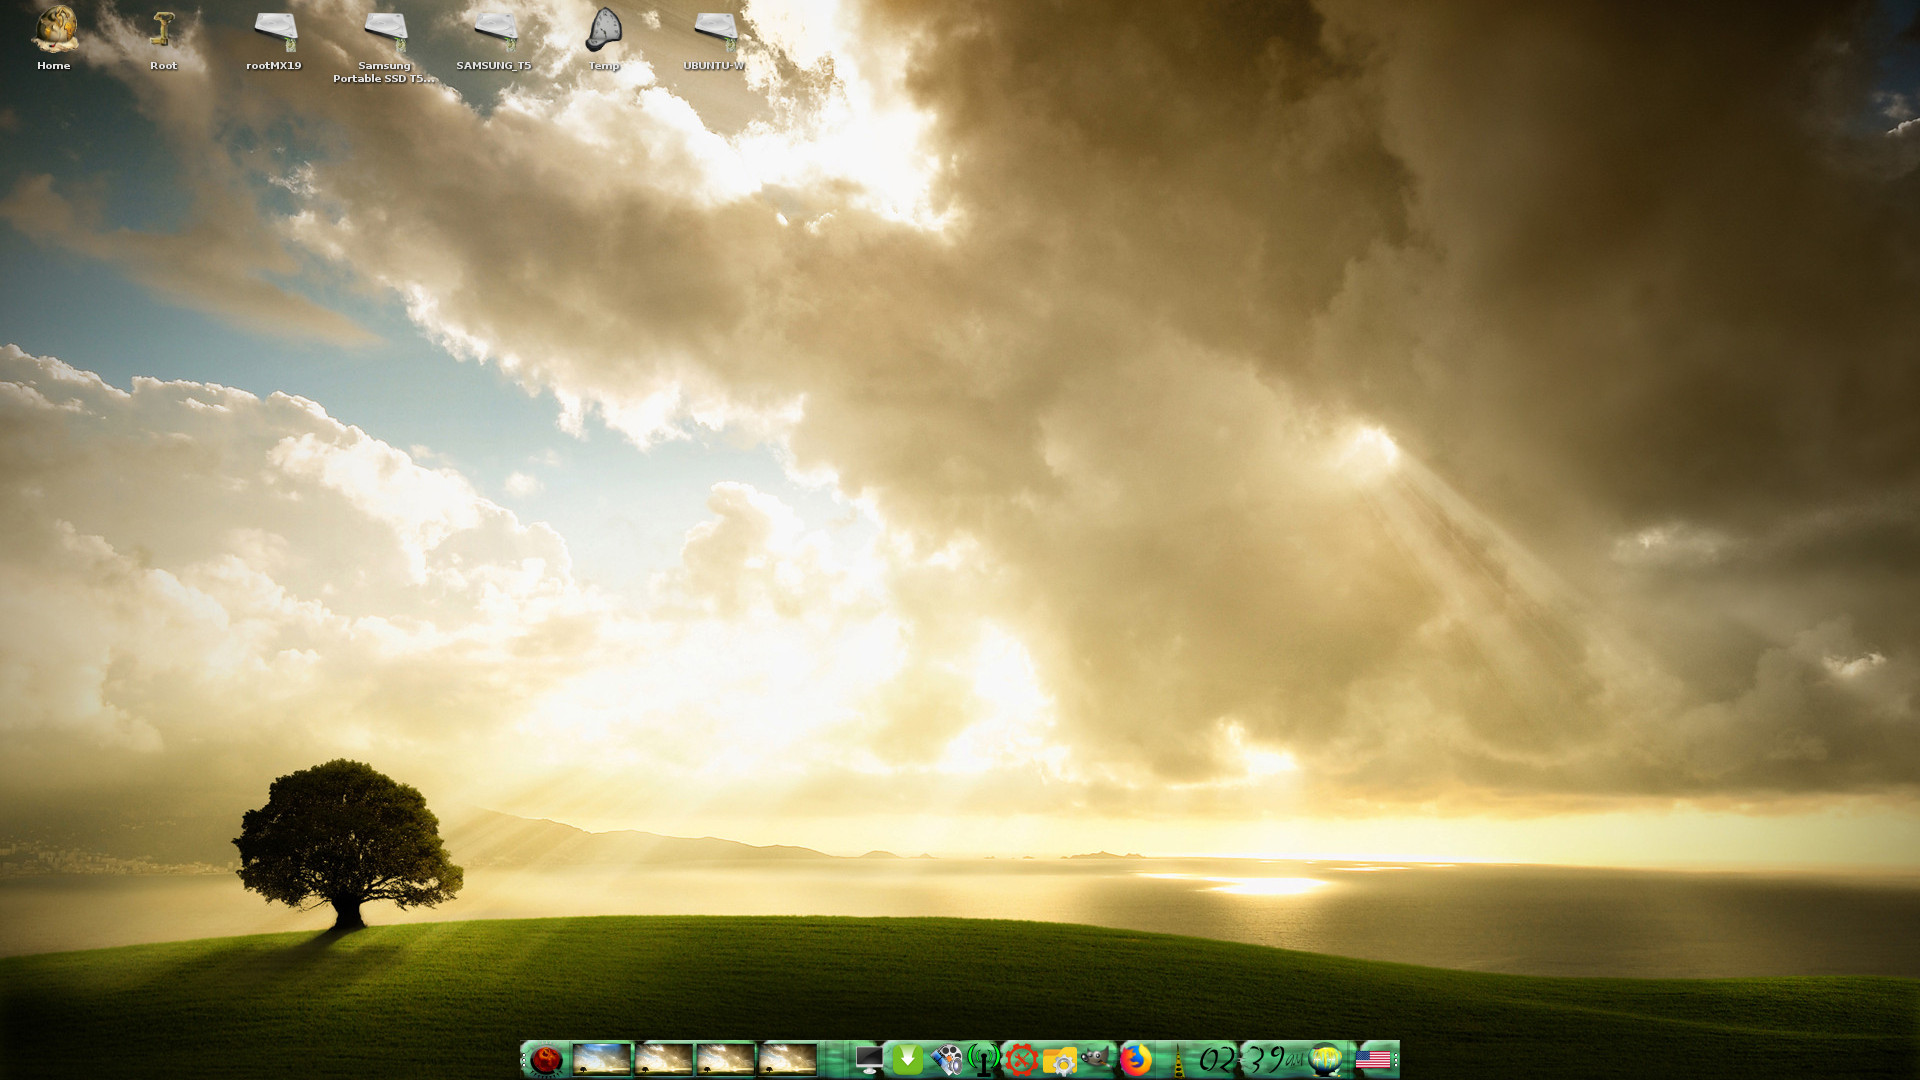
1. The Enlightenment 0.25.4 Desktop for user user
2. The Enlightenment 0.25.4 Desktop for root
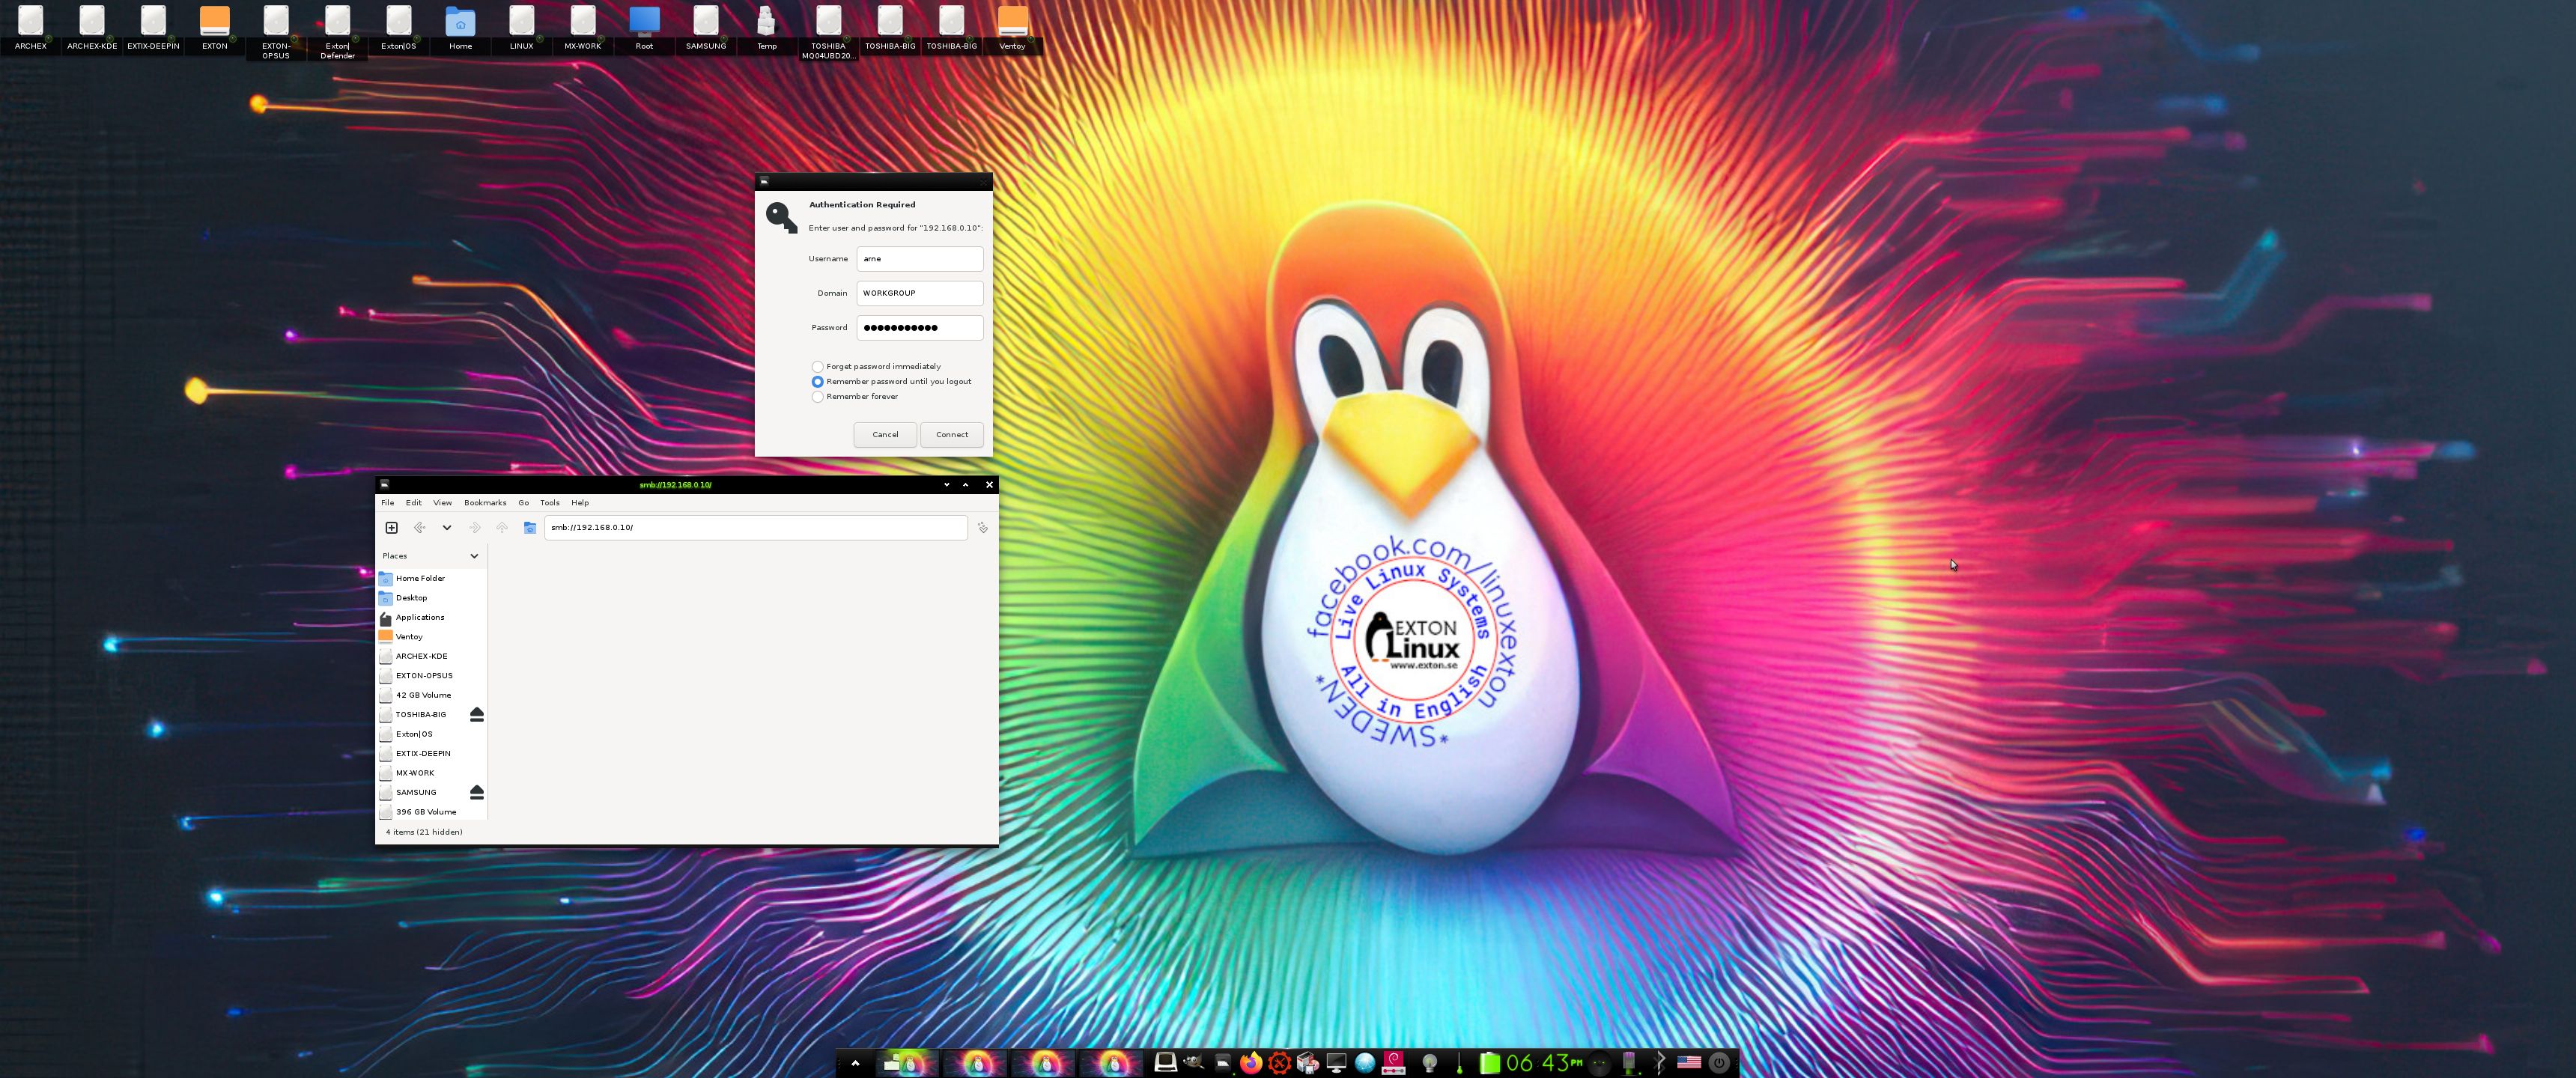
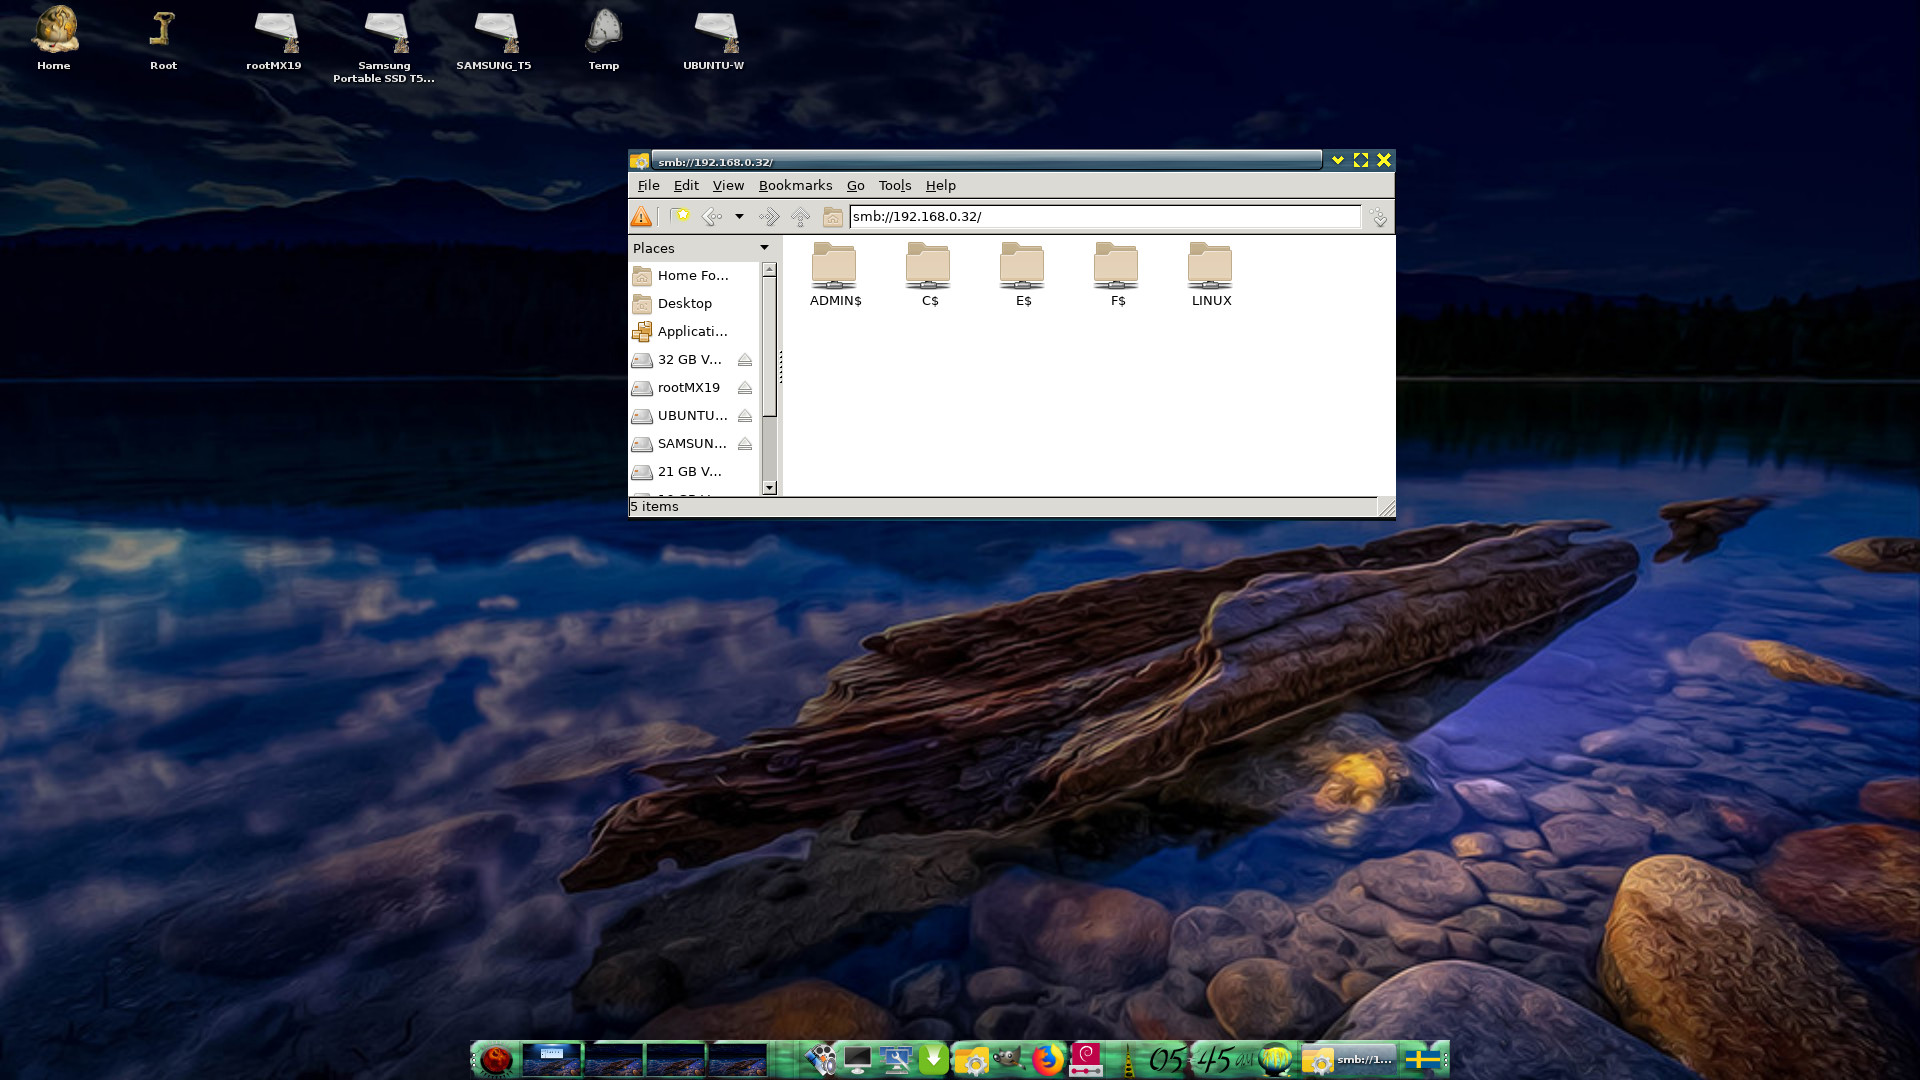
3. Using NetworkManager for WiFi connections
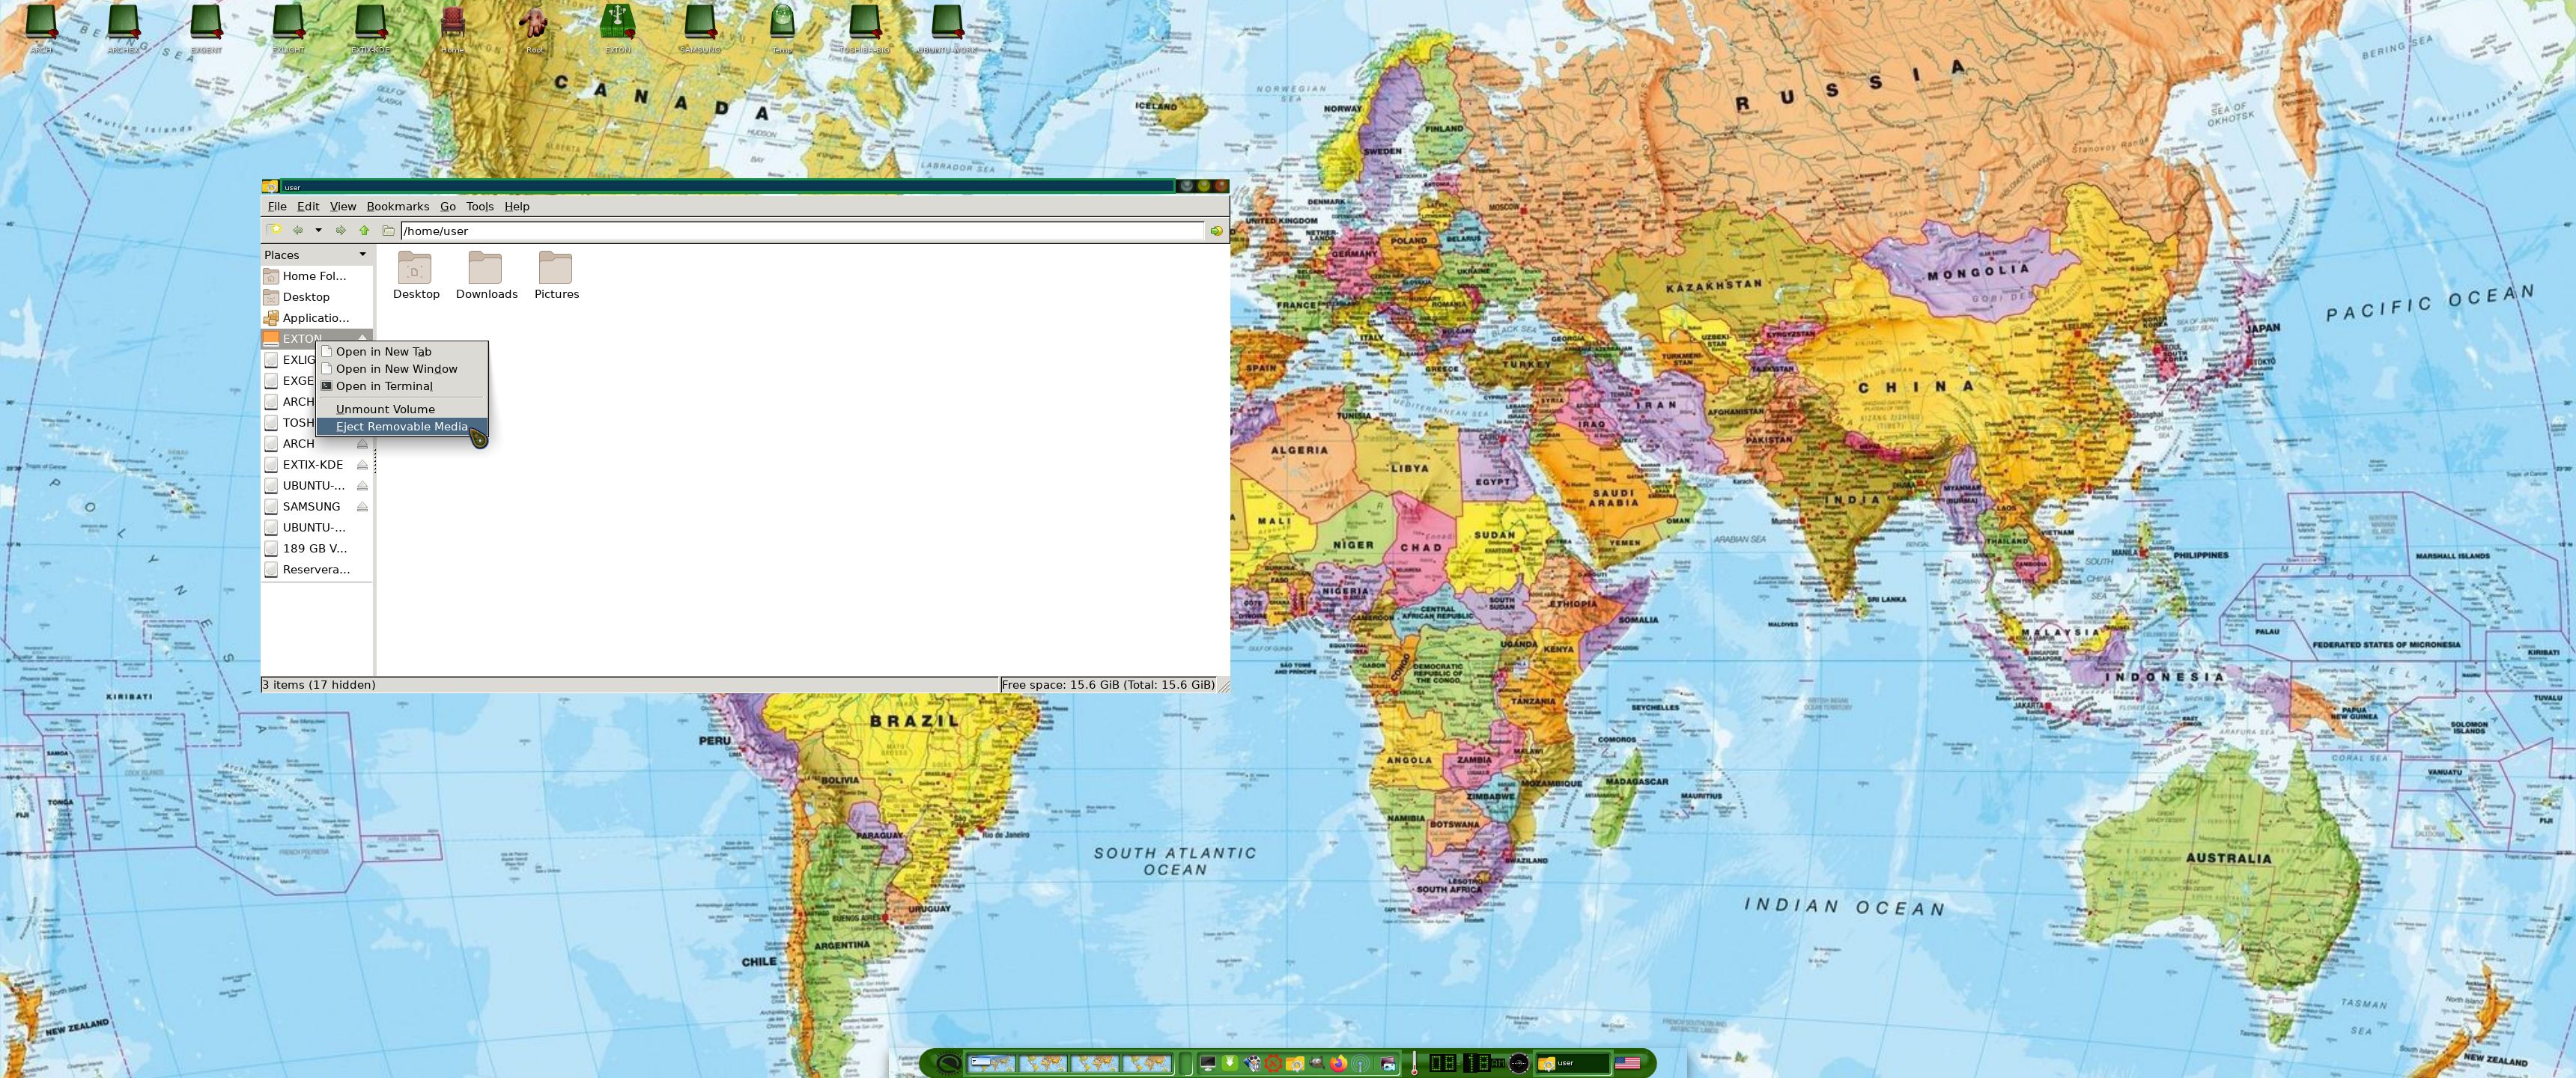
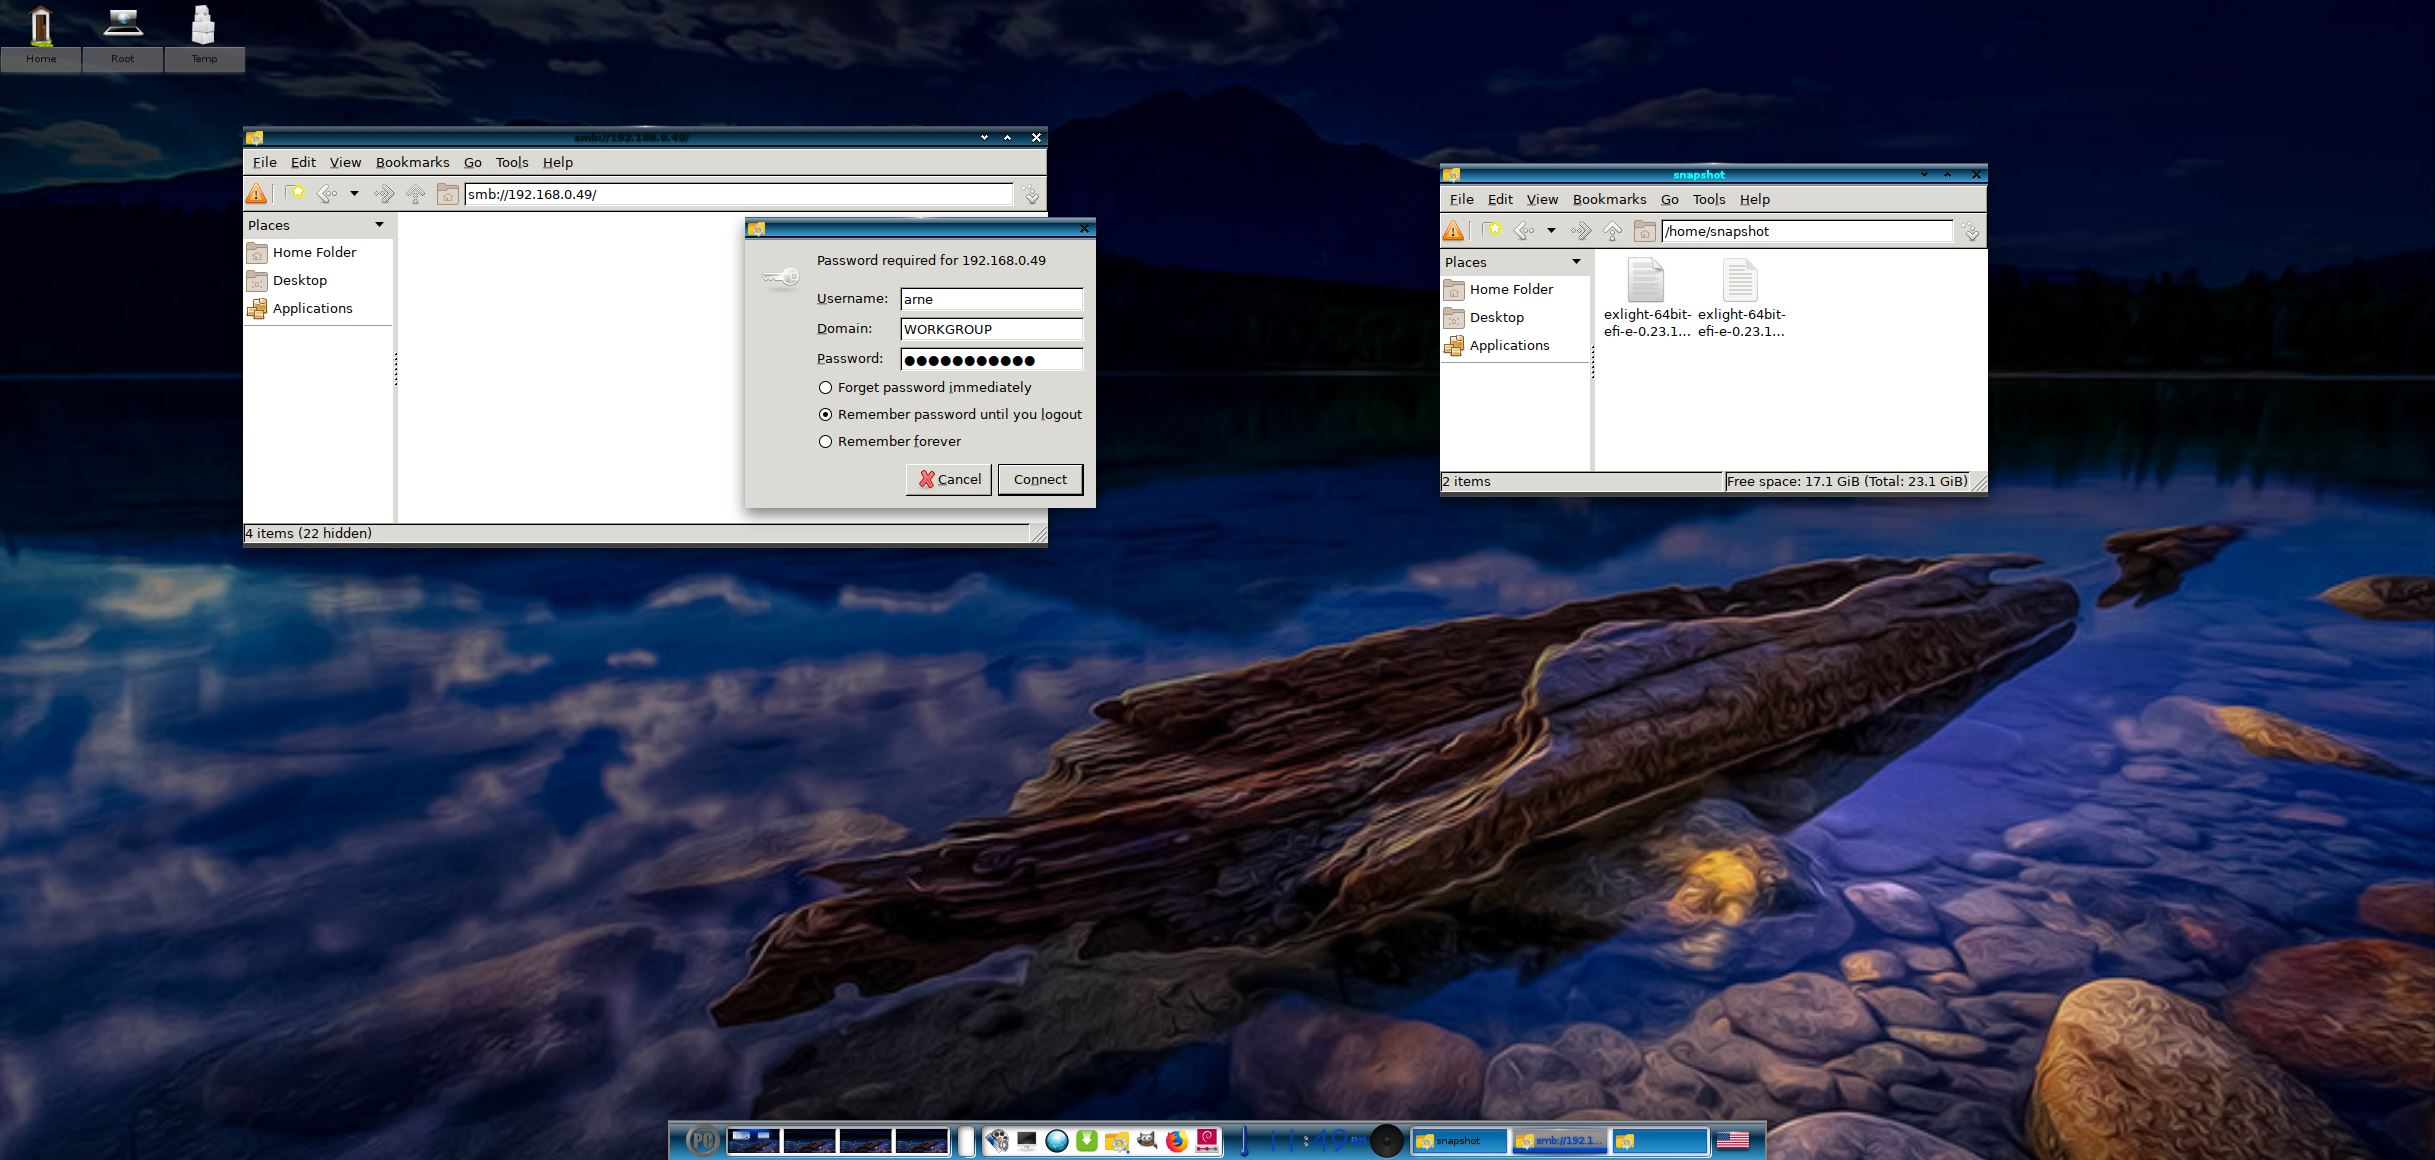
4. Showing a Samba connection
5. ExLight running in Qemu -1-root
6. ExLight running in Qemu -2-user
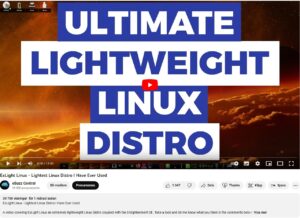
Watch a YouTube Video about ExLight…
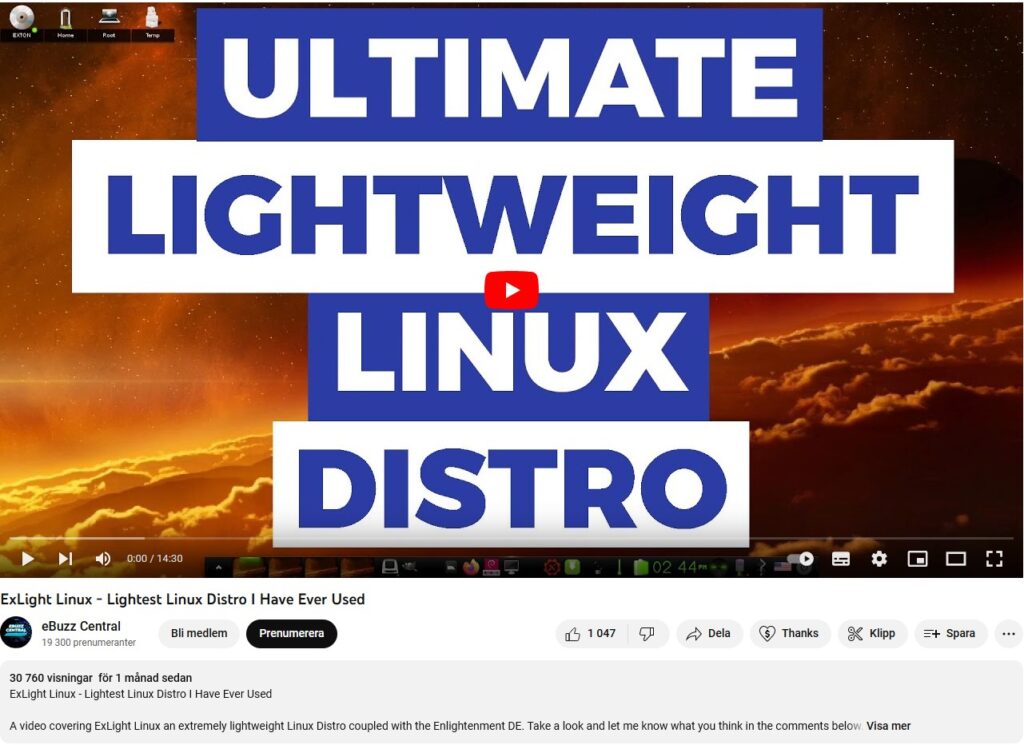
The Video is called “ExLight Linux – Lightest Distro I Have Ever Tried“. (It is not made by me).
![]() DOWNLOAD
DOWNLOAD
This ExLight version has been replaced by version 250405…
Read about my Android-x86 Systems – 11, 10, Pie, Oreo, Nougat, Marshmallow, Lollipop and KitKat at andex.exton.net – latest is AndEX 11 (with GAPPS), AndEX 10 (with GAPPS) and AndEX Pie 9.0 (also with GAPPS)!
and
about my Android 15, 14, 13, 12, 11, 10, Pie, Oreo, Nougat, Marshmallow and Lollipop versions for Raspberry Pi 5, Pi 4 and Pi 3/2 at raspex.exton.se – latest is RaspAnd 15 (with GAPPS), RaspAnd 14 (also with GAPPS), 13 and 12 (without GAPPS), RaspAnd 11 (with GAPPS) and RaspAnd Oreo 8.1 (also with GAPPS)! ![]()
